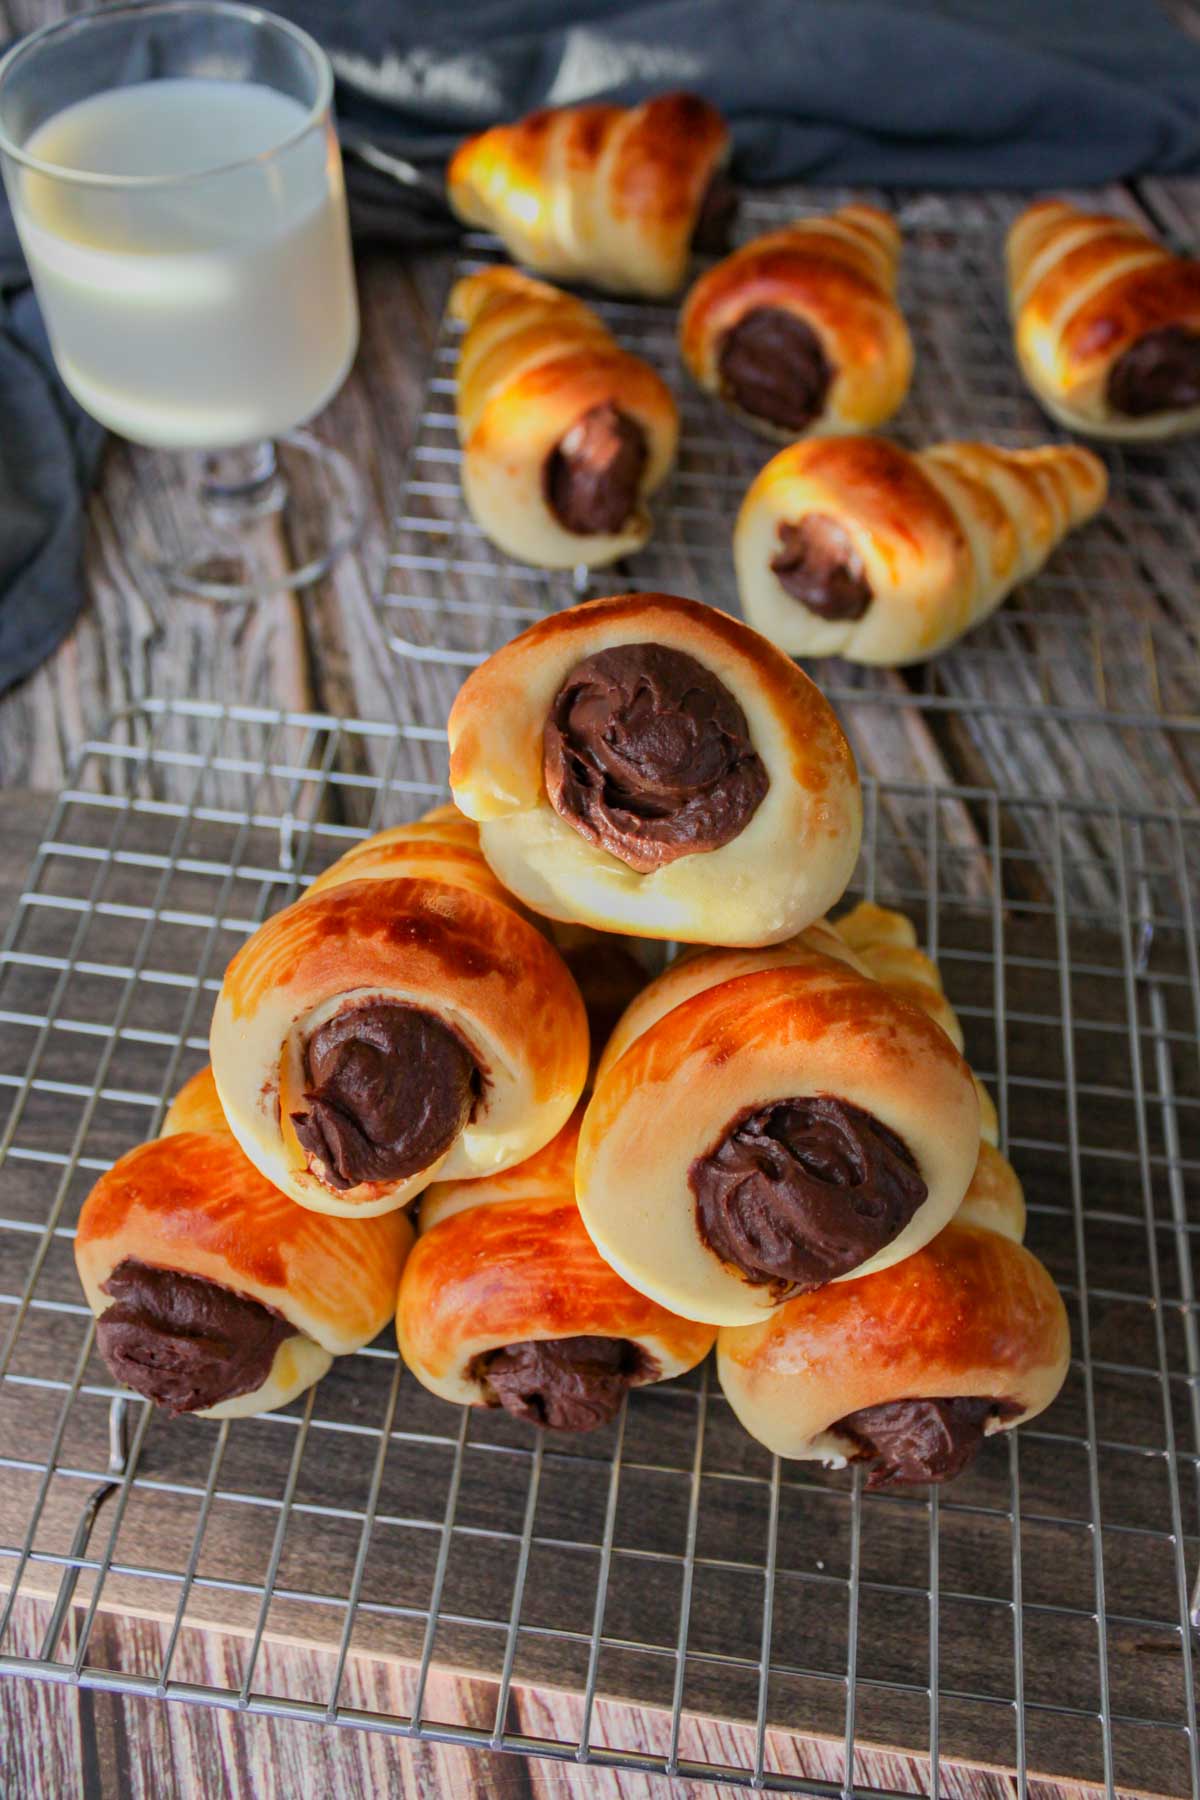
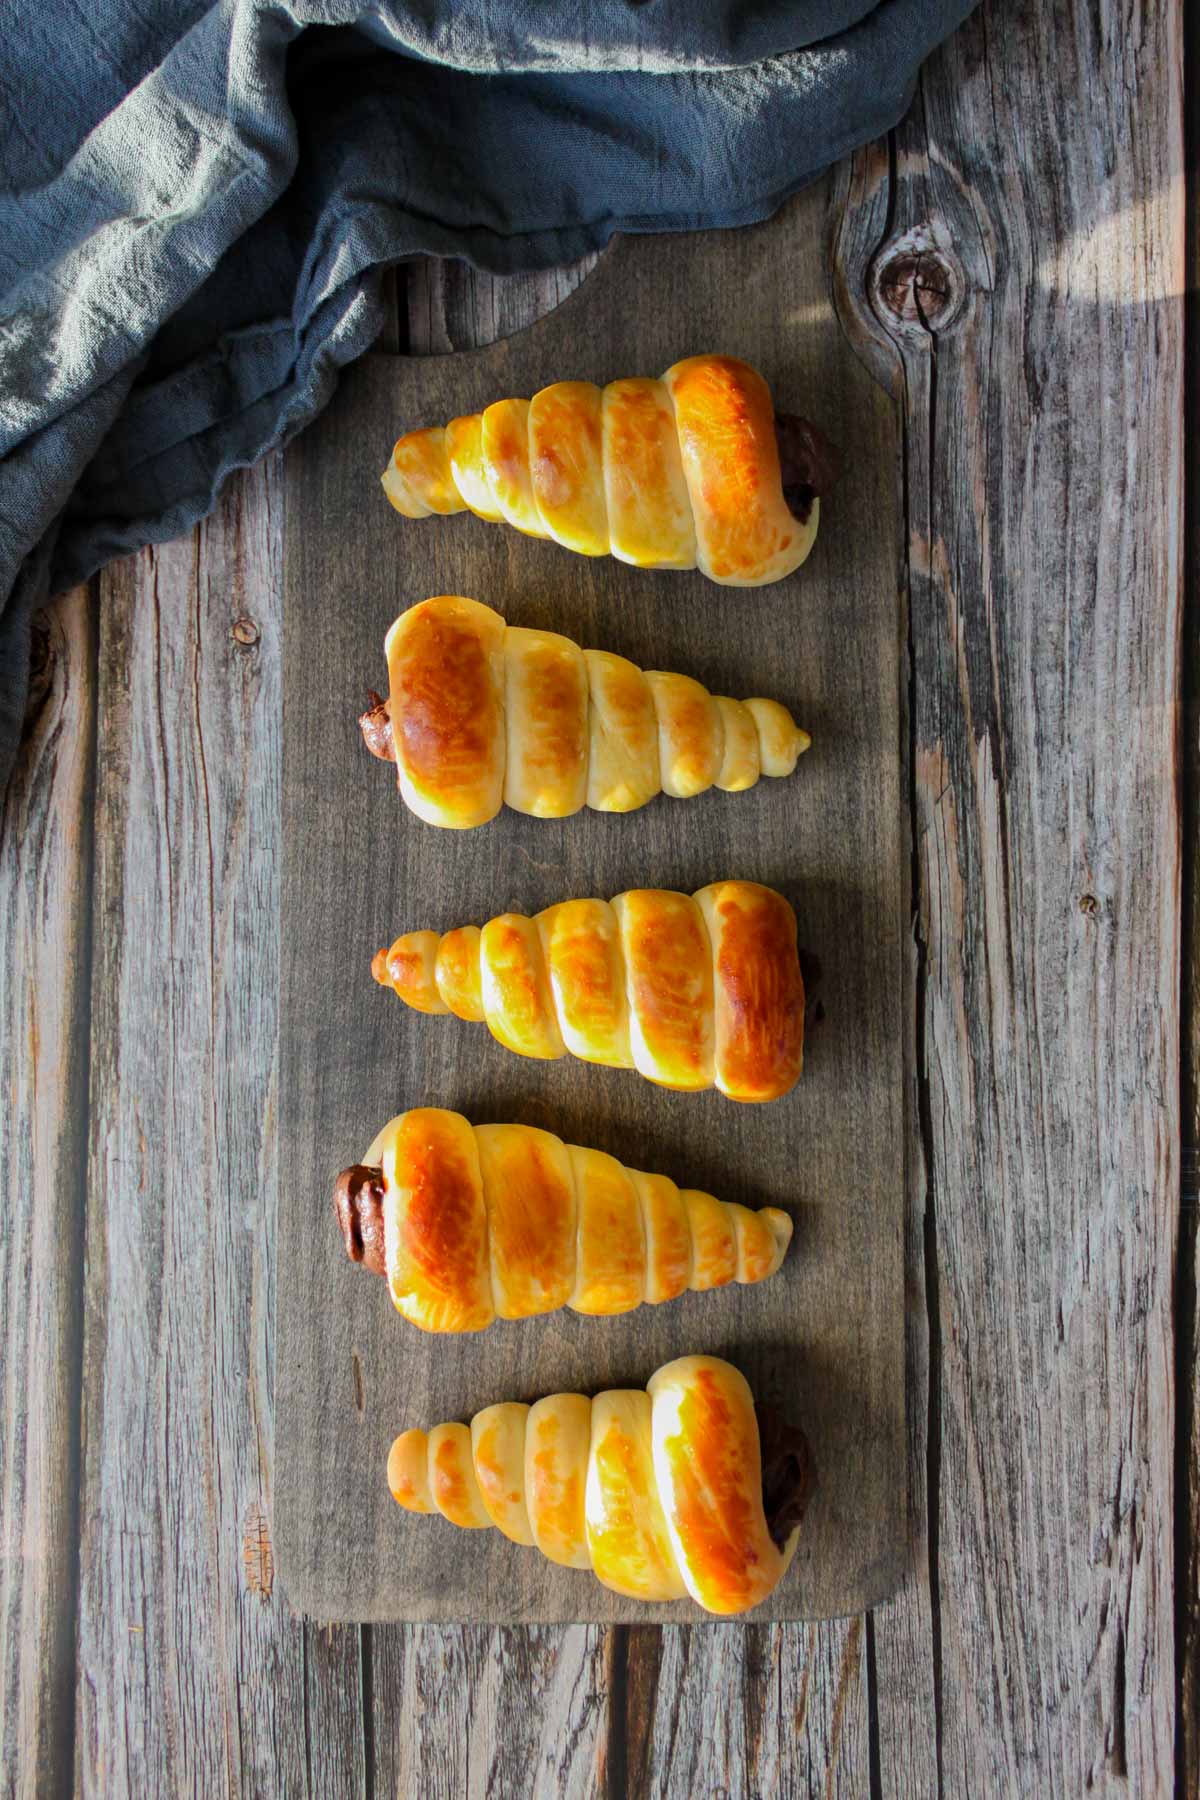
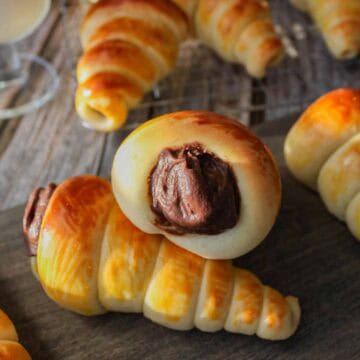
These cute, fluffy, and chocolatey Japanese chocolate cornet breads are perfect for gifting—or simply enjoying with a cup of tea!
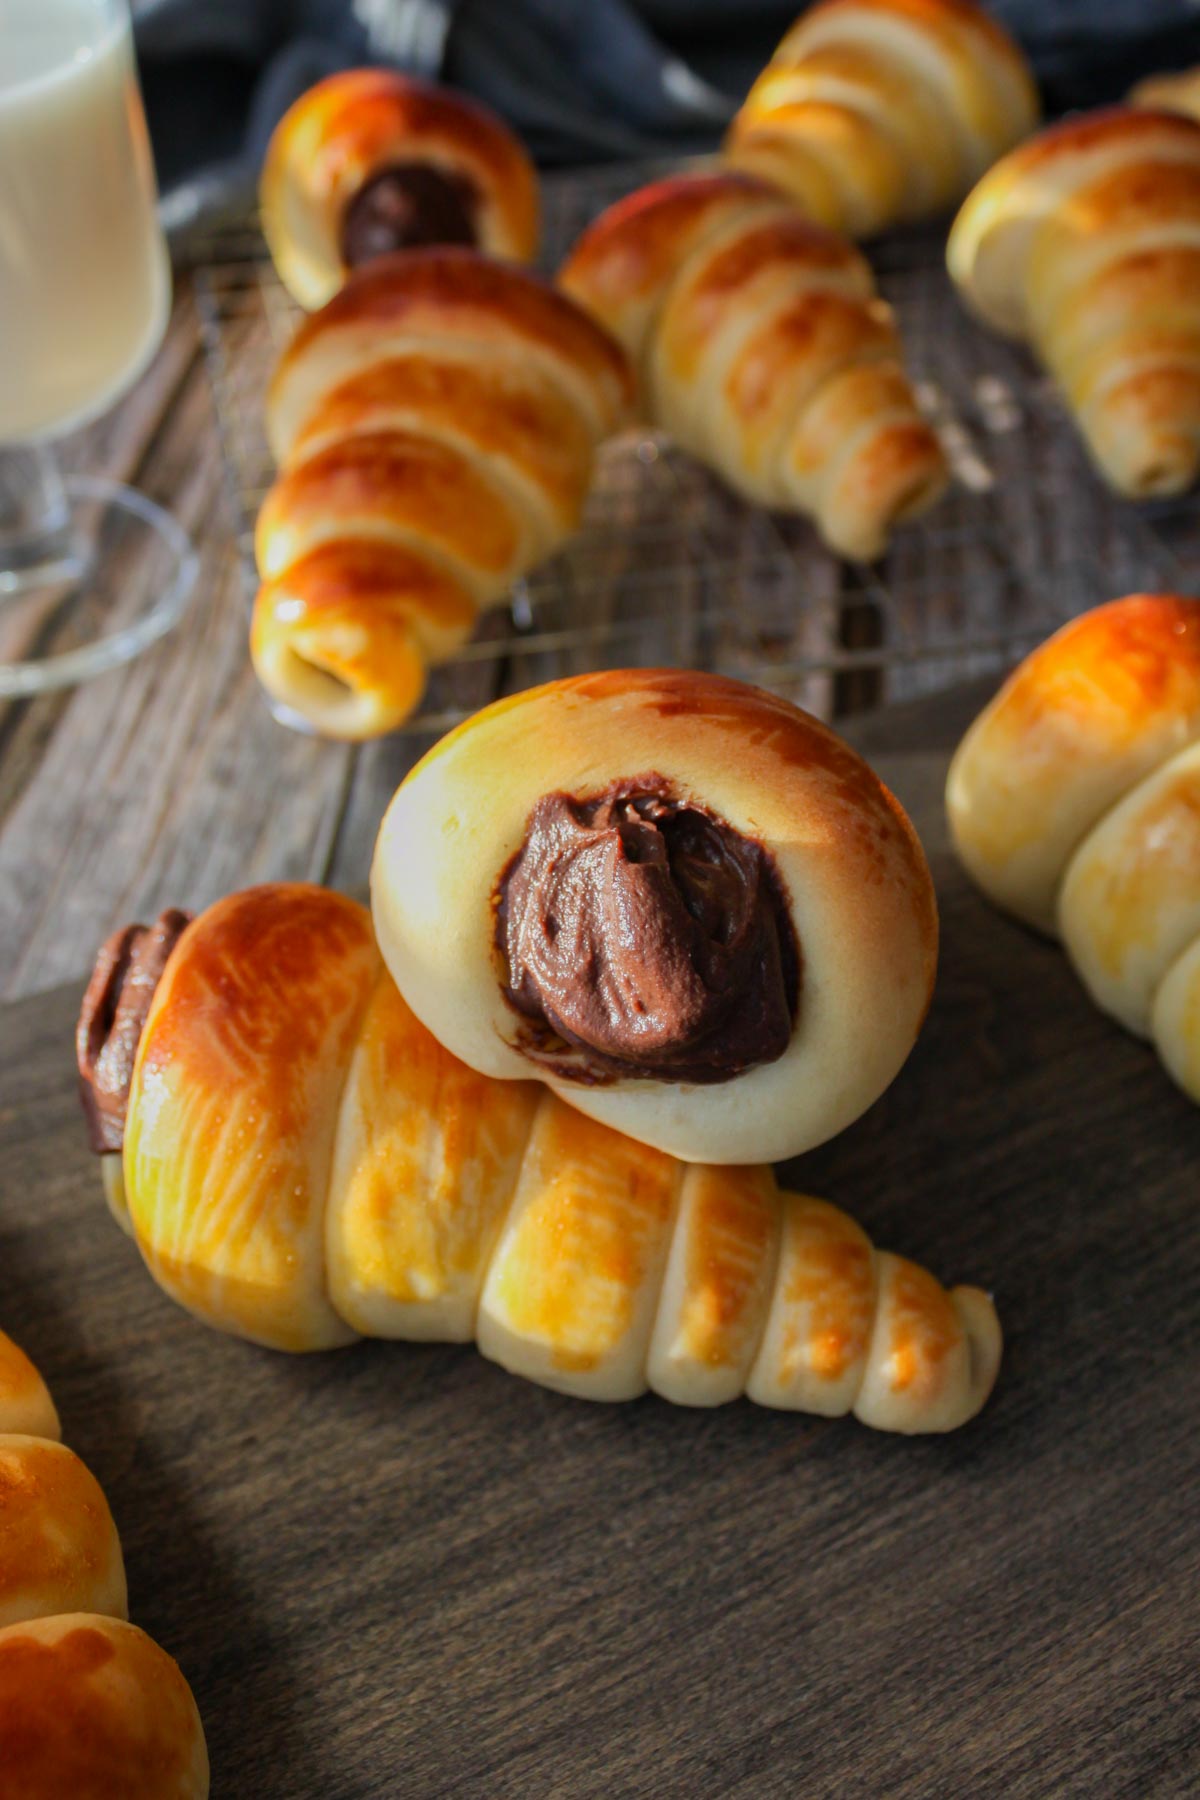
This chocolate cornet is sure to become your new favorite—the balance of the fluffy bread and creamy chocolate custard is simply irresistible.
Shaping the cornet might be a little tricky at first, but the other steps are simple and straightforward.
I tested this recipe at least 10 times to achieve the perfect balance of fluffiness and chewiness, so the cornets stay soft even the next day (yes, our freezer is currently filled with cornets😏).
In This Post
Jump to Recipe✏️What is a Cornet?
A cornet is a bread made by wrapping dough around a cone-shaped metal mold, and it originated in Japan.
In this recipe, we’ll fill the cornets with chocolate custard, but feel free to try other fillings like plain custard, tuna mayo salad, ham and cheese, and more.
You don’t need cornet molds, but they’re incredibly helpful and eco-friendly since you can reuse them for many recipes! Plus, shaping cornets is much easier with a good mold.
I highly recommend trying the EUICAE Cream Horn Molds on Amazon—they’re durable, easy to clean, and make baking much simpler.
If you’d like to make your own cornet molds, check out this YouTube video by Pastry Madness, which includes a step-by-step process!
🍳Let's Make This Together!
Jump to Recipe1. Make the Dough
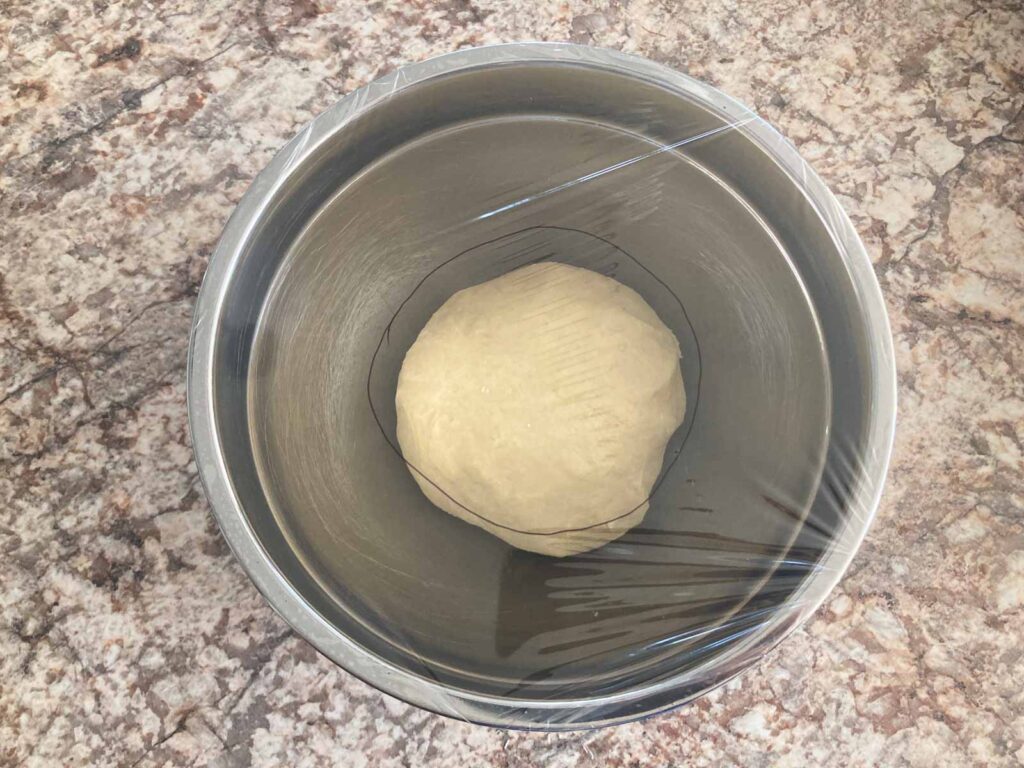
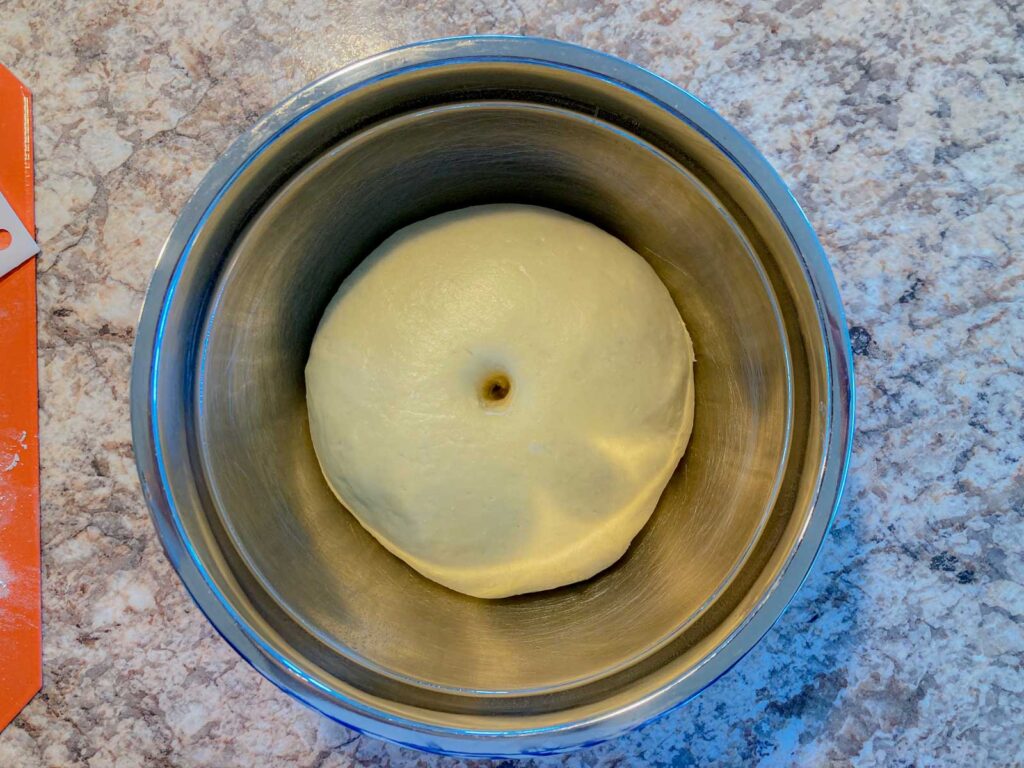
Knead the dough in a stand mixer and let it rise for about 90-120 minutes.

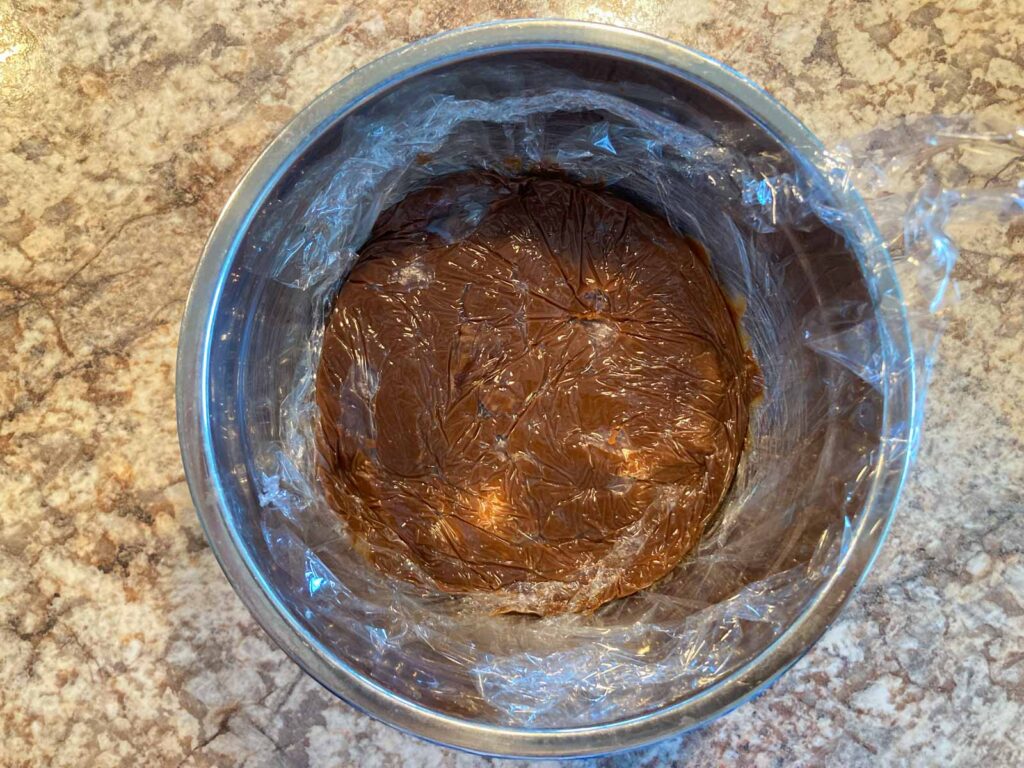
2. Make the Custard
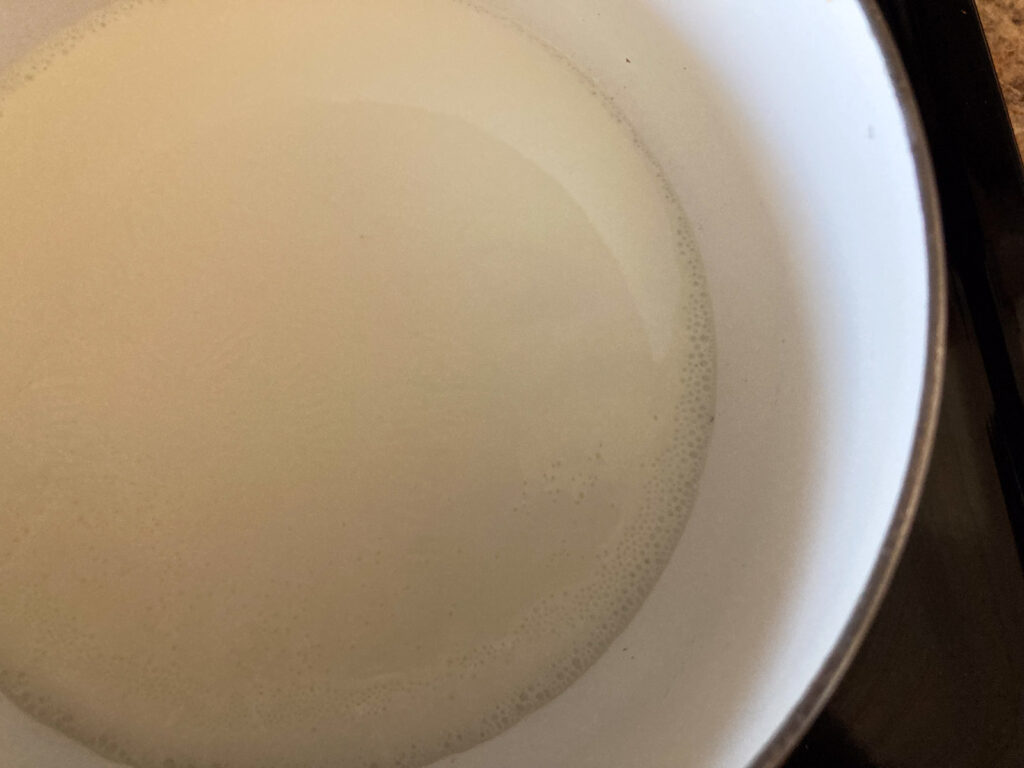
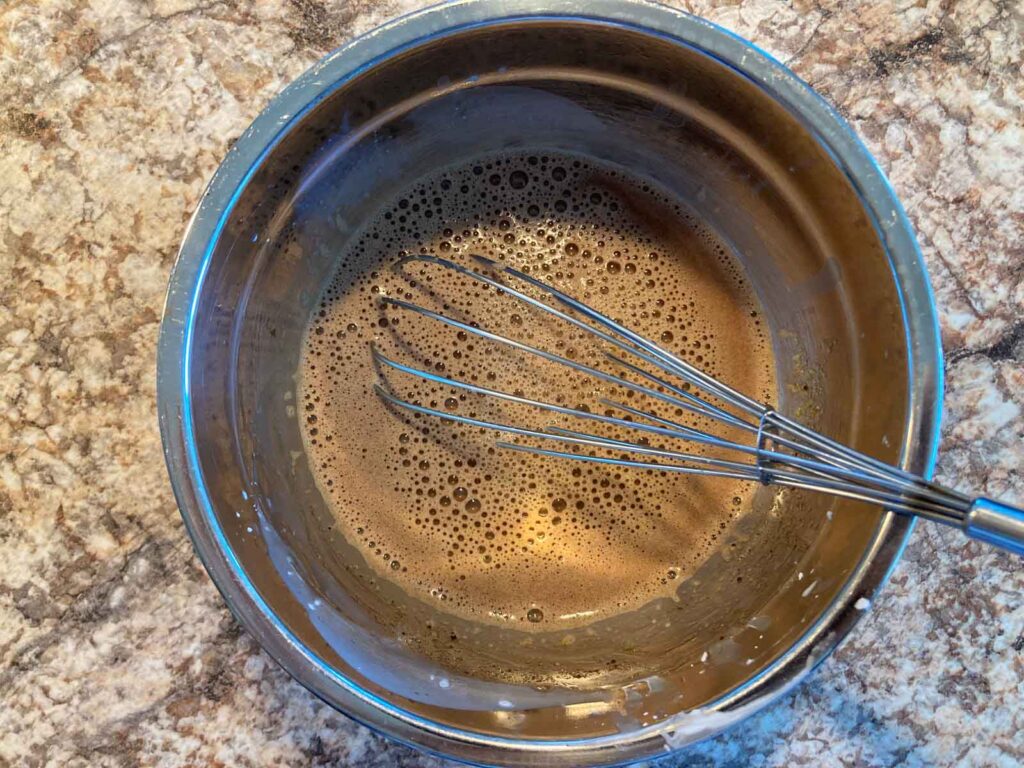
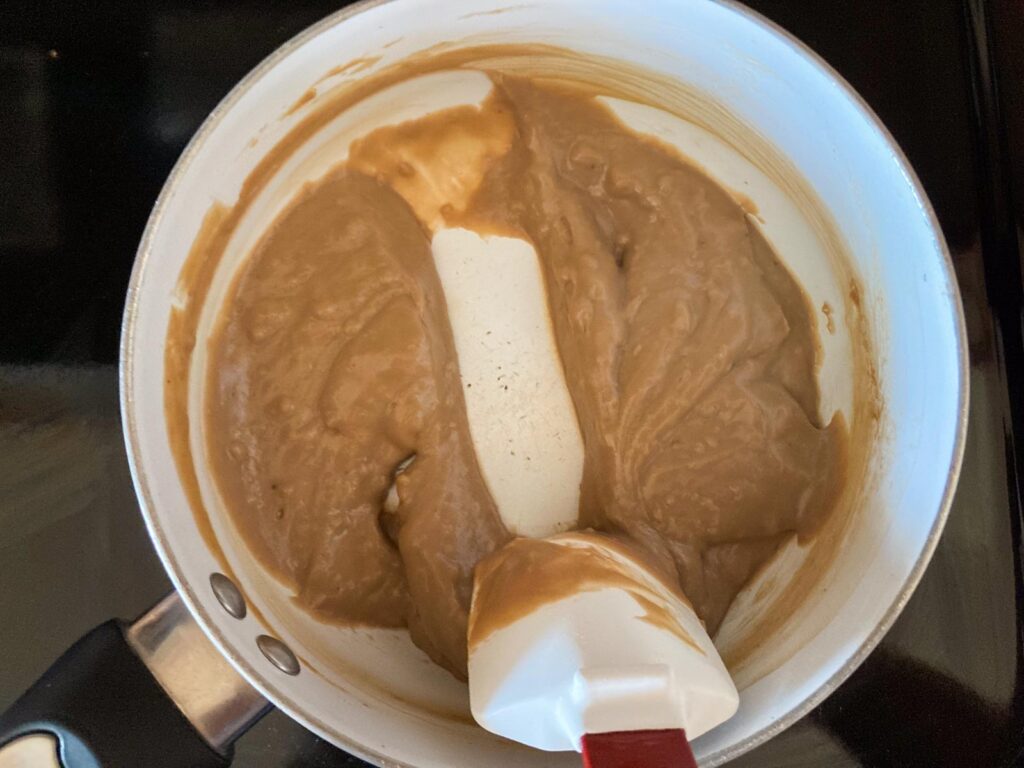
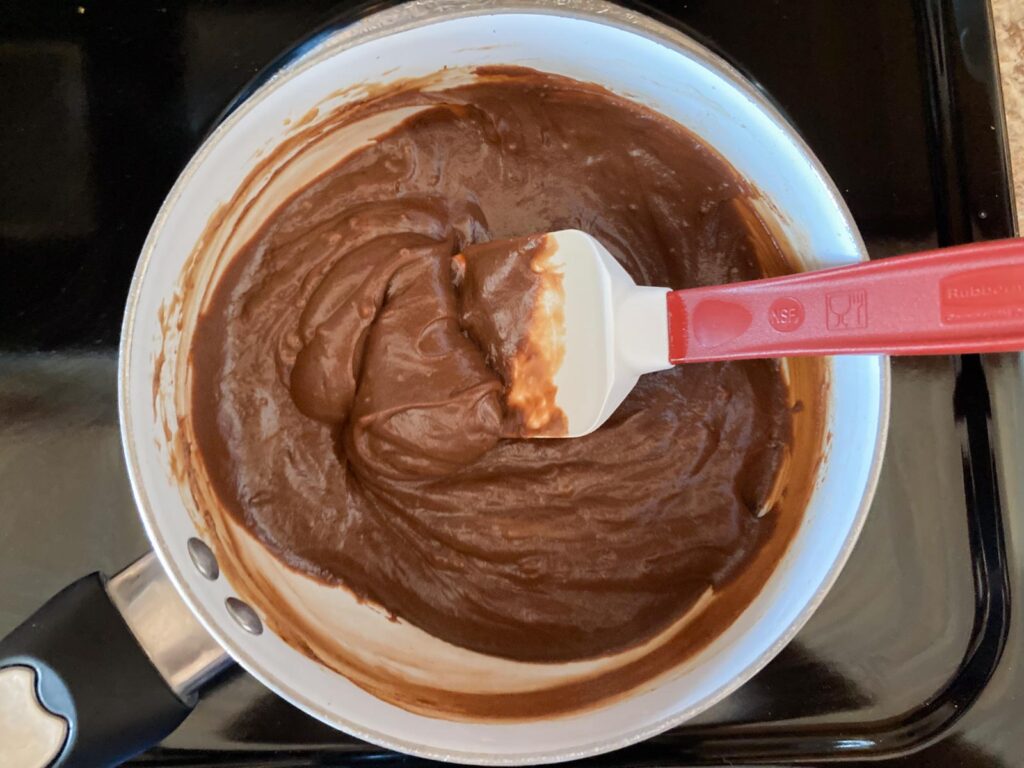
Prepare the custard while the dough rises.
3. Divide the Dough
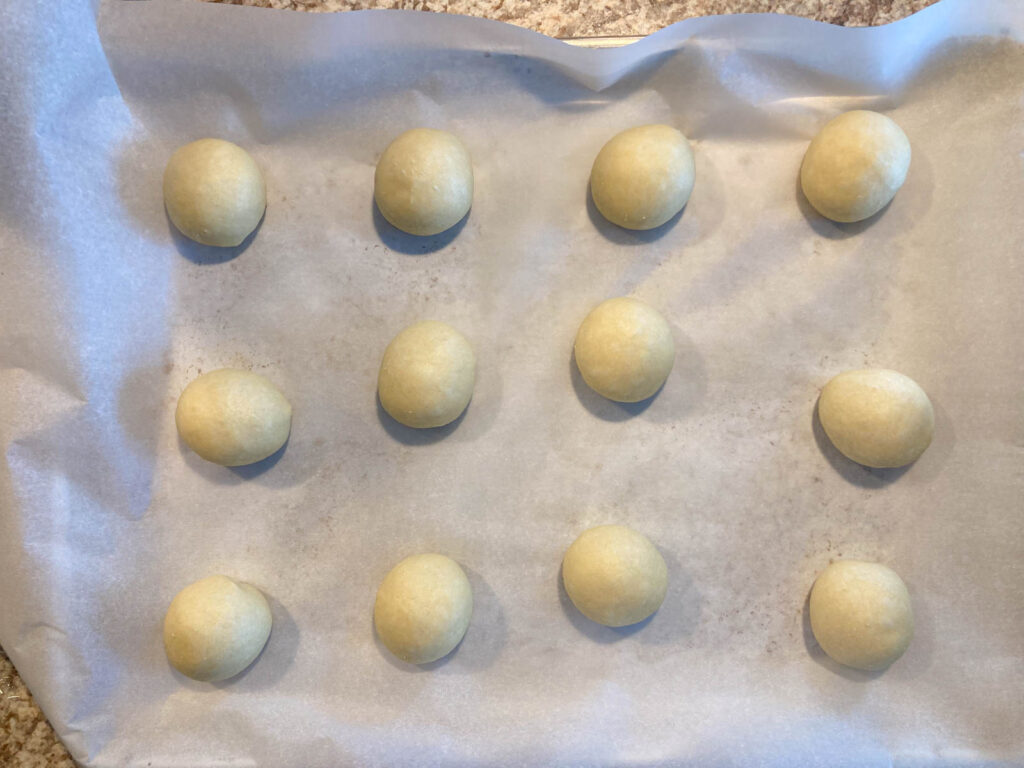
Divide the dough into 12 equal balls (about 45g each) and let them rest for 10 minutes.
4. Shape the Dough
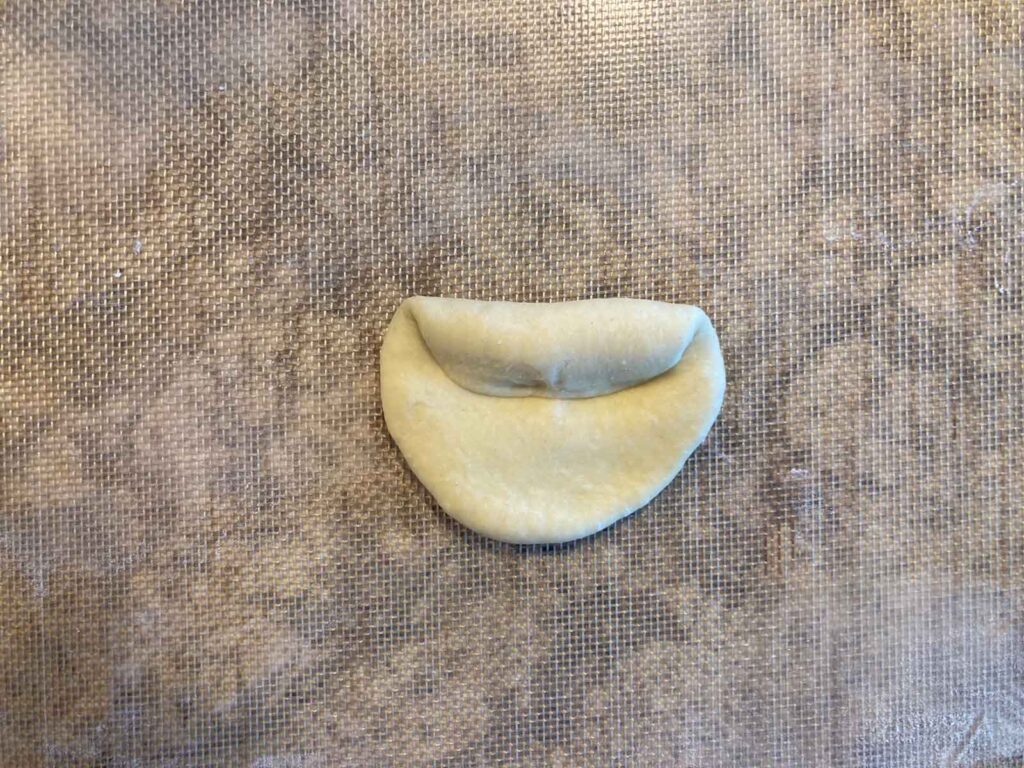
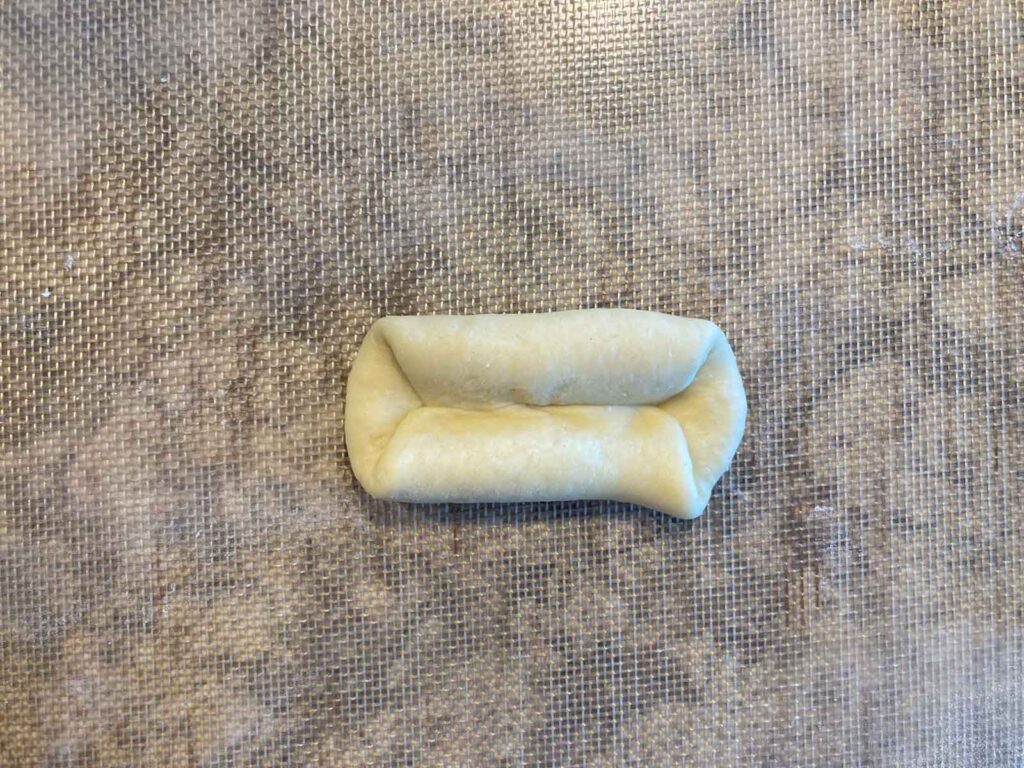
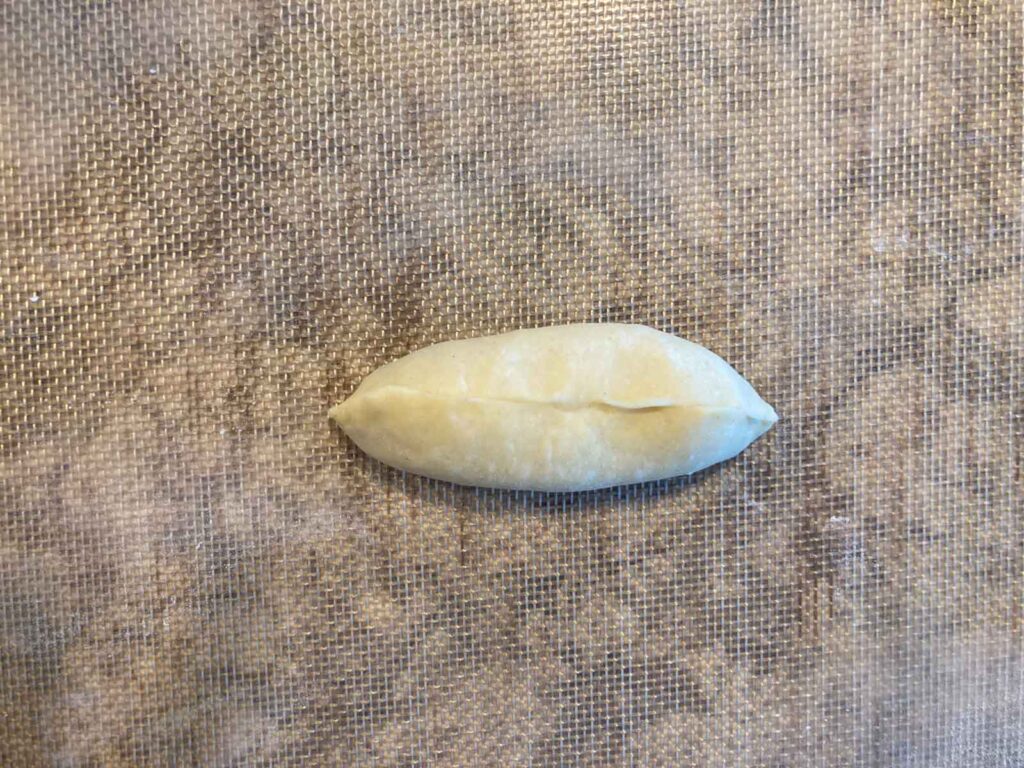
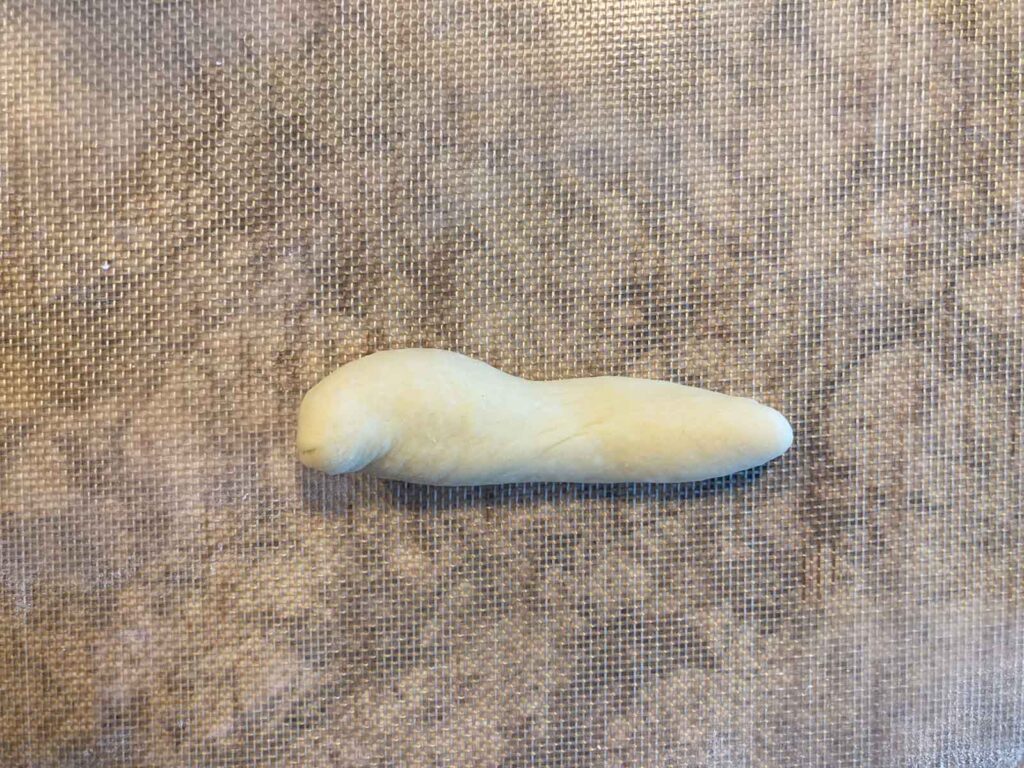
5. Let the Dough Rise
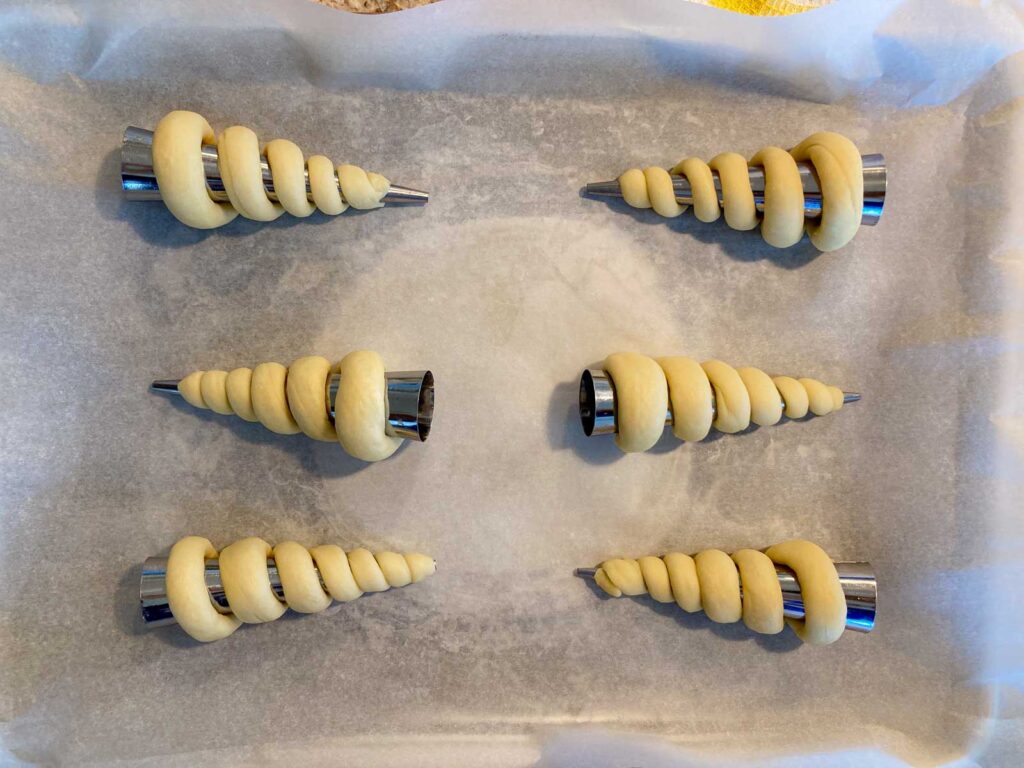
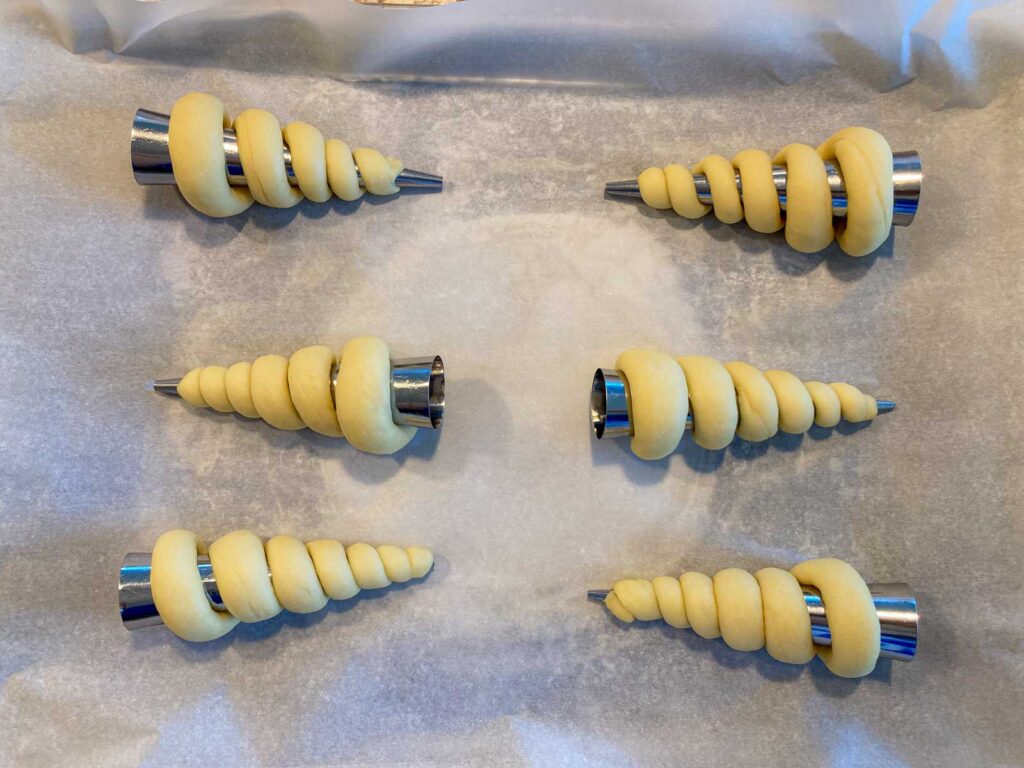
Place the cornets on a baking sheet with parchment paper, with the beginning of the roll facing down.
Cover with a kitchen cloth and let rise for 15-20 minutes until increased by 1.5 times.
6. Bake the Cornets
7. Fill the Cornets with the Delicious Custard!
💌If you created this recipe and liked it, please let me know by leaving a comment below or tagging me on Instagram (@giveme.umami). I'd love to see your creation!
Japanese Chocolate Cornet Bread
Ingredients
For the bread
- ½ cup whole milk
- 1 teaspoon instant dry yeast 4g
- 2 tablespoons unsalted butter 30g, at room temperature
- 2 ½ cups all-purpose flour 300g, protein content of around 11.7%, spooned and leveled (note 1)
- 2 ¼ teaspoons vital wheat flour 6.8g, if you use store-brand all-purpose flour (note 2)
- 3 tablespoons granulated sugar 36g
- ¾ teaspoons kosher salt 4.5g
- 1 large egg about 55g, at room temperature
- beaten egg yolk for egg wash
For the chocolate custard
- 1 cup whole milk
- 1.5 tablespoons corn starch
- 2 egg yolks
- 3 tablespoons granulated sugar
- 1 teaspoon cocoa powder
- ⅛ teaspoon kosher salt
- 3.6 ounces semi-sweet chocolate cacao 60% (note 3)
- ½ teaspoon vanilla essence
Instructions
Make the dough
- Prepare the Yeast: Measure ½ cup whole milk and pour it into a small bowl or mug. Sprinkle 1 teaspoon instant dry yeast evenly on top and let it sit for 2-3 minutes until the yeast becomes soft.
- Prepare the Butter: Cut 2 tablespoons unsalted butter into small cubes and set aside.
- Mix Dry Ingredients: In a stand mixer bowl, add 2 ½ cups all-purpose flour (and 2 ¼ teaspoons vital wheat flour if using), 3 tablespoons granulated sugar, and ¾ teaspoons kosher salt. Mix them with a spatula.
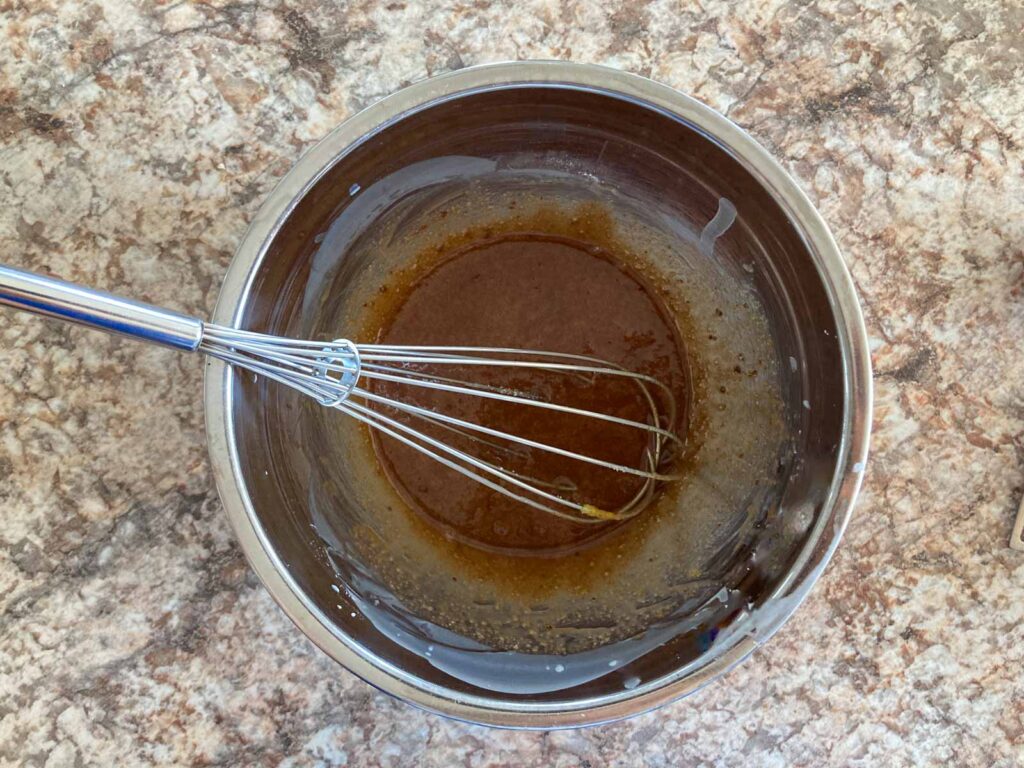
- Combine Wet Ingredients: Add the beaten 1 large egg and the milk and yeast mixture to the bowl. Whisk the milk and yeast mixture before adding it to the bowl.
- Initial Mixing: Turn the mixer on low and mix for about 1 minute, until the liquid is fully absorbed by the flour.
- Knead the Dough: Increase the mixer speed to medium-high and knead for about 2-3 minutes until the dough tightens and forms a smooth ball.
- Incorporate Butter: Reduce the mixer speed to low and add the butter. Knead for about 1 minute until all the butter is incorporated into the dough.
- Final Knead: Increase the mixer speed to medium-high again and knead for another 3-4 minutes until the surface becomes smooth. Perform the windowpane test (note 4) to ensure you can stretch the dough into a thin membrane.
- First Rise: Shape the dough into a ball and place it in a greased bowl. Cover with plastic wrap and let it rise for about 90-120 minutes, or until it has doubled in size (note 5). (Now is a great time to make the chocolate custard!)
- Check the Dough: Dip your finger in flour and poke the dough. If the hole doesn't close, it's ready. If it does, let the dough rise for a few more minutes. Punch down the dough to remove gas, then transfer it to a lightly floured surface.
- Divide the Dough: Divide the dough into 12 pieces (about 45g each) and shape them into small balls, making sure to seal the ends to prevent gas from escaping. Cover with plastic wrap or a kitchen towel and let them rest for about 5-10 minutes.
- Prepare Cornet Molds: Grease the cornet molds with oil, but be careful not to over-oil them. I always spread oil with kitchen paper.
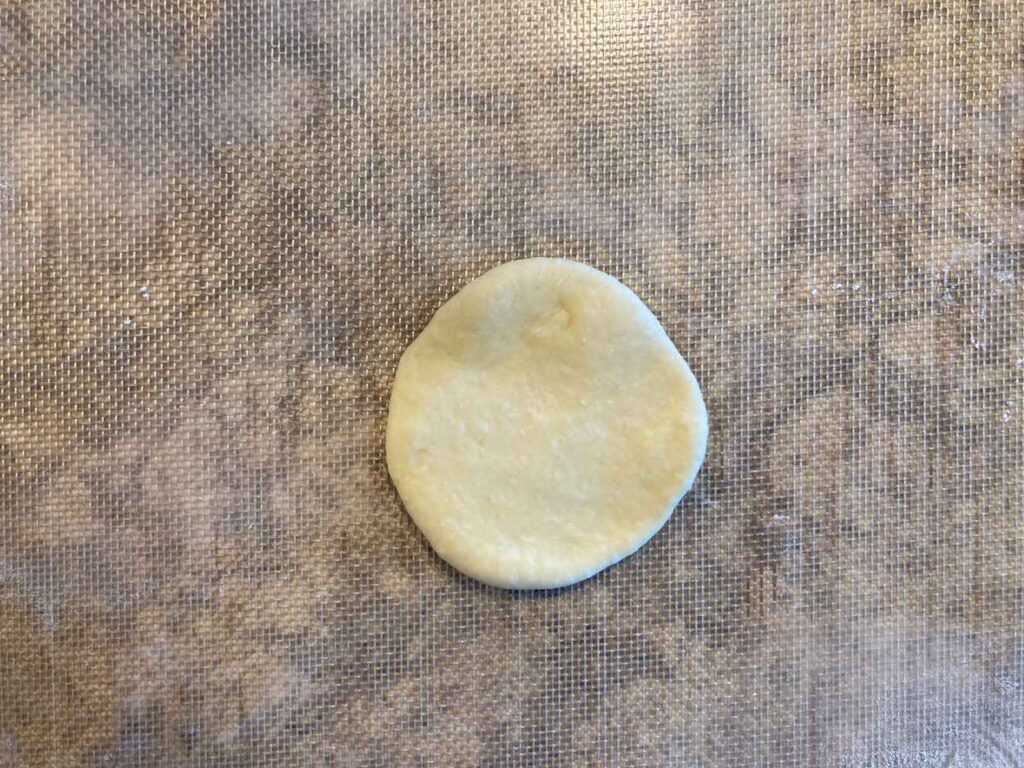
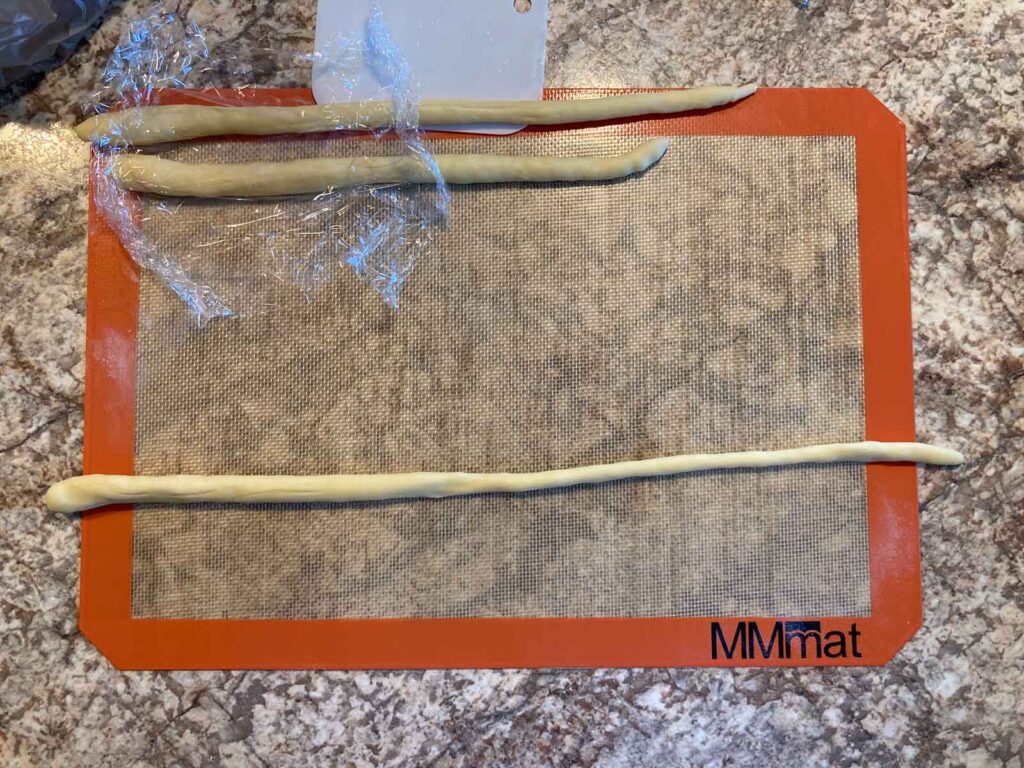
- Shape the Dough (note 6 ):1. Flatten each ball and fold the top and bottom to the center, then fold in half and seal well.2. First, using your dominant hand, stretch the dough into a slight cone shape.3. Then, using both hands, roll it into a 35-40 cm cone shape, making the side on your dominant hand thinner and thicker towards the other hand.Note:- Make sure not to let any dough dry out while shaping. Cover the balls with a kitchen towel when working on the others.- If the dough keeps shrinking, cover it with a kitchen towel and let it rest. You can work on another piece of dough in the meantime, then come back and start shaping it again.- Avoid stretching the dough too much. The key to forming the dough is to keep the heels of your hands and fingertips anchored on the bread mat or pastry board. Let your palms gently arch to cradle the dough, and stretch it from the center outwards, as if you’re pressing out any trapped air.
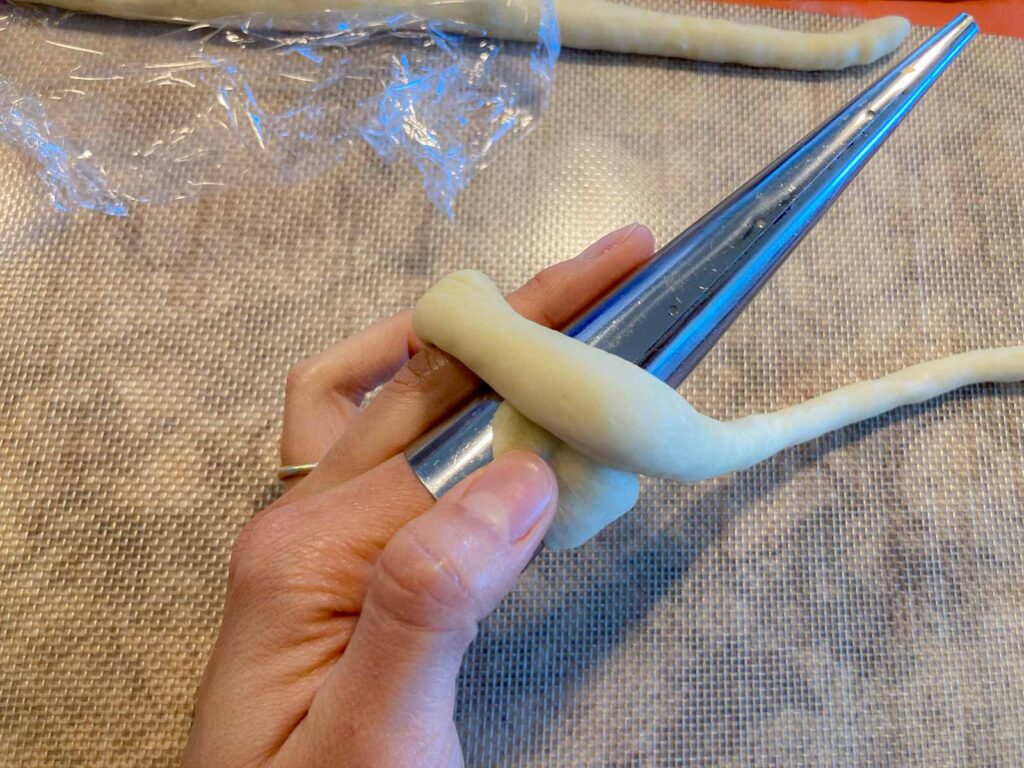
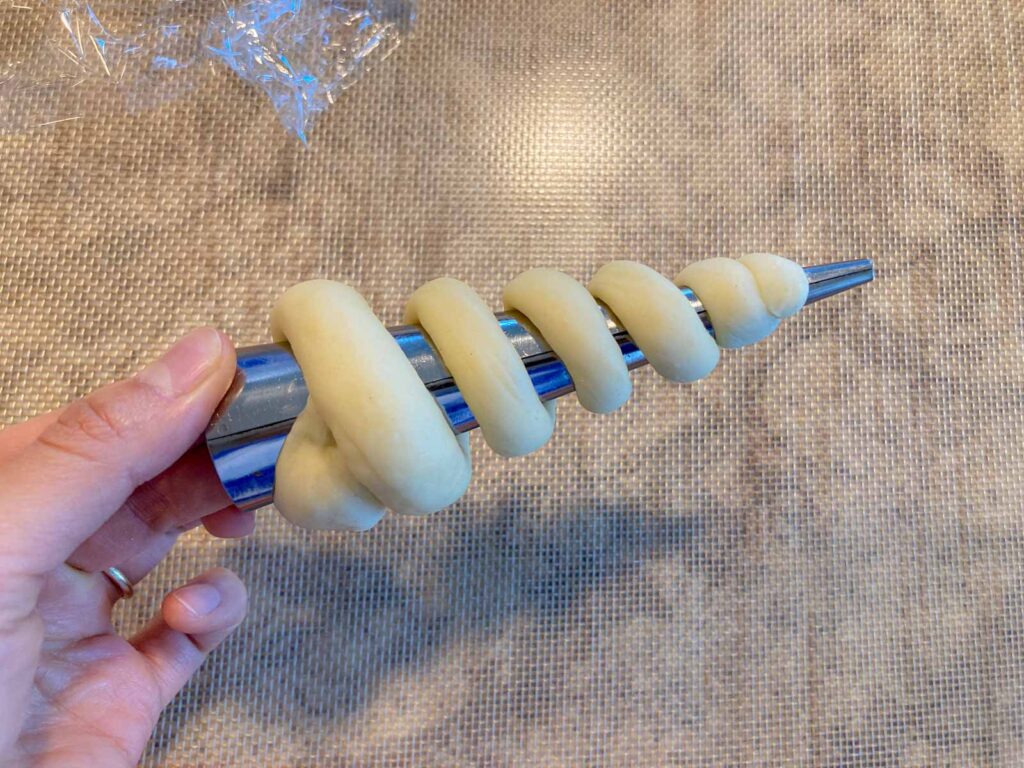
- Wrap the Dough: Hold the cornet mold and start wrapping it around the thick end. Let gravity do the work—don’t pull the dough. For the first turn, roll it slightly over the top, then keep wrapping the dough to the top leaving a small gap between. Pull the end of the roll a little and tuck it under the dough. You should be able to make 6-7 levels. Place the thick end of the roll on a baking sheet lined with parchment paper, with the beginning of the roll facing down.Note: Make sure to wrap the dough around the mold right after you roll out the dough to prevent it from shrinking.
- Second Rise: Cover with a kitchen cloth to prevent drying and let rise for 15-20 minutes until the size increases by 1.5 times.Note: To prevent the dough from over-proofing, I like to work with 6 dough balls at a time. For example, shape 6 cornets and let them rise, then work on the next 6. Once the first batch is ready, bake it while the second batch finishes rising. Then, bake the second batch after the first one is done.
- Preheat the Oven: Start preheating the oven to 400°F (200°C) while letting the dough rise.
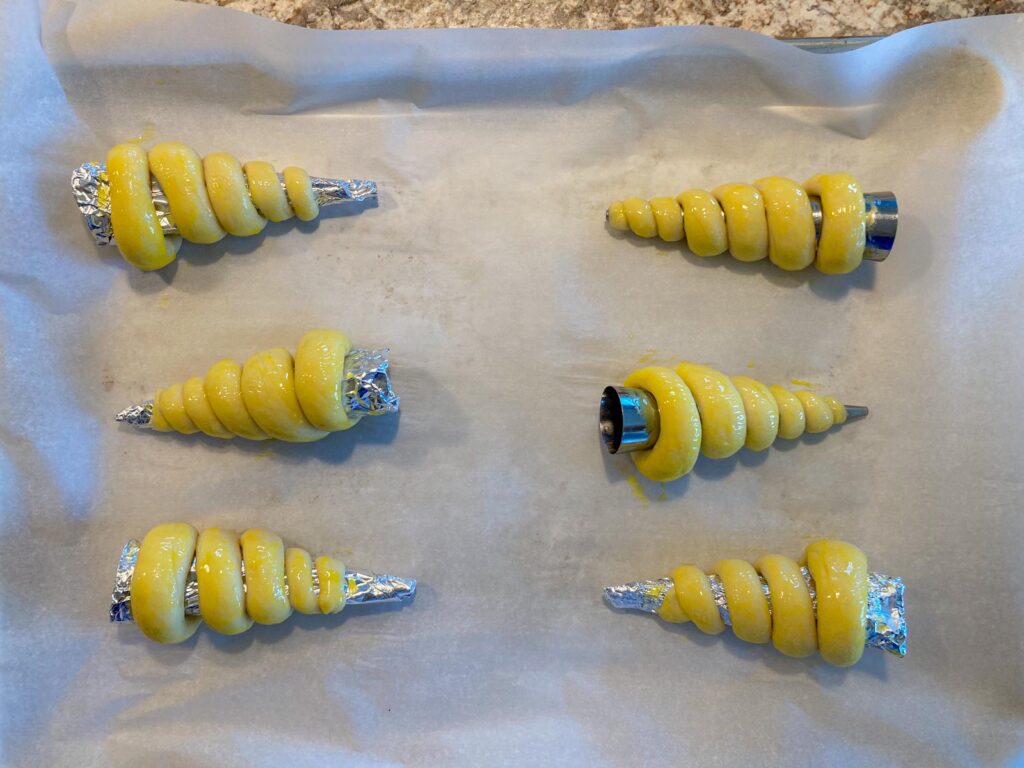
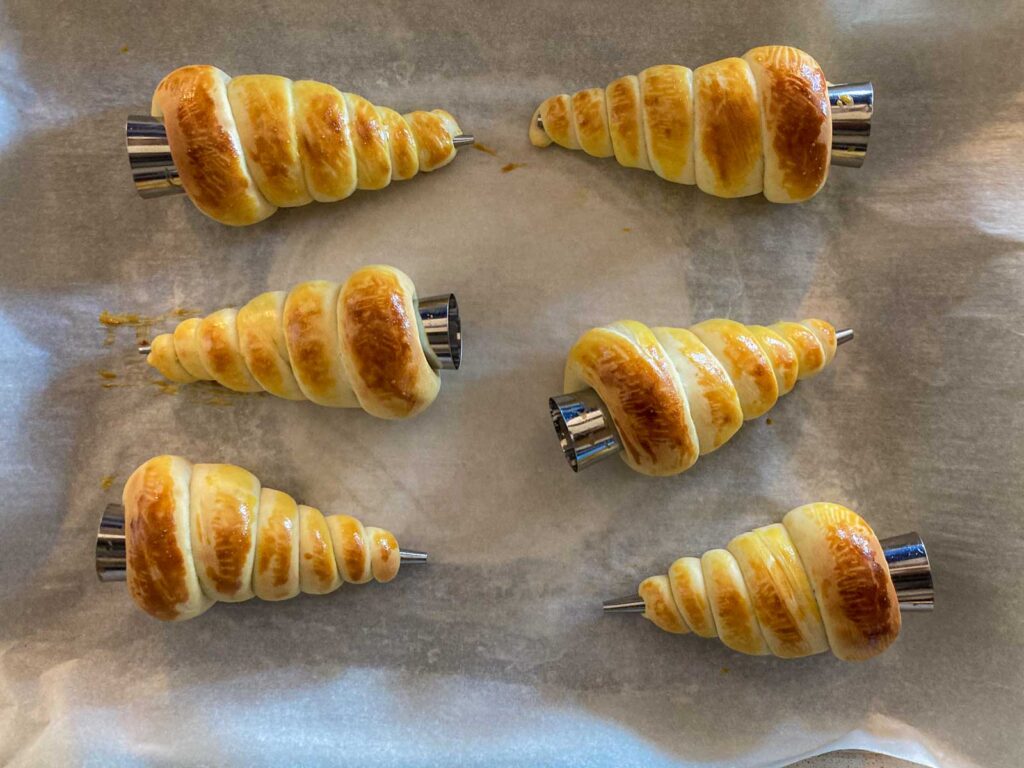
- Egg Wash and Bake: Brush the surface of the cornets with beaten egg yolk and bake for about 9-10 minutes, or until the surface is golden brown.
- Cool: Remove the bread from the molds while they’re hot and let them cool. To do this, hold the bread gently with one hand and twist the mold with the other (be sure to wear a glove).
Make the chocolate custard
- Mix Cornstarch and Milk: Measure 1 cup whole milk in a small pot. Put 1.5 tablespoons corn starch in a medium bowl. Take about 2 tablespoon of milk from the pot, pour it into the bowl, and mix the cornstarch and the milk well.
- Add the Rest of the Ingredients: Add 2 egg yolks and 3 tablespoons granulated sugar to the bowl. Whisk until the mixture is smooth. Add 1 teaspoon cocoa powder and ⅛ teaspoon kosher salt, mixing until fully combined.
- Heat the Milk: Heat the pot with milk over medium heat until it starts to boil. Once you see bubbles forming around the edges, turn off the heat.
- Combine Mixtures: Gradually add the warmed milk to the bowl, whisking continuously to combine.
- Pour the Mixture Back Into the Pot: Pour the mixture back into the pot through a strainer.
- Cook the Custard: Turn the heat to medium and stir with a spatula until the mixture becomes creamy and thickens. You should be able to draw a line and have it remain on the bottom of the pot when the custard is thick enough.
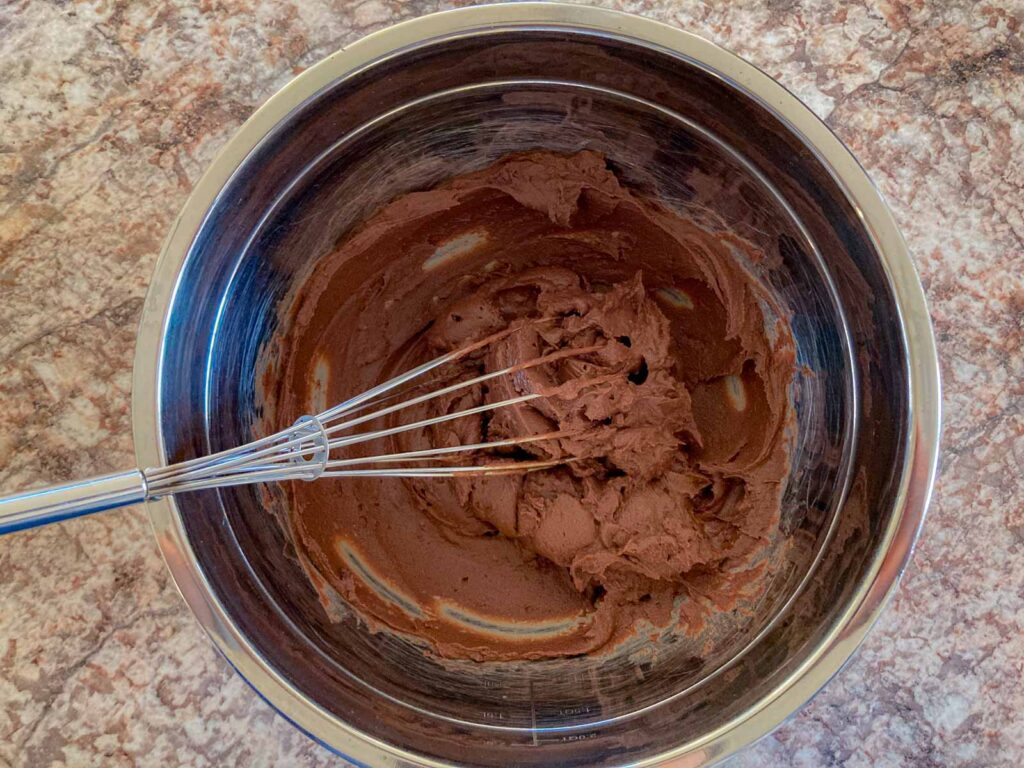
- Add Chocolate and Vanilla Essence: Turn off the heat and add 3.6 ounces semi-sweet chocolate, mixing well until it melts completely. Then, add ½ teaspoon vanilla essence and stir to combine.
- Cool the Custard: Transfer the custard to a metal bowl or food tray. Cover the entire surface with plastic wrap, pressing it directly against the custard to eliminate any gaps. Place the bowl in the fridge and let it cool completely for about 30 minutes.
Assemble the cornets
- Fluff the Custard: Remove the chocolate custard from the fridge and fluff it with a whisk or fork.
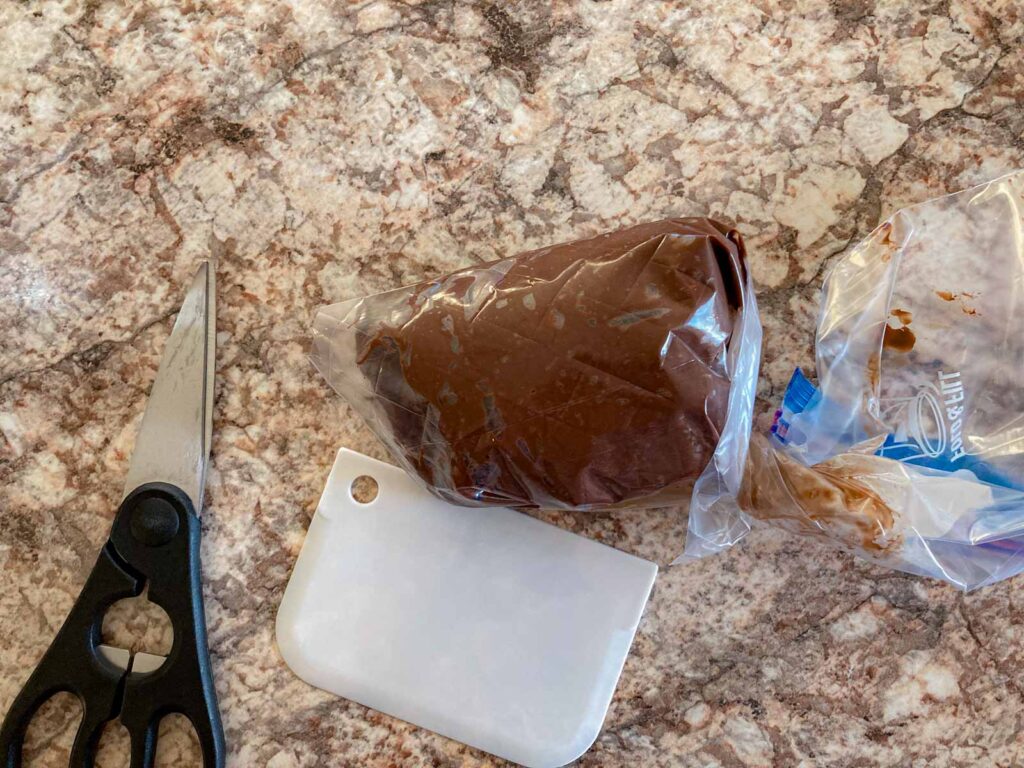
- Prepare the Piping Bag: Transfer the custard into a piping bag or a plastic bag (like a Ziploc). Cut the tip of the bag to create an opening for the custard to flow out. Leave it at room temperature for a couple of minutes if the custard is hard.
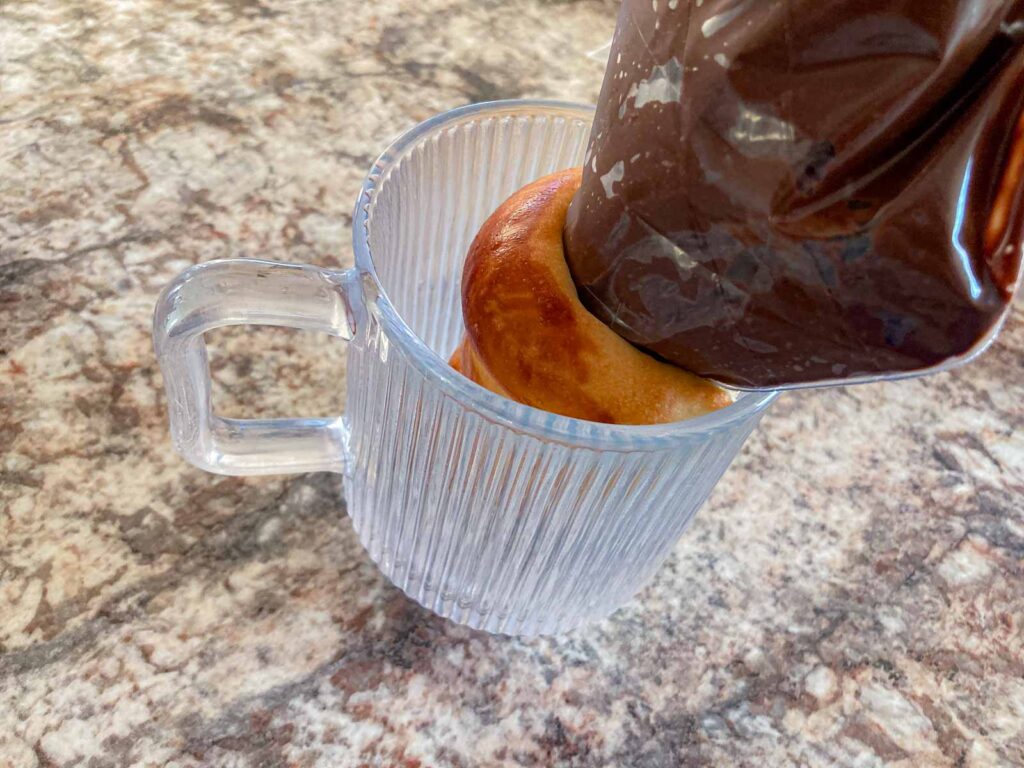
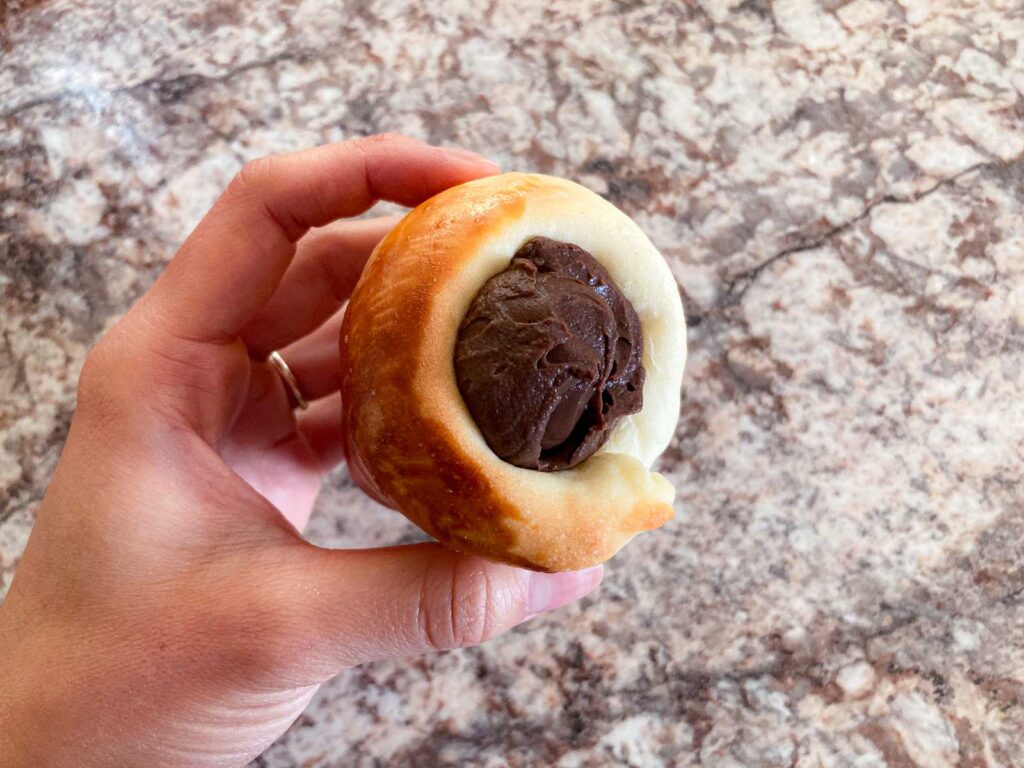
- Fill the Cornets: Once the cornets have cooled, fill them with the custard. To do this, place the piping bag inside the cornet, then gently pull the piping bag upwards while squeezing the custard out.
Notes
🗄️Storage Tips
Recommended Storage Instruction
For the best results, store the cornets (without cream) at room temperature and the custard in the fridge. Fill the cornets with custard just before serving for optimal freshness and texture.
Detailed Storage Instruction
Cornets (Without Cream)
Wrap each cornet in plastic wrap and place them in an airtight container or bag.
- At Room Temperature: Store for up to 1–2 days.
- In the Freezer: Store for up to 2–3 weeks.
- To defrost: Transfer frozen cornets to the fridge a day before serving or leave them at room temperature for about 3 hours.
Chocolate Custard
Transfer the custard to an airtight container or bag. Ensure it is tightly wrapped or covered with no gaps to prevent drying out.
- In the Fridge: Store for up to 2 days.
- In the Freezer: Store for up to 3 months.
- To Reheat: Thaw at room temperature, then heat on low in a heavy-based saucepan, whisking frequently to prevent sticking. Add 15ml (1 Tbsp) of warm milk per 200g of custard, stir for 2 minutes, and remove from heat before it boils (refer to Can You Freeze Custard by FREEZE IT).
Assembled Chocolate Cornets (with Custard)
- In the Fridge: Wrap each one in plastic wrap and place it in a plastic bag. Store for up to 1–2 days.
🍴How to Eat a Chocolate Cornet
This is a big debate among chocolate cornet fans!
I love tearing off the sharp end of the dough and dipping it into the custard on top, but some people prefer to eat from the wider side.
There’s no right or wrong way to enjoy them, so feel free to indulge however you like! 🙂


Comments
No Comments