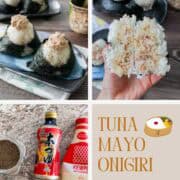
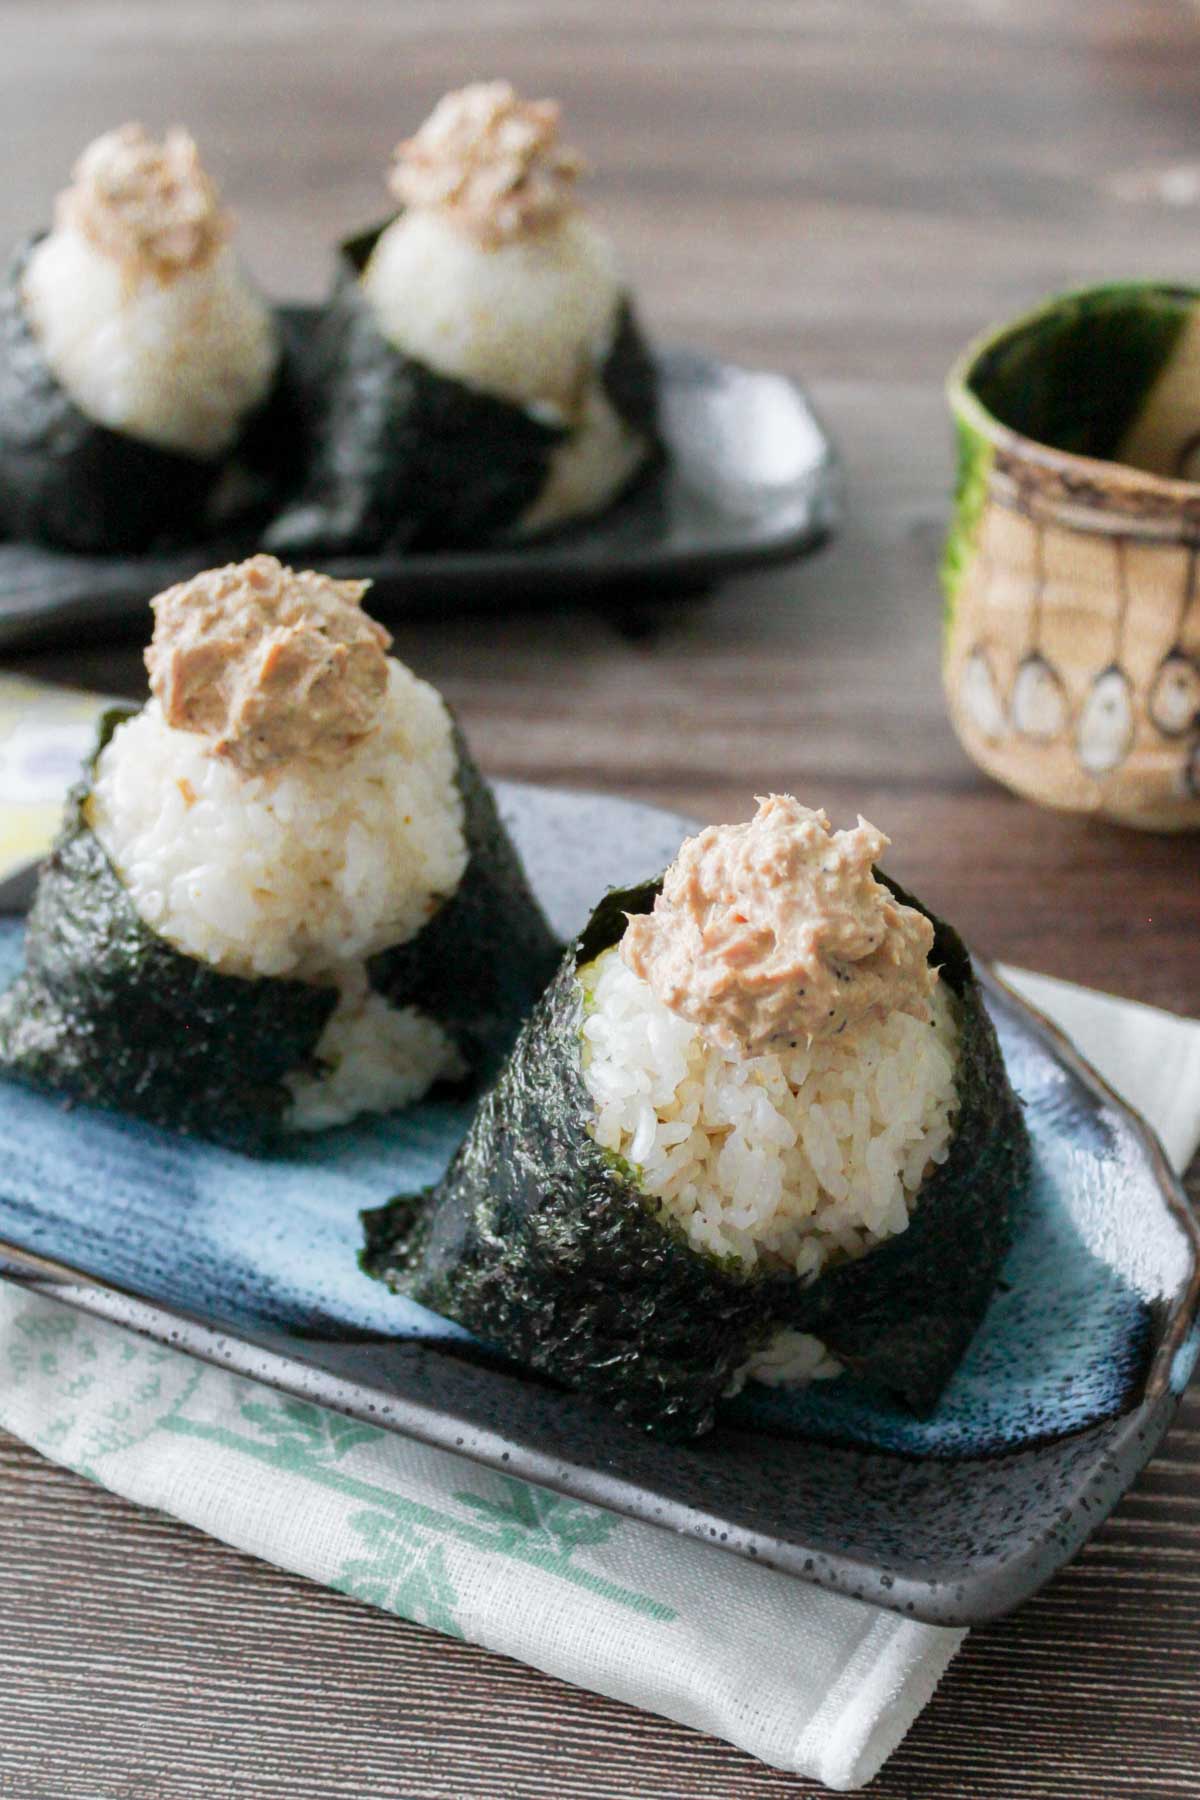
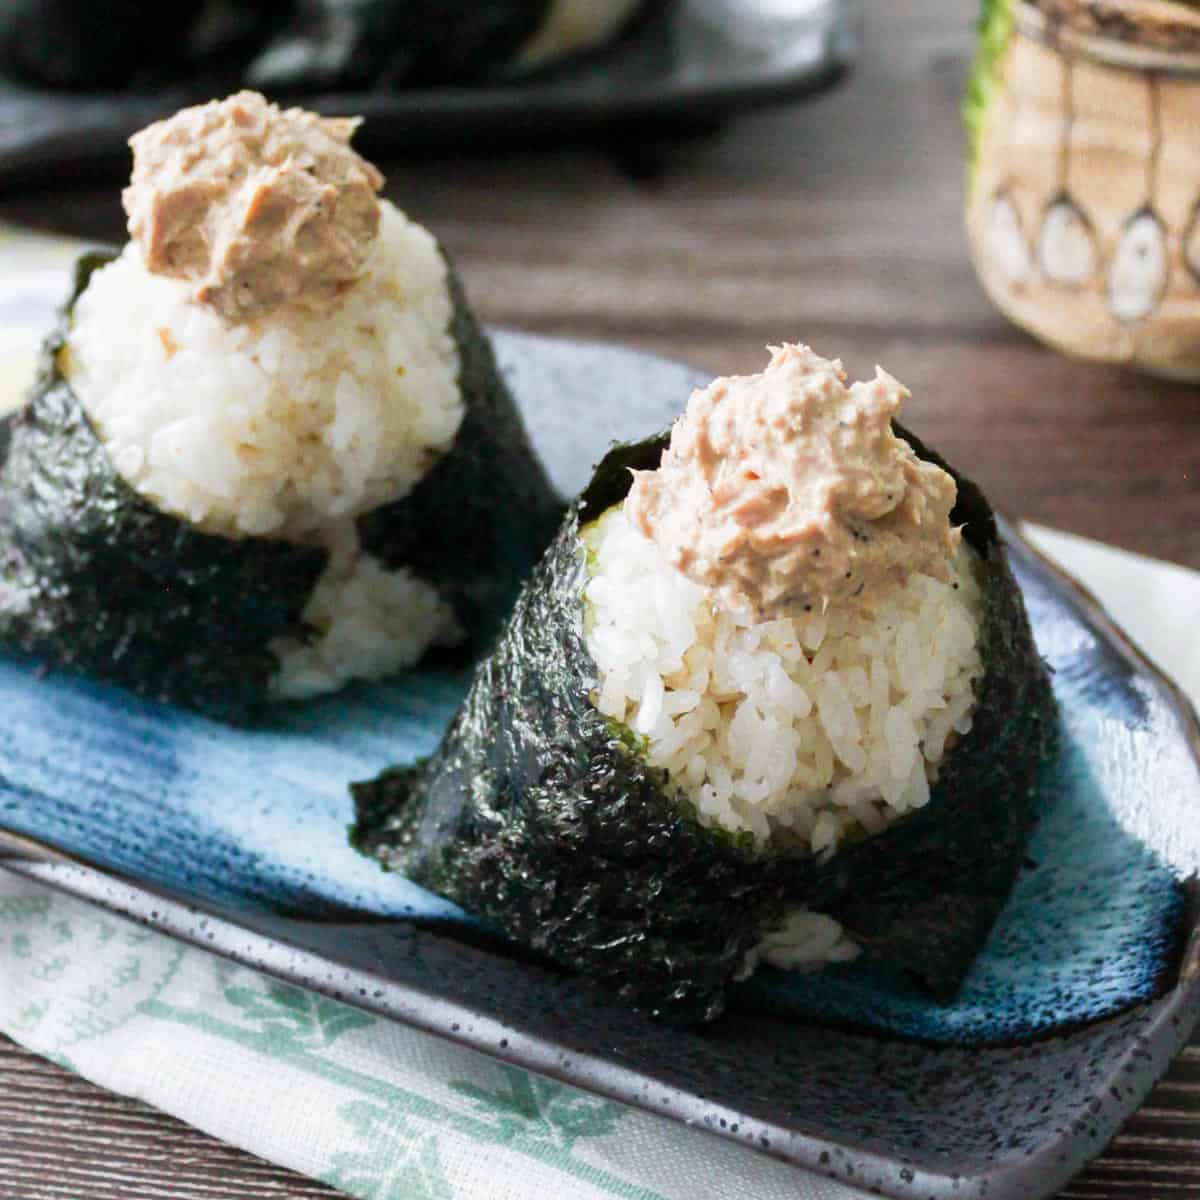
Bring a touch of 7-Eleven Japan into your home! This tuna mayo onigiri has a perfect tuna-mayo balance, with mentsuyu adding rich flavor to this simple rice ball.
If you’ve been to Japan, you’ve probably had 7-Eleven’s tuna mayo onigiri—my husband grabs one (or more) every time!
I recreated that flavor at home using a few key ingredients—creamy Kewpie mayo and dashi-infused rice.
Try it with miso soup and/or nikujaga (Japanese meat and potato stew) for an onigiri teishoku (set meal), or mix things up with spam musubi!
Why You'll Love This Recipe
- Simple Ingredients, Big Flavor: You only need a handful of ingredients to make umami-packed tuna mayo onigiri! Mixing mentsuyu into both the rice and tuna creates the perfect balance with the rich, creamy mayo—making this onigiri seriously addictive!
- A Taste of Japan at Home: My husband, a huge fan of 7-Eleven’s tuna mayo onigiri, says this recipe tastes just like theirs (or even better!). So now, you can enjoy that same flavor without leaving home! 🙂
Notes on Ingredients
See the recipe card for the full ingredients list.
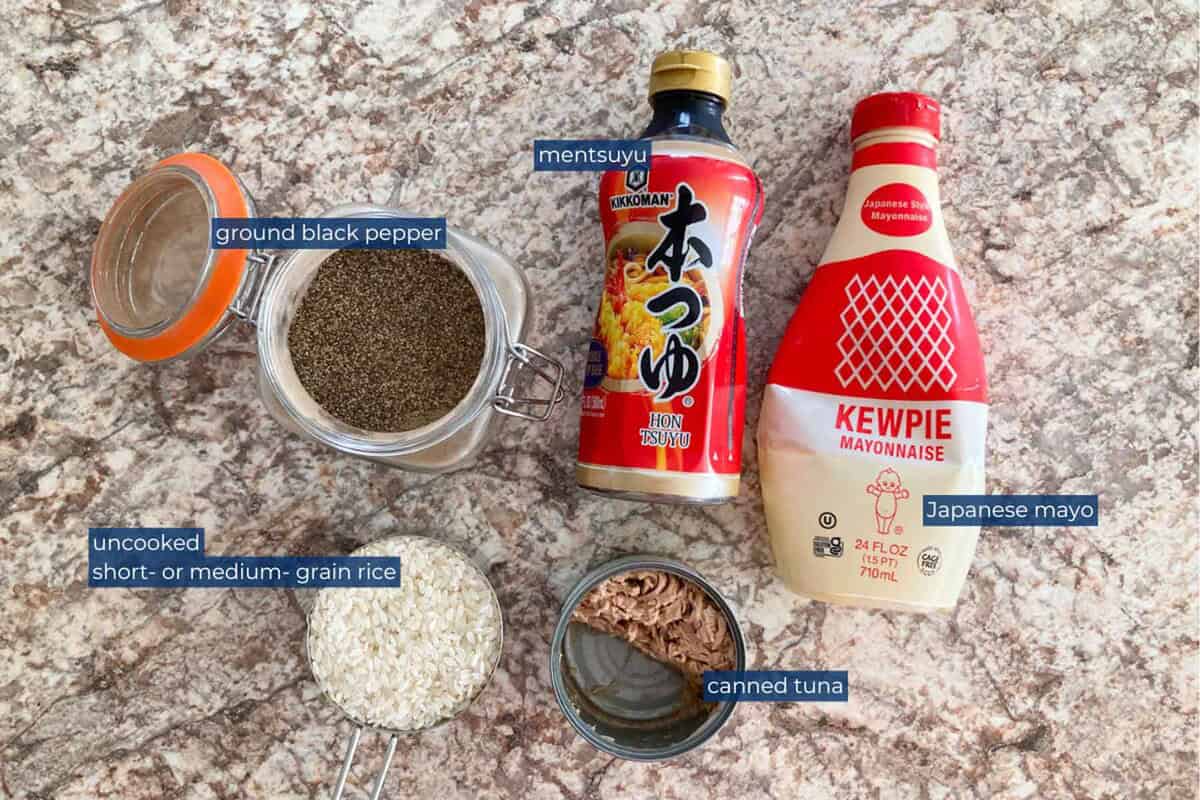
- Japanese rice: Use short-grain or medium-grain rice for onigiri (also known as sushi rice). You can use brown rice if you want, but it might be harder to shape the onigiri because brown rice is less sticky than white rice. Avoid other types of rice, such as Jasmine.
- Japanese mayonnaise: Japanese mayonnaise is richer and creamier than American mayonnaise, creating a deliciously creamy filling that everyone loves. You can find Japanese mayonnaise at your grocery store, online, or at Costco.
- Canned tuna: I used tuna packed in water, but you can use the one in oil too—it actually tastes better! (I always use the one in water, and it still tastes amazing.)
- Mentsuyu: This concentrated Japanese noodle soup base adds umami, sweetness, and saltiness all at once, creating deep, rich flavors. I used Kikkoman Hontsuyu, which is 4x concentrated. If you're using a 3x concentrated version, just increase the amount from 1 teaspoon to 1 ⅓ teaspoons.
Variations
- Spicy tuna mayo onigiri: Add your favorite hot sauce or chili paste to the tuna mayo. I usually go with about 1 teaspoon of sriracha for every 4 servings.
How to Make Tuna Mayo Onigiri
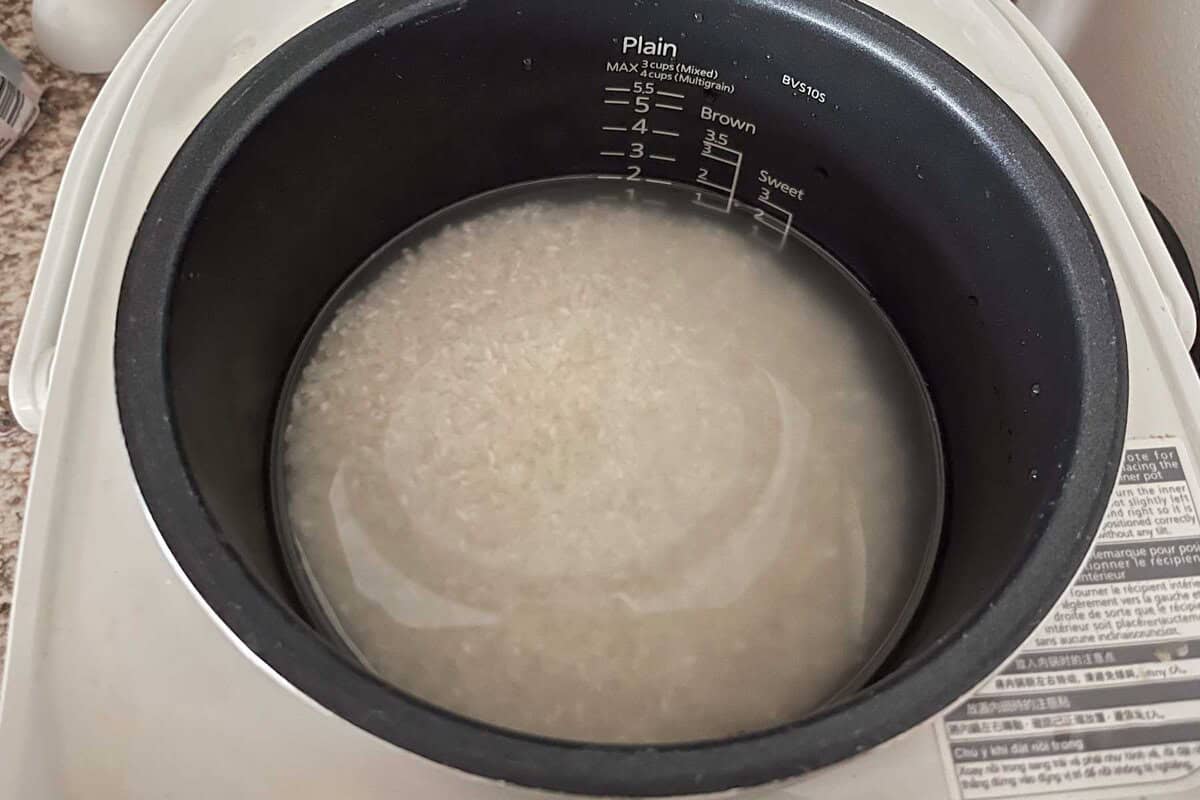
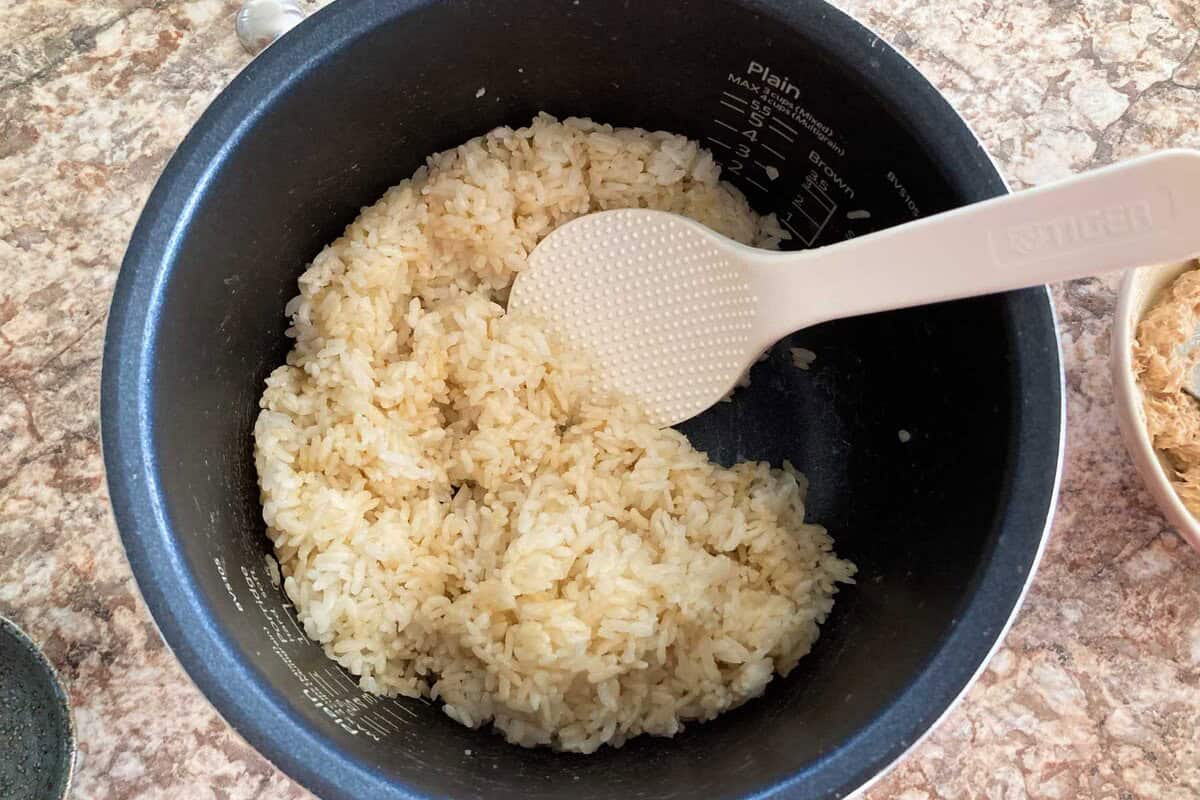
Step 1: Rinse, soak, and cook the rice
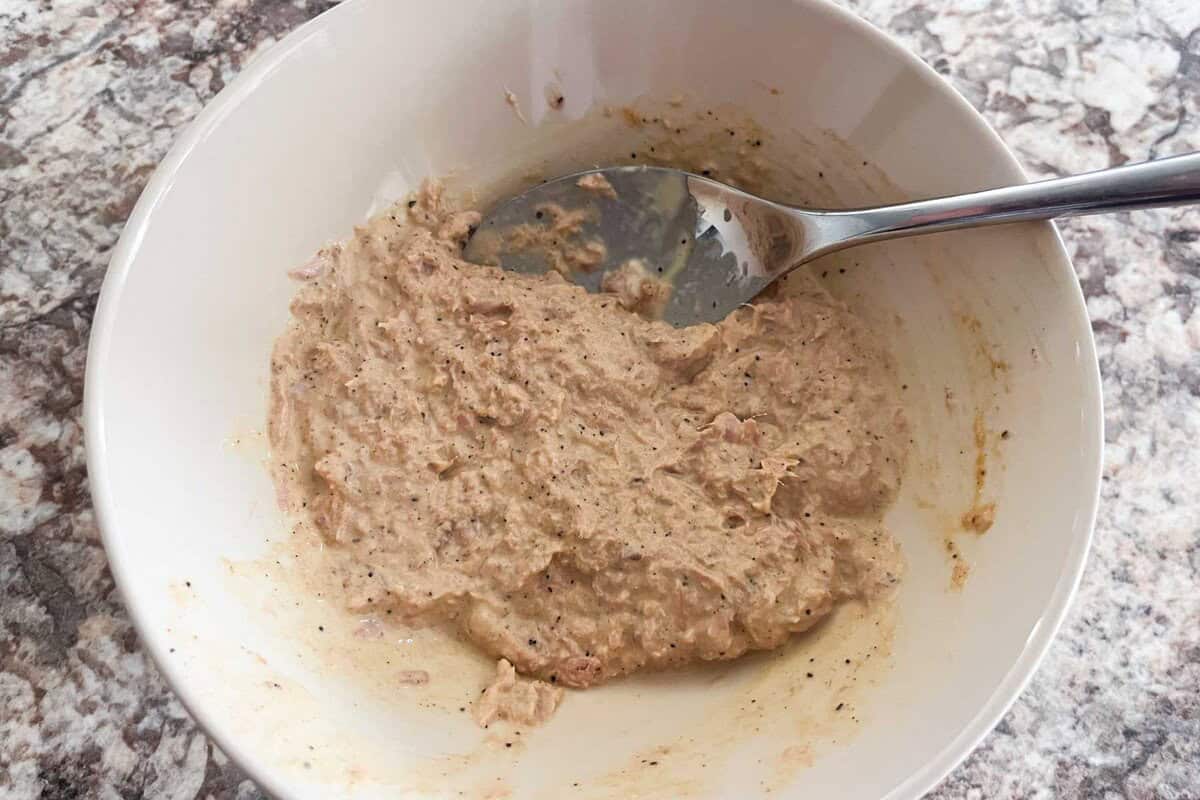
Step 2: In a small bowl, mix all the tuna mayo ingredients
Step 3: Stir the mentsuyu into the warm rice
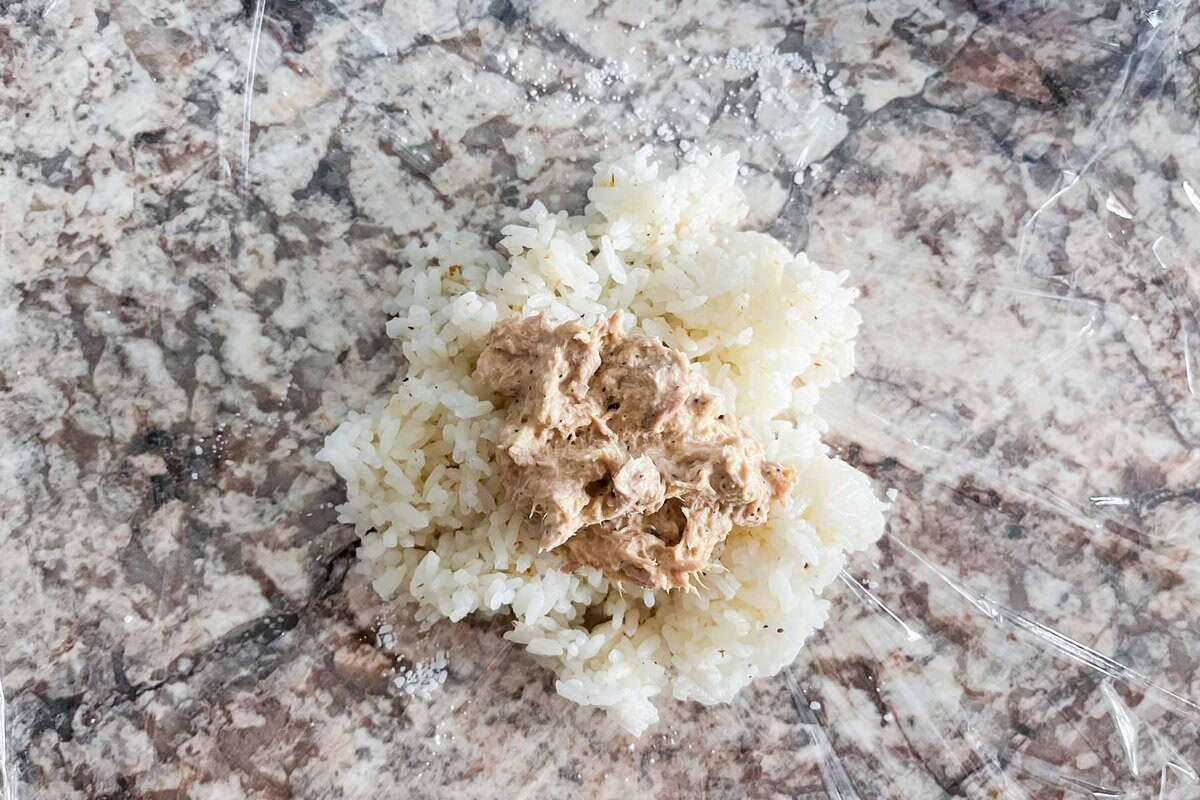
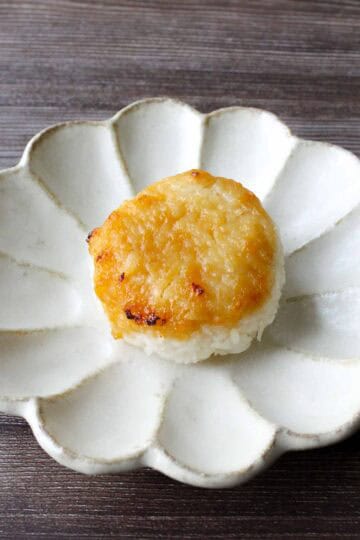
Step 4: Place half the rice for one onigiri on some plastic wrap or directly in your hand, then add a scoop of tuna mayo on top
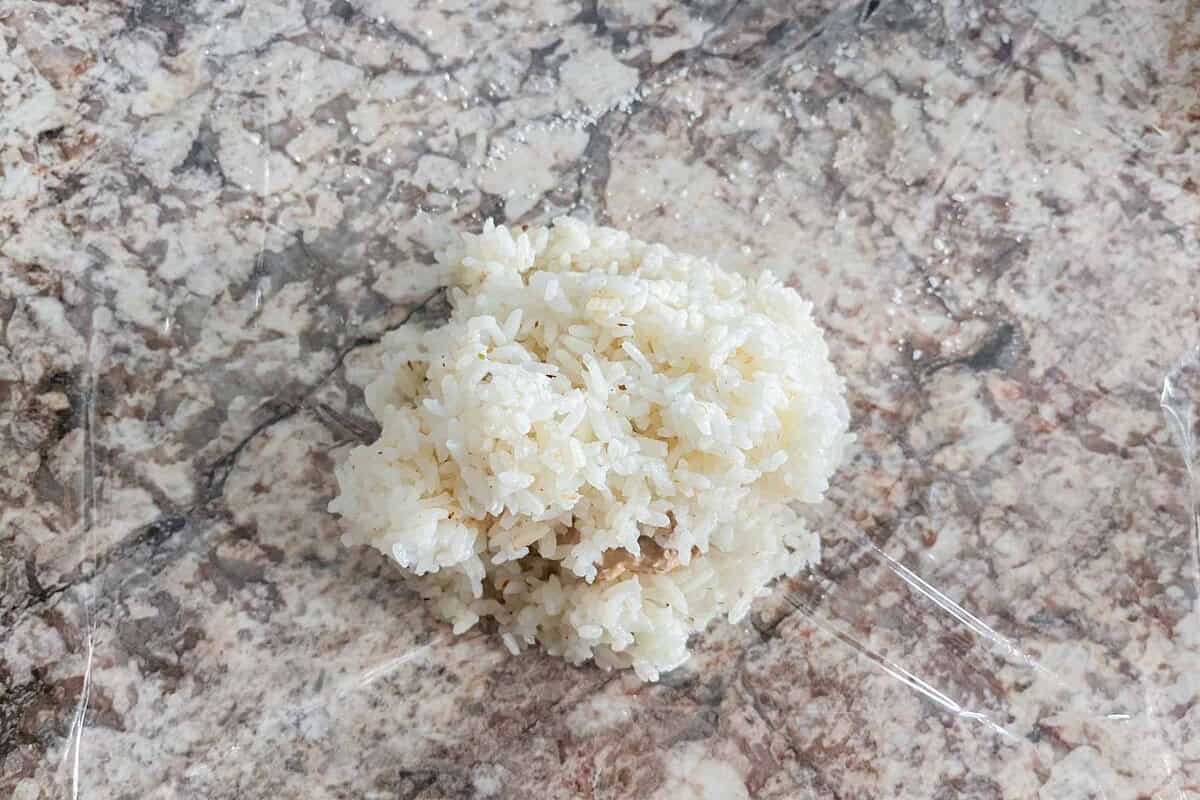
Step 5: Cover it with the rest of the rice
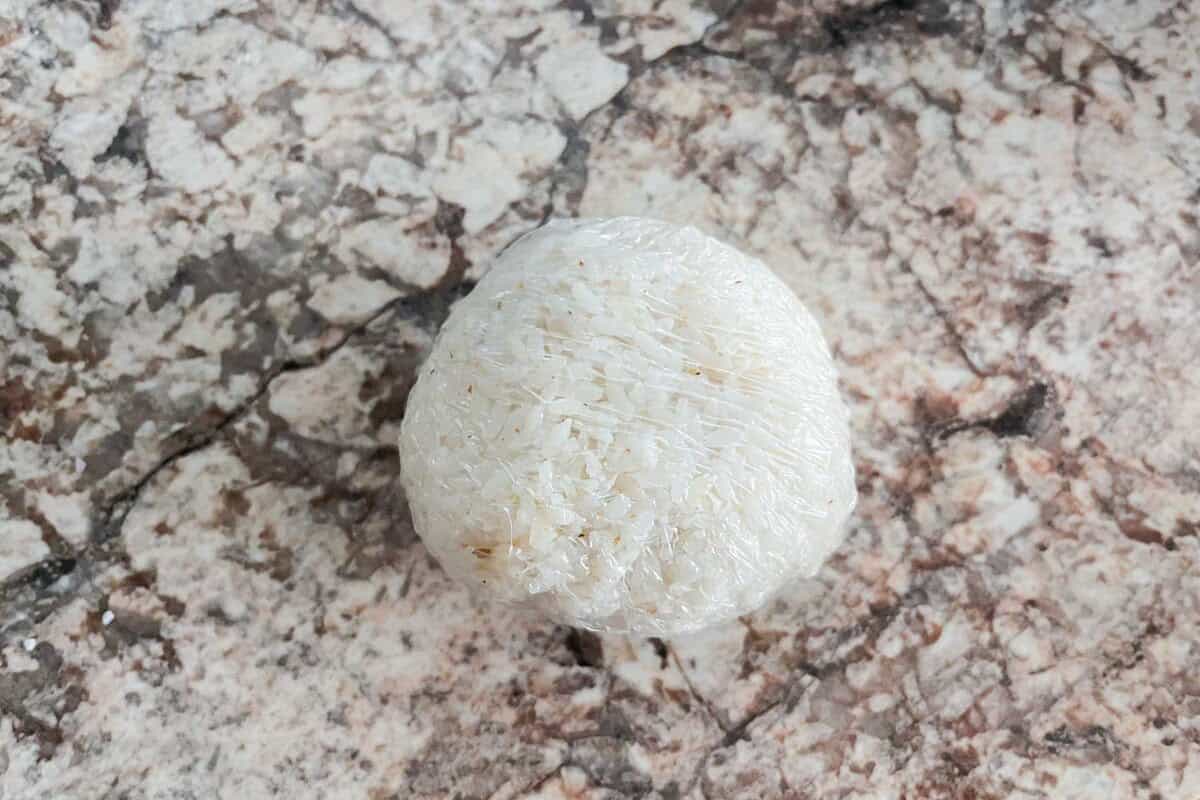
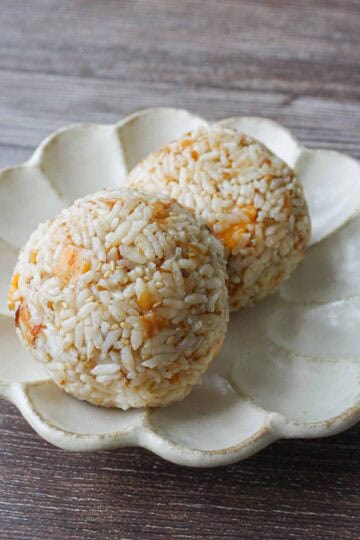
Step 6: Wrap it up and start shaping it into a ball
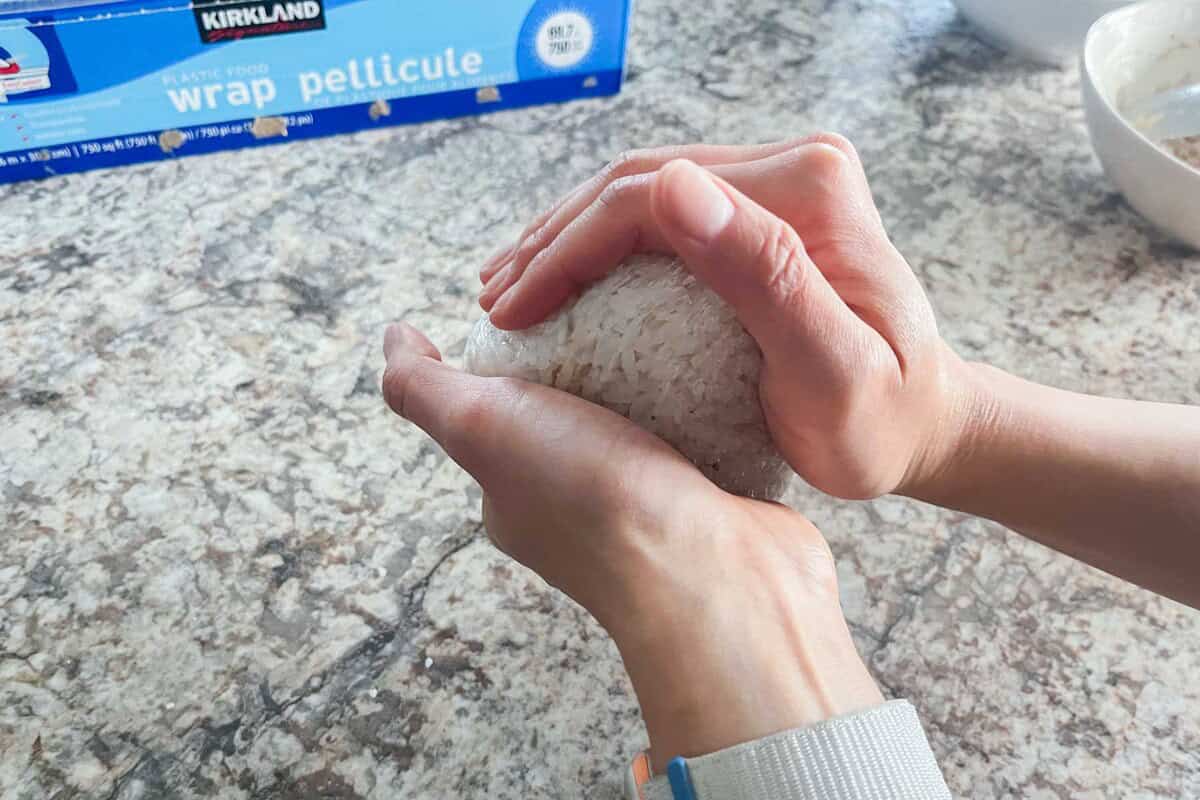
Step 7: To make the triangle, use your bottom hand to form the base while your top hand shapes the tip. Keep the bottom hand steady and gently turn the rice with your top hand, pressing lightly to form a triangle in about 3 to 5 turns
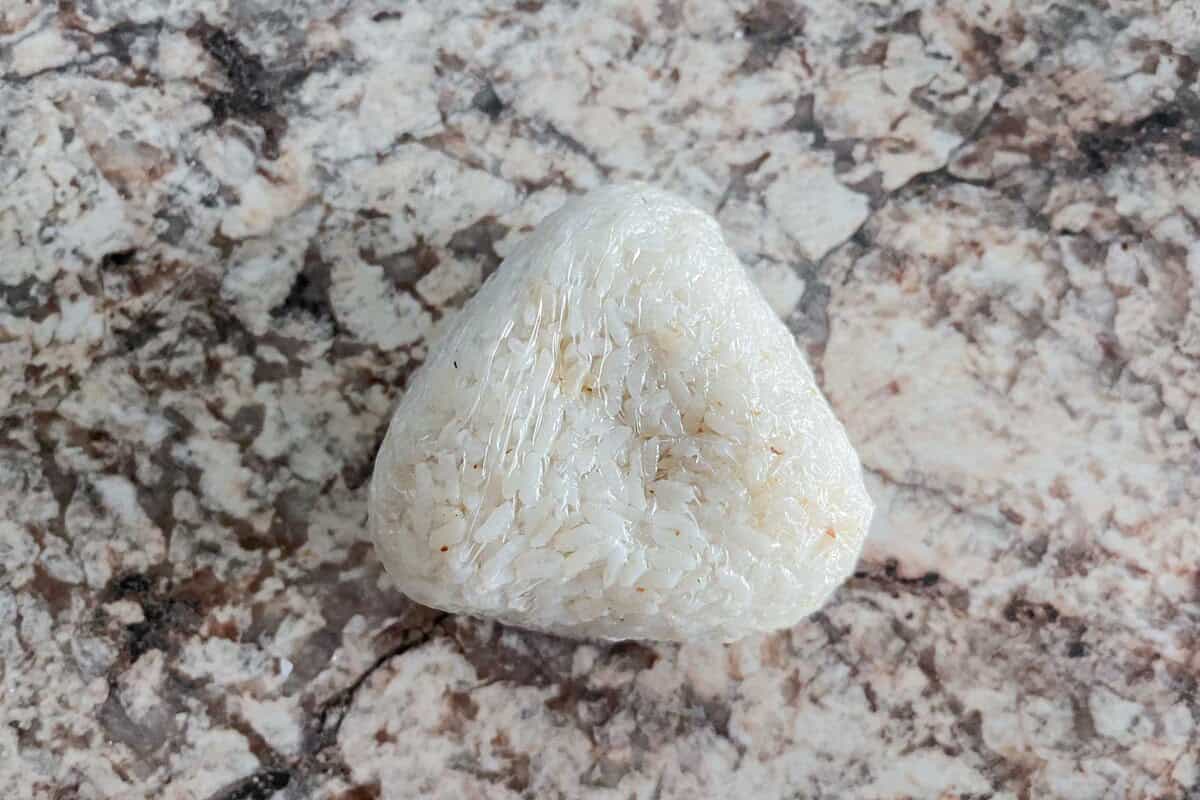
Step 8: Ta-da! You've got yourself an onigiri
Kurumi's Tips
- Choose the Right Rice: For the best results, use Japanese short-grain rice like Koshihikari, but medium-grain options like Nishiki or Botan work well too. Avoid using other types of rice, like Jasmine.
- Use Fresh, Warm Rice: Cooked rice dries out over time, so try to use freshly cooked rice when possible. Leftover rice is fine as long as it’s not too dry. Just make sure the rice is warm so it sticks together properly.
- Drain The Tuna Well: Squeeze out as much moisture as possible from the canned tuna to keep your onigiri from getting soggy.
- Don’t Squish the Rice!: It’s so important to keep the individual rice grains intact for light, airy onigiri. That’s why I don’t recommend the typical onigiri molds you see on the market—they often pack the rice too tightly. When shaping, press just firmly enough to hold the rice together without crushing it. It takes practice (I still make some too firm or too soft!), but you’ll get the hang of it!
- Wrap Nori Right Before Serving: Nori softens quickly once wrapped around onigiri, so if you love that crisp texture, wait until just before serving to wrap it.
- Onigiri Mold: If you're using an onigiri mold, choose one that shapes the rice without squishing it too much. The TIKUSAN Onigiri Mold Musubi Maker is a great option—it’s easy to use and keeps your rice light and fluffy!
What to Serve with Tuna Mayo Onigiri
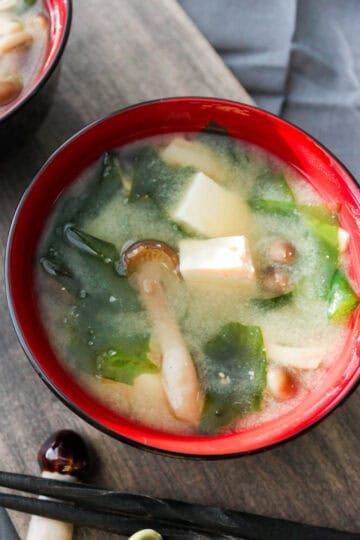
Serve tuna mayo onigiri with miso soup and a few simple sides for a delicious onigiri teishoku! It’s also perfect for bento, or just enjoy it on its own as a healthy snack.
(Teishoku is a Japanese set meal that typically includes rice, soup, a main dish, and side dishes, making it a balanced and satisfying option.)

Storage & Reheating Instructions
Tuna mayo onigiri is best enjoyed the same day since the texture and flavor change after being stored in the fridge or freezer.
- To store: Wrap leftovers in plastic wrap, place them in an airtight bag or container, and keep them in the fridge for 1–2 days or in the freezer for up to 2 weeks. Be sure to drain the tuna well to prevent soggy onigiri.
- To reheat: Let it come to room temperature or microwave until slightly warm before eating.
FAQs
Onigiri is a classic Japanese rice ball, usually made with white rice and filled with all sorts of delicious ingredients like salmon, tuna, kombu, or ume (pickled plum).
Onigiri makes an awesome lunch (especially bento)! If you fill it with something protein-packed, you’ve got a balanced meal with both carbs and protein.
Tuna Mayo (short for “tuna” and “mayonnaise”) is a super popular filling in Japan. It's as simple as it sounds, but oh-so-delicious!
Simply add your favorite hot sauce or chili paste to the tuna mayo. I like to add 1 teaspoon of sriracha per 4 servings of tuna mayo.
I recommend making the onigiri on the day you plan to pack it for lunch, as storing them in the fridge makes the rice hard and dry. That said, you can make the onigiri the night before and pack it for lunch! Keep them cool with ice packs and consume them within 6 hours.
I serve onigiri at room temperature. If you’ve stored the onigiri in the fridge, leave it out until it returns to room temperature or microwave it a little bit before eating.
Nori seaweed gets soggy due to the moisture from the rice. To keep it crispy, wrap the onigiri with nori right before eating.
Japanese short- or medium-grain rice (also known as sushi rice) is perfect for onigiri because it’s stickier than other types of rice, like basmati. You can use brown rice too, but it might be harder to shape because it’s less sticky than white rice.
More Japanese Side Dish Recipes
Looking for other recipes like this? Try these:
💌 If you tried this recipe and liked it, I’d love to hear from you! Leave a comment and review below, or send a photo of your dish to my email. I’d be so happy to see your creation!
📖Recipe
Japanese Tuna Mayo Onigiri Rice Ball (with Spicy Option)
Ingredients
Method
- Rinse the Rice: Start by rinsing 1 cup uncooked Japanese short-grain white rice about three times until the water runs clear.
- Cook the rice:- Rice Cooker/Slow Cooker: Add the rinsed rice and 1 cup + 2 tablespoons water. Soak for at least 30 minutes, then cook as usual.- Stovetop: Add the rinsed rice and 1 cup + 2 tablespoons water to a pot. Soak for 30 minutes, then cover and heat on medium until it boils. Lower the heat and simmer for 15 minutes. Turn off the heat and let it steam, covered, for 10 minutes. Don’t lift the lid during this step—you want to keep all the heat and steam in!
- Make the tuna mayo: Mealwhile, drain 2.5 ounces canned tuna well (see Note 3). Mix it with 2 tablespoons Japanese mayonnaise, 1 teaspoon mentsuyu, and ⅛ teaspoon ground black pepper until it’s creamy.
- Season the rice: Once the rice is done, fluff it with a rice paddle to let out the extra steam, then mix in 1 teaspoon mentsuyu while it’s still warm.
- Shape the onigiri: You can shape your onigiri with either your hands or plastic wrap—whichever works best for you!If you're using your hands, wet them, sprinkle a tiny pinch of salt, and rub your palms together to dissolve the salt. If using plastic wrap, sprinkle the salt directly onto it.Next, divide the rice and tuna mayo into portions. For each onigiri, place half of the rice in your hand or on the plastic wrap, add the tuna mayo filling, then cover it with the remaining rice. If using plastic wrap, sprinkle another tiny pinch of salt on top. Press and turn to shape it into a triangle (see Note 4).
- Enjoy: Wrap with nori before serving if you like, and enjoy!
Notes
- (Note 1-1) Using Leftover Rice: If you already have cooked rice, you’ll need about 3 cups (455g) for four onigiri. Simply microwave the rice to warm it up. However, I recommend using freshly cooked rice for the best results.
- (Note 1-2) Types of Rice: For the best results, use Japanese short-grain rice like Koshihikari, but medium-grain options like Nishiki or Botan work well too. Avoid using other types of rice, like Jasmine.
- (Note 2) Mentsuyu: This Japanese noodle soup base adds umami, sweetness, and saltiness in one go. I used Kikkoman Hontsuyu (4x concentrated), but for 3x, use 1 ⅓ teaspoons instead of 1 teaspoon.
- (Note 3) Drain The Tuna Well: Squeeze out as much moisture as possible from the canned tuna to keep your onigiri from getting soggy.
- (Note 4-1) Shaping Onigiri: When shaping your onigiri, try not to press the rice too hard. You want it firm enough to hold its triangle shape, but soft enough to fall apart when you eat it. That’s why I recommend skipping the onigiri molds that make you press the rice down. For more shaping tips, check out the step-by-step instructions.
- (Note 4-2) Onigiri Mold: If you really want to use an onigiri mold, look for one that doesn’t press the rice too hard—too much pressure can make the onigiri dense. Instead, choose a mold that lets you shape the rice gently with a rice paddle. The TIKUSAN Onigiri Mold Musubi Maker is a great option!
📌Pin This Recipe For Later!

Kurumi says
I don’t think we’ll be able to go back to Japan this year, but… I’m feeling more okay about it thanks to this amazing tuna mayo onigiri recipe! It’s super easy to make with just a few ingredients, and both my husband and I are obsessed with it. It definitely helps me feel a little less homesick… and I hope it brings a little taste of Japan to you too 🙂