
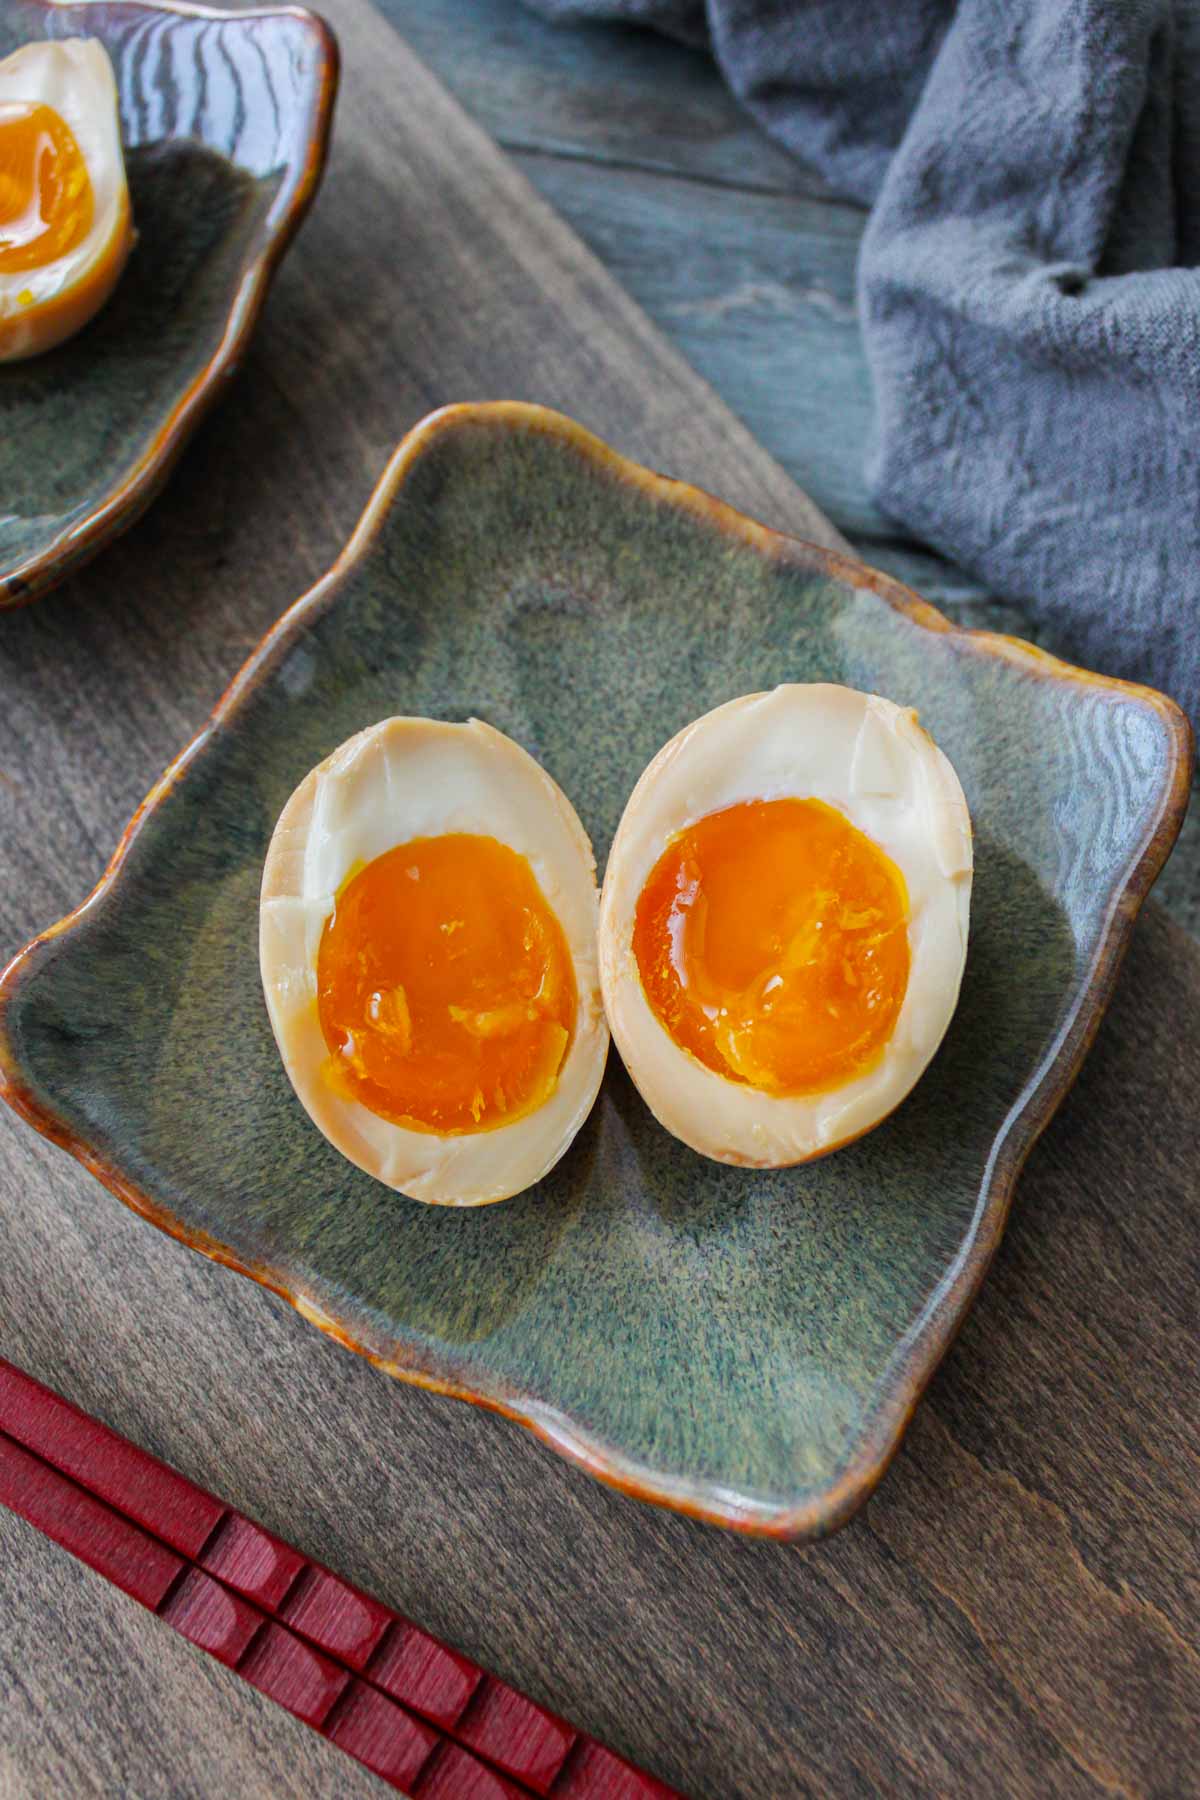
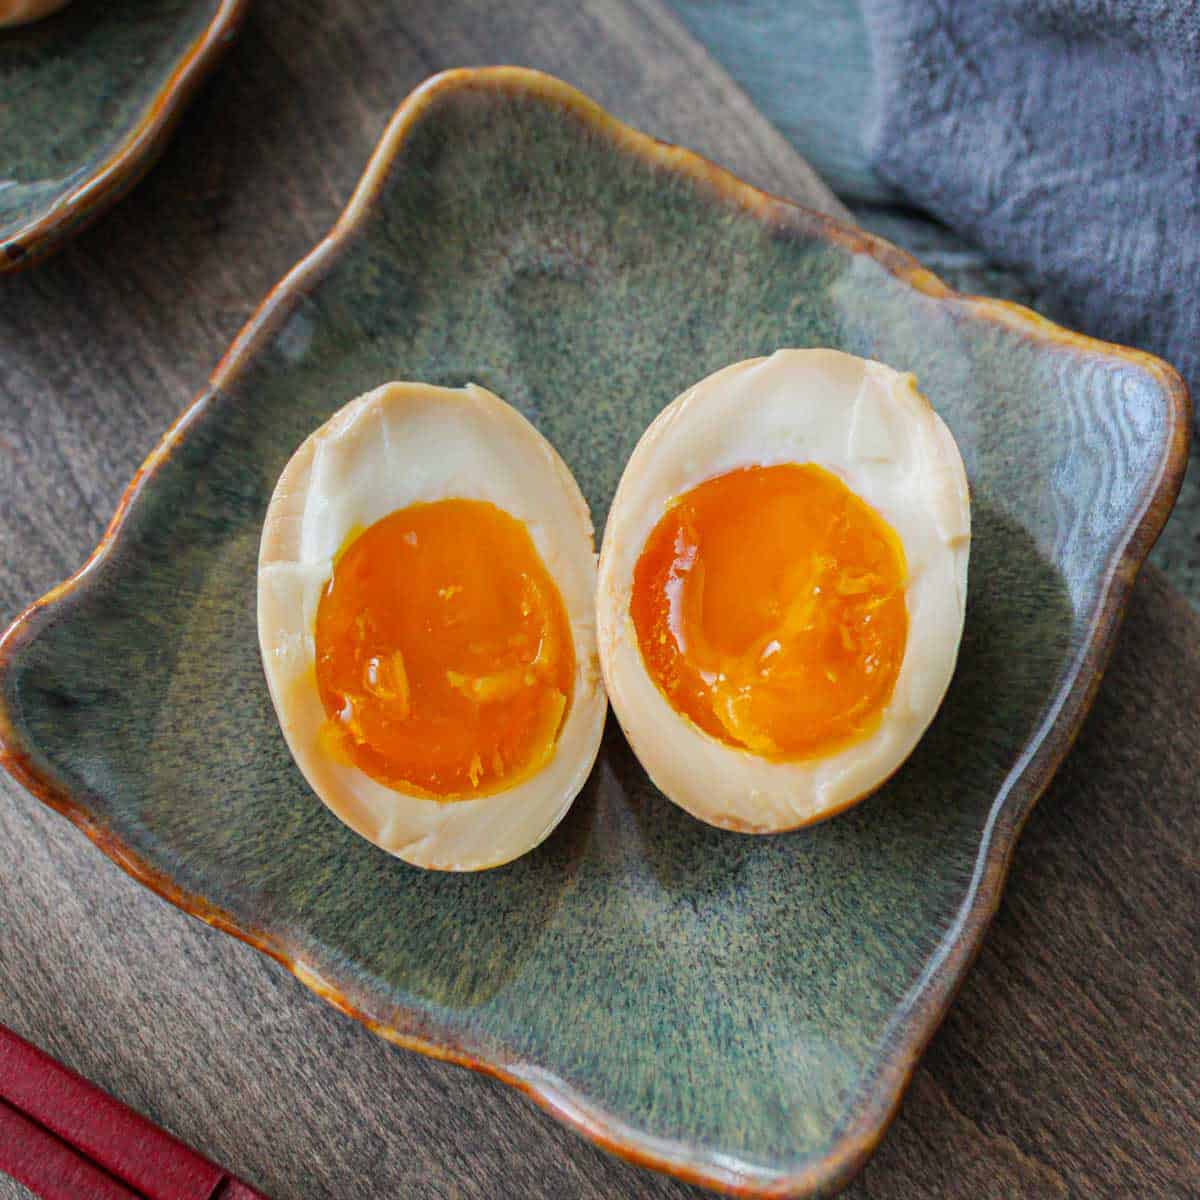
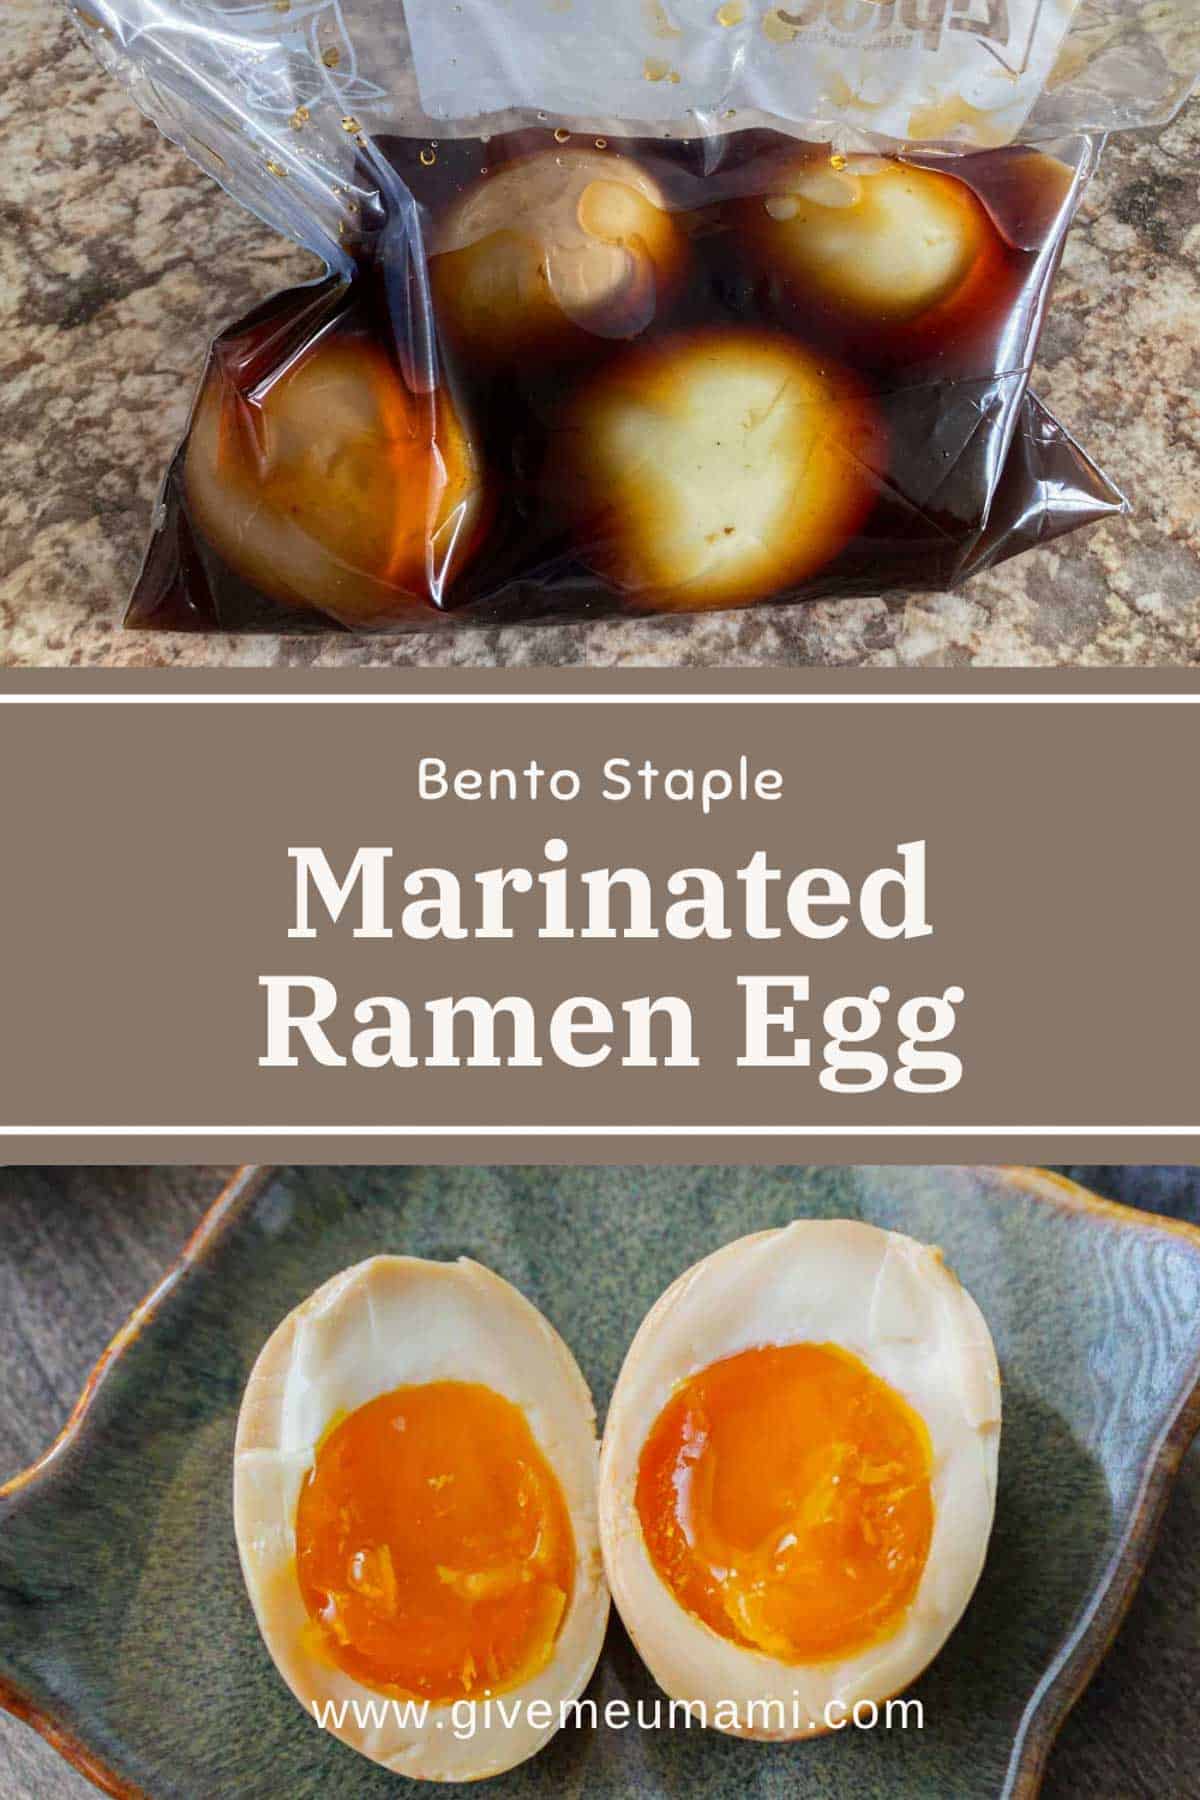
This not-too-salty ajitama (ramen egg) is a perfectly jammy egg marinated in a soy sauce-based mixture, balanced with umami and sweetness!
I’ve tried so many ajitama (ramen egg) recipes, but they were always way too salty—even after just one night! And the leftovers? Even saltier!
So, I decided to create my own recipe that’s perfectly balanced, thanks to a bit of dashi powder, and stays delicious for days.
These eggs are the perfect topping for noodles like abura soba, or even the star of a simple bowl of warm Japanese rice. I really hope you love them as much as I do!
Why You'll Love This Recipe
- Not Too Salty: I tested this recipe multiple times to get the perfect balance of saltiness and sweetness, and it still tastes great even after a day. In fact, it probably gets even better on the second day when the flavors have had time to soak in, and the egg yolk becomes creamier!
- Perfect for Meal Prep and Bento: Since it lasts up to 3 days, it’s perfect for meal prep and makes a great addition to your meals throughout the week! You can even marinate a hard-boiled egg and pack it in a bento box too 🙂
Notes on Ingredients
See the recipe card for the full ingredients list.
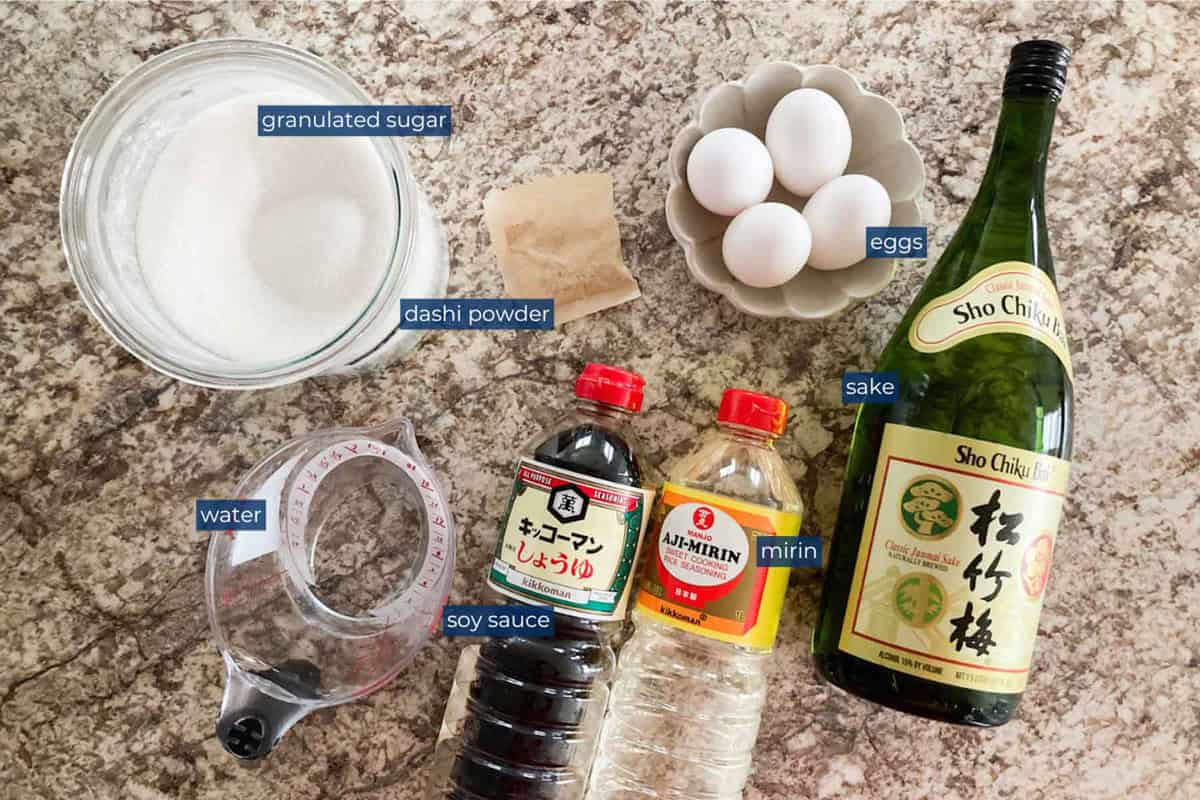
- Dashi: We're keeping it simple with dashi powder (or a dashi packet). My favorite is Kayanoya Dashi because it’s made with all-natural ingredients, but feel free to use any brand you like. If you prefer making your own, I’ve got a full guide on homemade dashi recipes that might come in handy! (coming soon...)
- Mirin: It adds a mild sweetness and umami to the mix. If you don’t have mirin, you can substitute 1 tablespoon of it with 1 tablespoon of sake and 1 teaspoon of sugar.
- Sake: It brings in some umami and helps the eggs soak up all the delicious flavors.
How to Make Ajitama
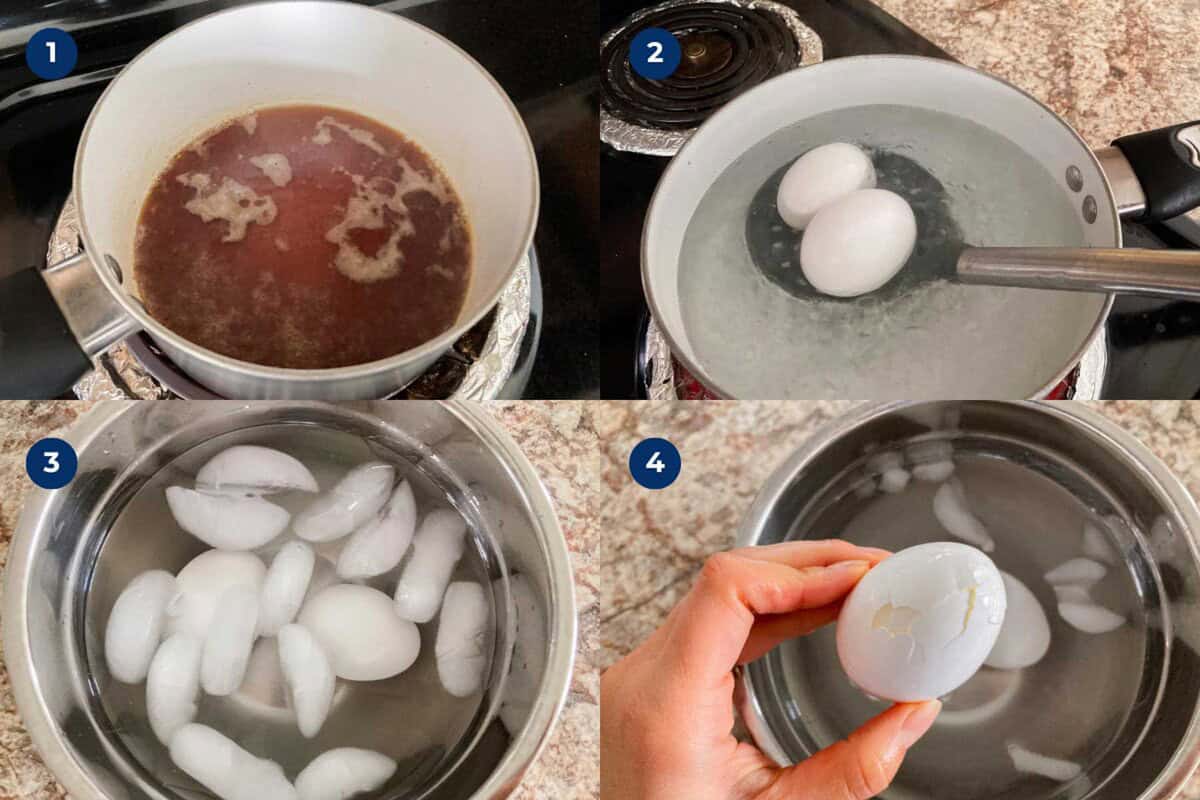
- Step 1: Boil the marinade ingredients, then let it cool
- Step 2: Gently lower cold eggs into boiling water and cook for 6.5–7 minutes
- Step 3: Transfer eggs to an ice bath right away
- Step 4: After 10 minutes, crack the shells (especially top and bottom) and return them to the ice bath
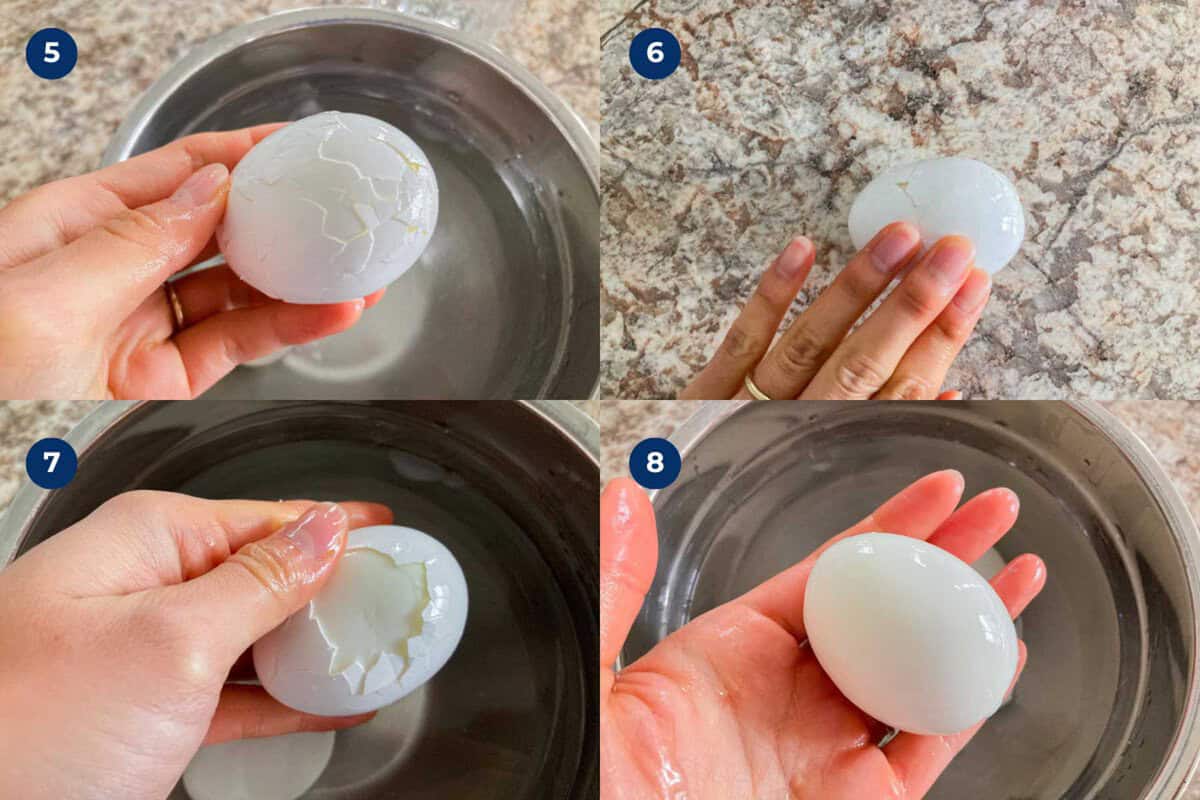
- Step 5: Once cooled, add more cracks around the shell
- Step 6: Roll eggs gently on the counter to loosen the shells
- Step 7: Peel using your thumb
- Step 8: Pat dry and marinate for at least 7 hours
How to Boil the Perfectly Jammy Egg
To make perfectly jammy eggs (soft-boiled with runny yolks), boil eggs straight from the fridge for 6.5 to 7 minutes, then transfer them immediately to ice water to stop further cooking.
Note: If you plan to pack these in a bento (lunch box), boil them for about 9 minutes to make them closer to hard-boiled.
Note 2: You can “boil” eggs in an air fryer too! I found this Perfect Air Fryer Eggs - Hard or Soft Boiled post by Cook At Home Mom super helpful 🙂
How to Peel the Egg Shells Beautifully
There are several tips and tricks to peel egg shells beautifully:
- Use an egg piercer to make a small hole in the egg shell before boiling.
- After boiling eggs, transfer them to iced water to create space between the egg and the shell.
- Make small cracks on the egg shell to allow water to get between the egg and the shell.
- Add a little vinegar to the water when boiling the eggs.
- Peel the egg shells in or under water.
Kurumi's Tips
- Choose High-Quality Dashi: Go for dashi made with only natural ingredients for the best flavor. My all-time favorite is Kayanoya Dashi!
- Boil Eggs Straight from the Fridge: For perfectly jammy eggs every time, boil them straight from the fridge for about 6.5 to 7 minutes.
- Lower the Eggs Into Boiling Water Slowly: This helps prevent them from cracking, so take your time!
- Make Small Cracks: To peel the shells cleanly, gently tap the eggs to create lots of small cracks after they’ve cooled a bit. This makes it easier to separate the shell from the egg for a smooth peel.
What to Serve with Ajitama
Ajitama is the perfect topping for ramen, abura soba, or a bowl of warm Japanese rice!
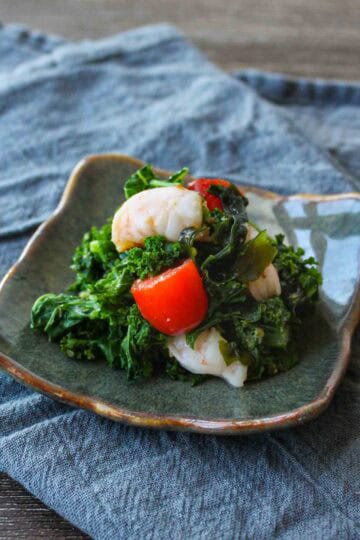
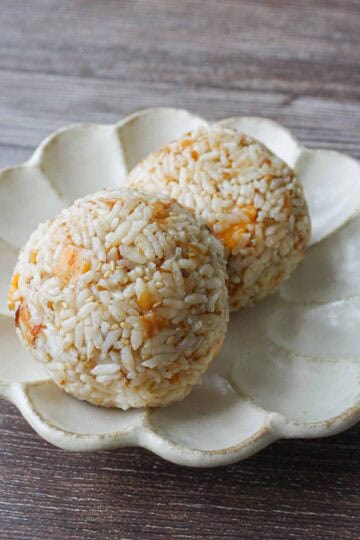
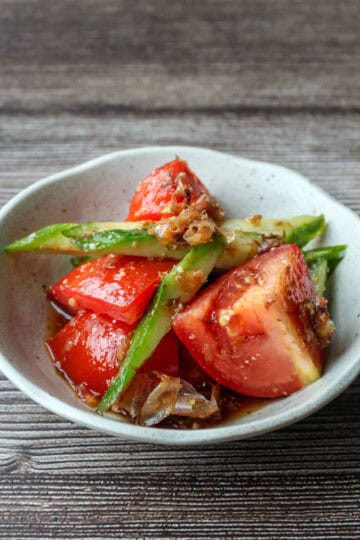
You can also use ajitama to make a delicious ajitama onigiri, enjoy it as a simple side dish, or toss it into a salad with broccoli and shrimp—kind of like a Japanese twist on a Cobb salad.
Storage Instructions
Place them in the marinade in an airtight container and store them in the fridge for up to 2 to 3 days.
FAQs
Ajitama (ajitsuke tamago, ramen egg) is a soft-boiled egg marinated in a soy sauce-based marinade.
The name “Ajitama” comes from combining the first few sounds of the words “ajitsuke” (seasoned) and “tamago” (egg).
Yes! Just bring it to a boil again and use it as a regular marinade.
Alternatively, you can reuse the marinade as a seasoning in your cooking, as long as you reheat it during the cooking process.
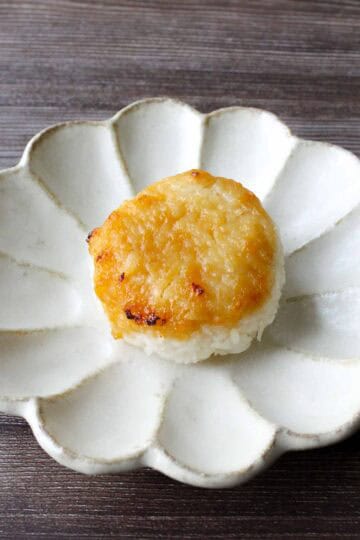
Even though English speakers call it ‘ramen egg,’ you can use ajitama for anything—put it on warm cooked rice to make something like a TKG (Tamago Kake Gohan, rice with egg), or you can make an ajitama onigiri (rice ball) too.
You can substitute 1 tablespoon of mirin with 1 tablespoon of sake + 1 teaspoon of sugar.
However, mirin adds not only sweetness but also umami, so I highly recommend getting and using mirin if possible.
Onsen Tamago is an egg with a half-cooked yolk and a half-solidified white. ‘Onsen’ means ‘hot spring’ in Japanese, as onsen tamago was traditionally made in hot springs.
Nitamago is another type of egg enjoyed in Japan. It tastes similar to ajitama, but nitamago is a hard-boiled egg simmered or stewed in the marinade, giving it a firmer texture.
More Japanese Side Dish Recipes
Looking for other recipes like this? Try these:

💌 If you tried this recipe and liked it, I’d love to hear from you! Leave a comment and review below, or send a photo of your dish to my email. I’d be so happy to see your creation!
📖Recipe
Ajitama (Ajitsuke Tamago, Japanese Marinated Ramen Egg)
Ingredients
Method
- Start boiling water: Fill a medium pot with enough water to cover all the eggs and bring it to a boil.
- Make the marinade (see Note 2): In a separate pot, mix 2 tablespoons soy sauce, 2 tablespoons mirin, 1 tablespoon sake, 2 teaspoons granulated sugar, 1 teaspoon dashi powder, and ½ cup water. Heat it over medium-high until it boils, then turn off the heat and let it cool.
- Cook the eggs: Once the water is boiling, lower the heat slightly so the bubbles become smaller and gentler. Then, gently add 4 large eggs straight from the fridge using a skimmer or spoon—make sure to slowly lower them in to prevent cracks! Start the timer as soon as the first egg goes in: 6.5 to 7 minutes for runny yolks, 8 to 9 minutes for firmer soft-boiled eggs (9 minutes is best for bento).
- Chill the eggs: When the timer’s up, transfer the eggs to an ice bath for 10 minutes. Lightly crack the shells, especially at the top and bottom, then return them to the ice water for another 5 minutes or until the eggs are chilled completely.
- Peel the eggs (see Note 3): Gently tap the eggs on the counter to create small cracks, then peel them in the water or under running tap water, using your thumb to lift off the shell bit by bit. Pat them dry.
- Marinade the eggs: Place the peeled eggs in a plastic bag with the marinade and refrigerate for at least 7 hours (or up to 3 days). I think they taste best on the second day!
Notes
- (Note 1) Choosing the right dashi powder: I highly recommend using high-quality dashi powder! My all-time favorite is Kayanoya Dashi because of its natural flavors.
- (Note 2) Microwave method: You can also make the marinade by adding all the ingredients to a microwave-safe bowl and heating it for about 30 to 45 seconds, just until it starts to bubble.
- (Note 3) Peeling eggs: To make peeling easier, try piercing the shell before boiling, chilling the eggs in ice water, gently cracking the shell to let water seep in, adding a splash of vinegar to the boiling water, or peeling them under water!
📌Pin This Recipe For Later!


Kurumi says
I usually have rice with natto or grilled fish for breakfast, but yesterday I added this ajitama—and honestly, it filled my heart with happiness... and maybe a little homesickness? haha. Since we can't eat raw eggs in the States, having ajitama with rice kind of gave me a similar feeling and brought back memories of Japan. How do you even describe that feeling? Sentimental, maybe? Anyway, it was such a yummy morning, and I hope you enjoy this ajitama too!