
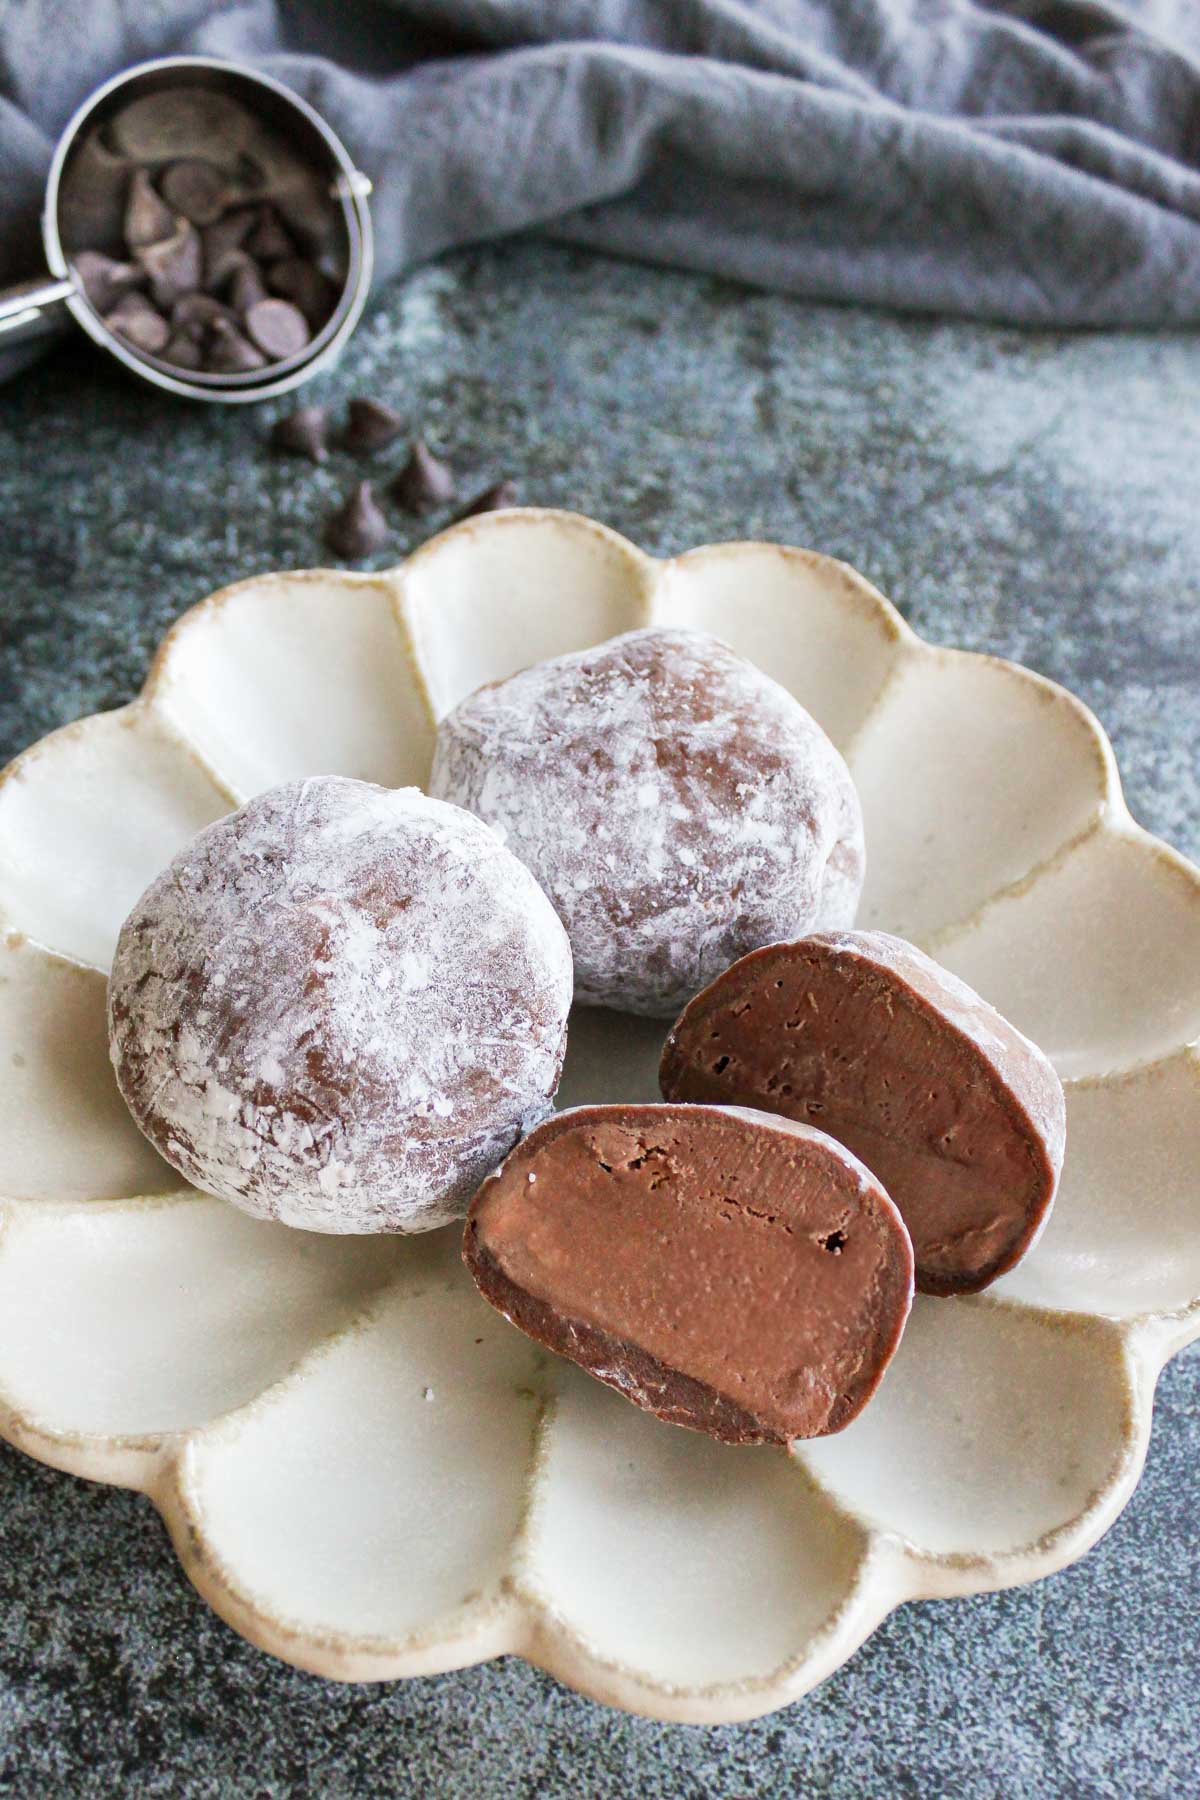
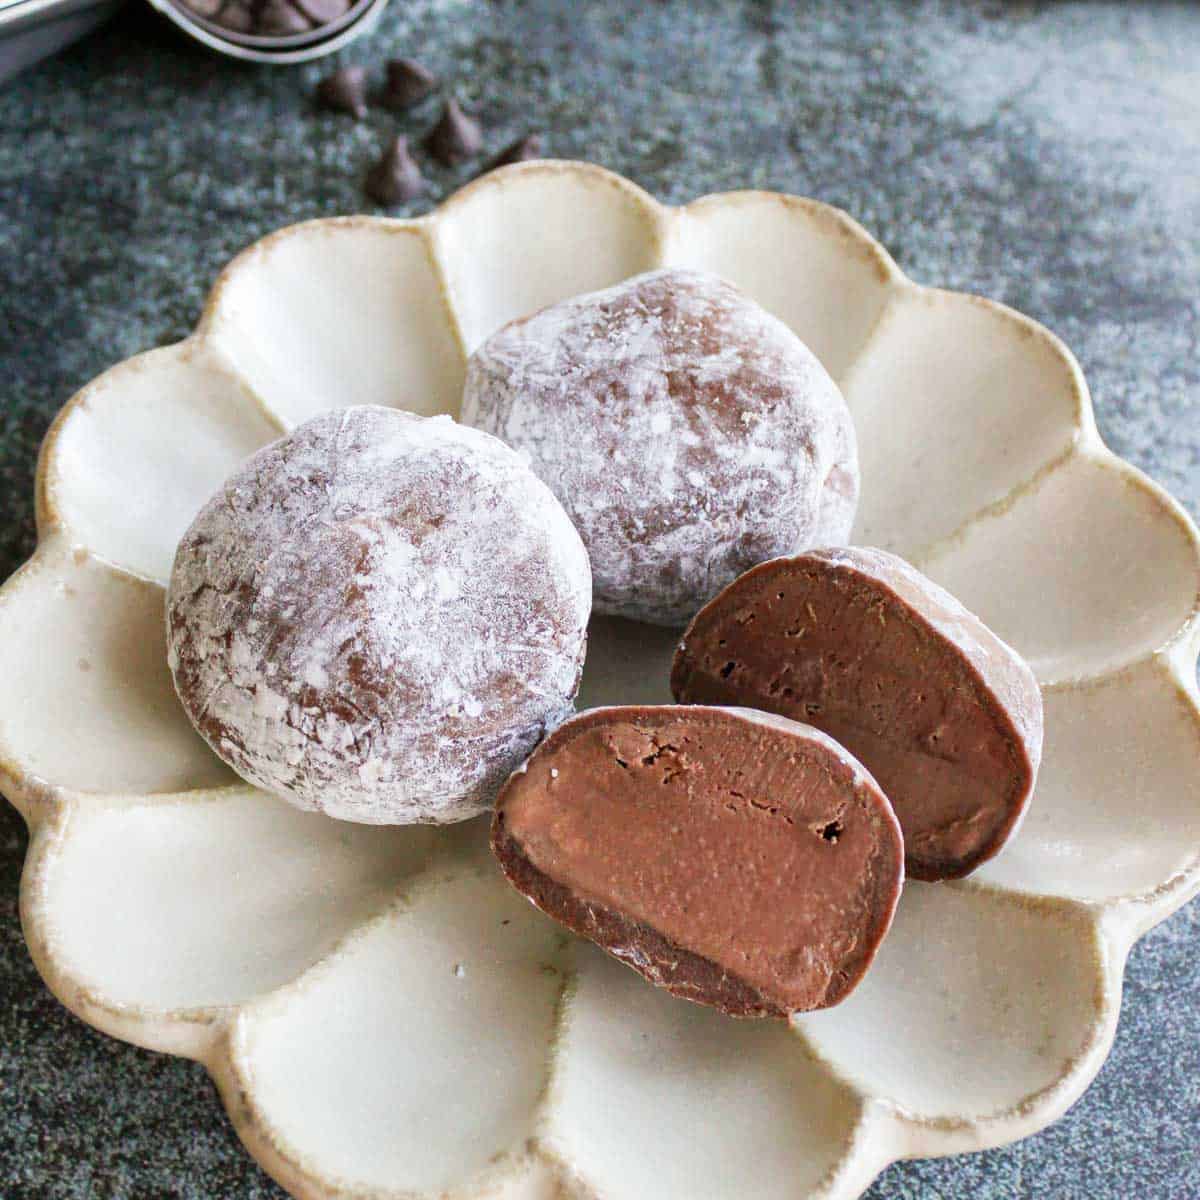
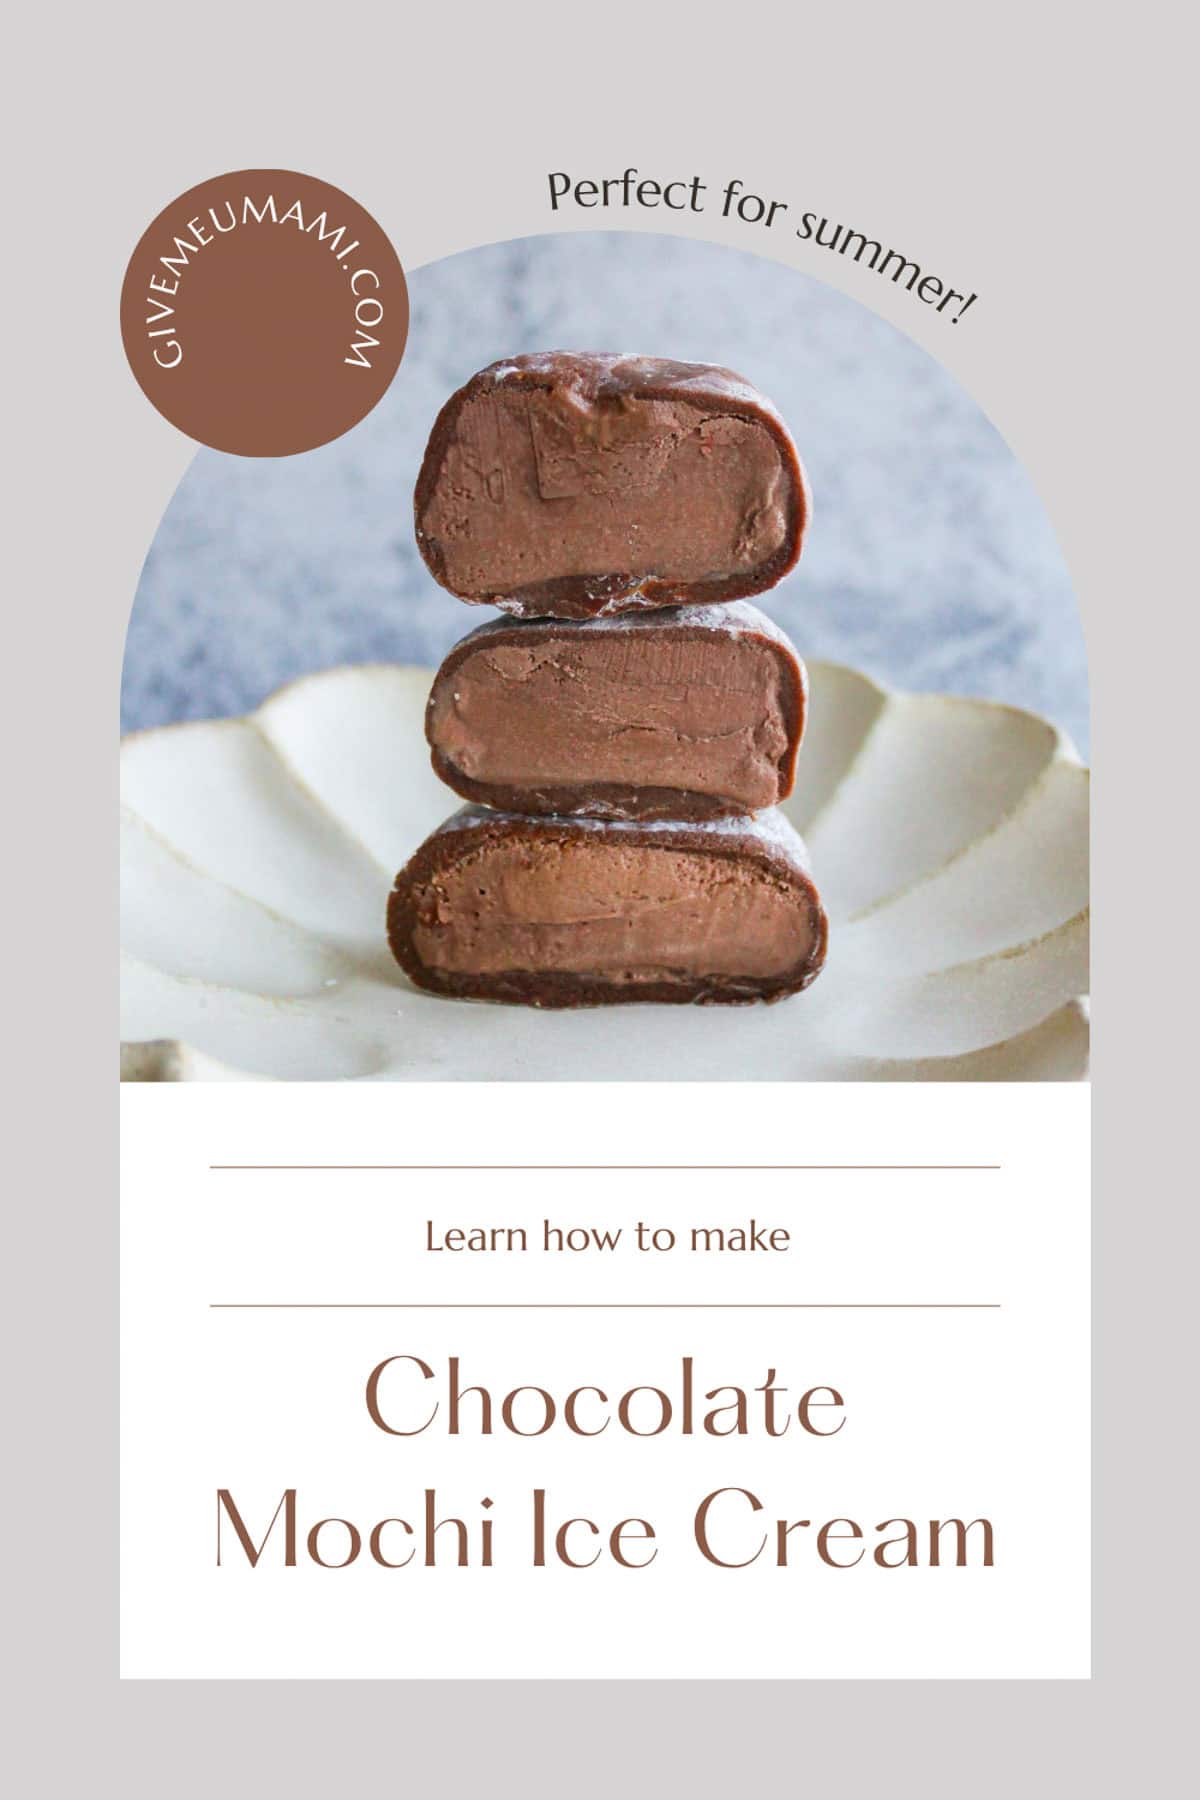
Make chocolate mochi ice cream at home! Chocolate ice cream wrapped in soft, chewy mochi—a fun and delicious sweet treat.
I've always loved mochi and ice cream, so mochi ice cream was a childhood favorite! My go-to was Yukimi Daifuku—vanilla ice cream wrapped in soft mochi. (A must-try if you're ever in Japan!)
This recipe keeps the mochi soft and chewy, even after freezing, thanks to a little oil. But fair warning—they’re so good, you might not have any leftovers!
If you love mochi as much as I do, you’ve got to try my chocolate mochi with ganache filling—it's a must!
Why You'll Love This Recipe
- Quick & Easy with the Microwave: We’re making the mochi in the microwave, so it’s fast, simple, and no fuss!
- Soft & Chewy, Even After Chilling: Adding a bit of oil keeps the mochi soft, so you don’t have to worry about it turning hard in the fridge.
- Easy to Customize: You can play around with ice cream flavors to create your favorite version of mochi ice cream!
Notes on Ingredients
See the recipe card for the full ingredients list.
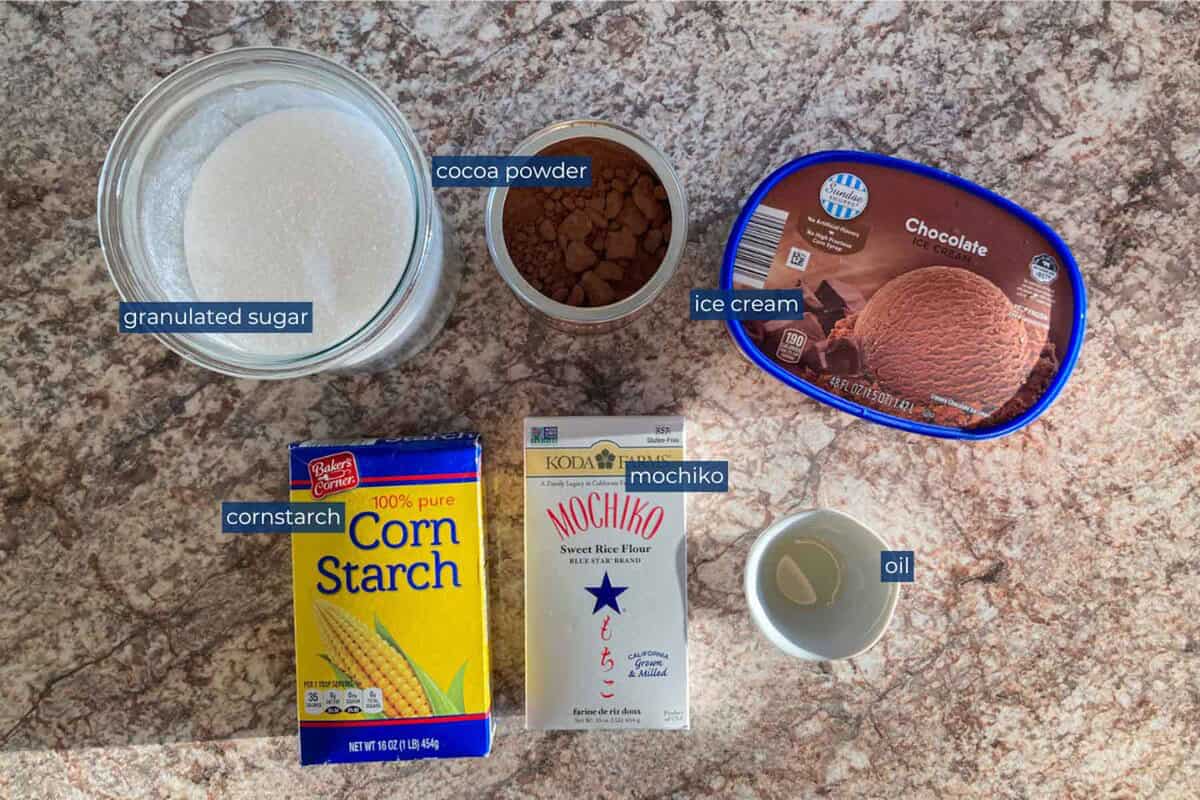
- Mochiko (Glutinous Rice Flour): This isn’t the same as regular rice flour, and there’s no real swap for it—so be sure to grab the right one! You’ll find it at Asian grocery stores or on Amazon. My go-to is Koda Farms Mochiko Sweet Rice Flour.
Substitutions and Variations
- Cornstarch Swap: No cornstarch? No problem! You can use potato starch, tapioca starch, arrowroot starch, or even rice flour instead.
- Ice Cream Options: Mix it up with different flavors that go well with chocolate—vanilla, strawberry, cookie dough, or cookies and cream. Want to switch it up? Skip the cocoa powder in the mochi dough for a plain version and pair it with any ice cream you like!
- Dietary Swaps:
- Gluten-Free: Use certified gluten-free glutinous rice flour.
- Nut-Free: Stick to nut-free ice cream.
- Vegan: Choose a vegan-friendly ice cream.
How to Make Chocolate Mochi Ice Cream
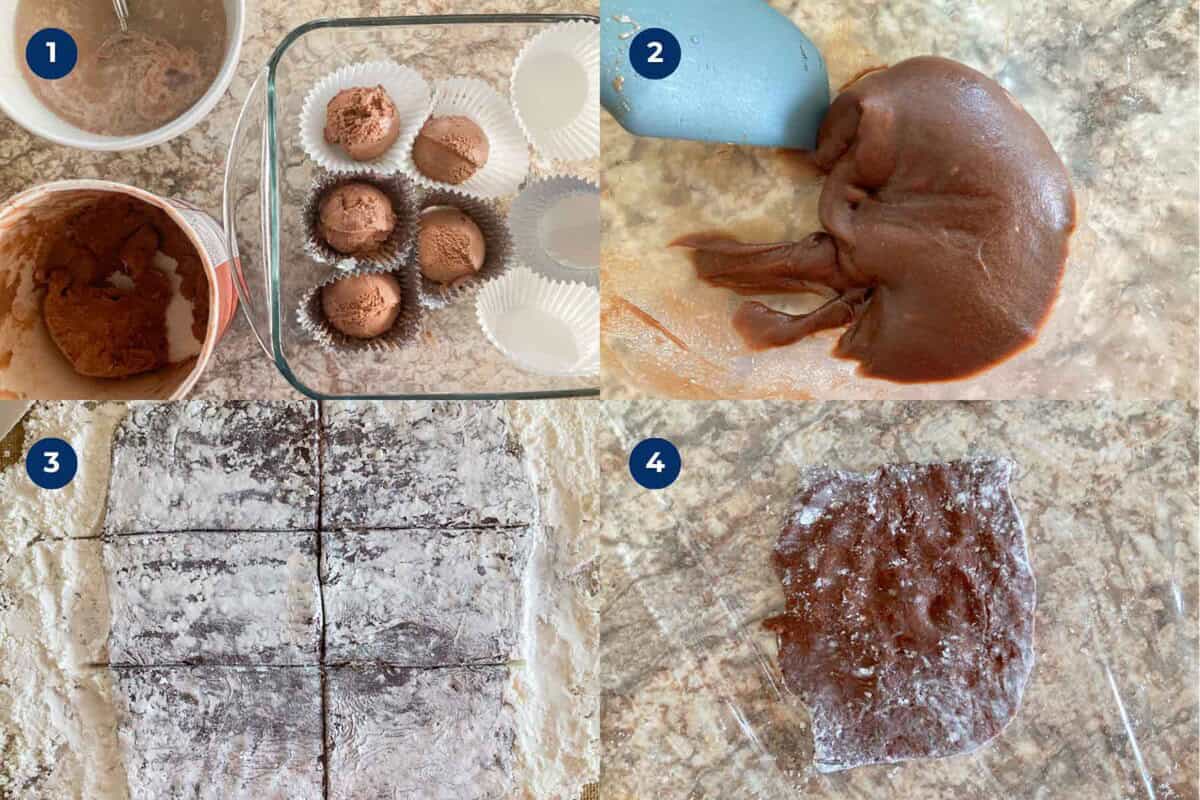
- Step 1: Scoop the ice cream and freeze for 2 hours
- Step 2: Mix the mochi ingredients, microwave, and knead until silky and smooth
- Step 3: Roll it out to 0.2 inches (5mm) thick, let it cool, then cut into six pieces
- Step 4: Stretch the mochi with your hands

- Step 5: Form a circle with your fingers, place a mochi sheet over it, and set the ice cream ball in the center (round side down)
- Step 6: Gently press the ice cream ball in, then wrap the mochi around it. If the mochi feels too soft, set it on the counter to make wrapping easier
- Step 7: Trim any excess, seal tightly, and dust with cornstarch if needed
- Step 8: Wrap in plastic wrap, twisting the ends to secure
💡Alternative Wrapping Method: If this technique feels tricky, place the mochi sheet on plastic wrap, set the ice cream ball in the center, then lift the edges of the mochi to wrap it up easily.
Kurumi's Tips
- Dust the Surface Well: Use plenty of cornstarch to keep the mochi from sticking. Don’t worry about using too much—you can always dust off the excess once they’re shaped.
- Microwave the Mochi Dough Enough: Make sure to microwave and knead the dough until it’s shiny and forms a smooth ball (like in the picture). If it’s undercooked, it’ll be too sticky to wrap around the ice cream balls.
- Let the Mochi Dough Cool Enough: If the mochi dough isn’t cool enough, the ice cream will start melting fast. So, let it come to room temperature before you start wrapping the ice cream.
- Wrap Ice Cream Quickly: Ice cream starts to melt as soon as it’s out of the freezer, so work quickly! Take one ice cream ball at a time, wrap it in mochi, then return it to the freezer right after. Keep going until you’ve wrapped them all.
Storage & Serving Instructions
- To store: Wrap each mochi ice cream ball in plastic wrap and place them in an airtight container. Keep them in the freezer for up to 1 month.
- To serve: Let them sit in the fridge or at room temperature until the ice cream softens slightly.
- Leftover mochi dough: If you have any leftovers, roll it into a square or rectangle, wrap it tightly in plastic wrap, and place it in an airtight container or plastic bag. You can store it in the fridge for 2 to 3 days or freeze it for up to a month. When you’re ready to use it, just let it come to room temperature by leaving it out. Try making chocolate mochi with ganache—this recipe is a fun way to use up leftover dough!
FAQs
Mochi ice cream is a fun Japanese treat—ice cream wrapped in a soft, chewy mochi layer. The mochi itself is made from mochiko (sweet rice flour).
Even though it's called "mochi" ice cream, the type of mochi used here is actually gyu-hi. Unlike traditional mochi, which is made by pounding steamed sweet rice into a sticky dough, gyu-hi is made by mixing mochiko with water and heating it until it turns into a soft, stretchy dough.
Use plenty of cornstarch when rolling out the mochi—it helps a lot! The mochi will also become less sticky after sitting at room temperature for a bit.
Also, let the mochi cool enough so the ice cream doesn’t melt right away. The moisture from the ice cream can make the mochi sticky.
If the dough is too sticky or runny, microwave it for another 15–30 seconds to firm it up. Be sure to knead it well with a spatula to get that chewy texture.
When shaping, if it’s still sticky, add more cornstarch. Also, make sure your hands are completely dry—any moisture can make it worse. Let the mochi cool completely before you start shaping.
Yep! You can make it on the stovetop. Just prepare the dough as usual, then pour it into a pot and heat it over medium. Stir constantly until it’s shiny and smooth. Then, continue with the steps for rolling it out into a sheet.
More Japanese Dessert Recipes
Looking for other recipes like this? Try these:


💌 If you tried this recipe and liked it, I’d love to hear from you! Leave a comment and review below, or send a photo of your dish to my email. I’d be so happy to see your creation!
📖Recipe
Homemade Chocolate Mochi Ice Cream
Ingredients
Method
- Scoop & Freeze: Scoop 8 scoops chocolate ice cream using a #20 cookie or ice cream scoop (about 2 tablespoons each) into muffin cups. Let them chill in the freezer for at least 2 hours. Pro tip: Soak your scoop in water to make scooping easier!
- Dust the Surface: Generously dust your work surface with about About ½ cup cornstarch.
- Mix the Dry Ingredients: Whisk together ½ cup mochiko (glutinous rice flour), ⅓ cup white granulated sugar, and 2 tablespoons cocoa powder in a medium microwave-safe bowl.
- Add the Liquids: Slowly add ⅔ cup water, mixing until smooth with a spatula, then stir in 1 teaspoon neutral oil.
- Microwave the Mochi: Cover the bowl with plastic wrap, poke a few holes on top, and microwave for 1 minute and 30 seconds. Stir and knead with a spatula until smooth and no lumps remain. Cover again with plastic wrap and microwave for another 30 seconds, then knead for about 1 minute. Repeat this process—microwaving for 30 seconds and kneading for 1 minute—until the dough becomes smooth, stretchy, and starts pulling away from the spatula. This usually takes 2 to 3 rounds.
- Roll the Mochi: Spread the mochi on the dusted work surface and dust the top with cornstarch. Dust a rolling pin and roll the mochi into a square about 0.2 inches (5mm) thick, and let it cool to room temperature for about 45 to 60 minutes. Make sure to coat all surfaces with cornstarch to keep the dough from drying out.
- Slice the Mochi: Slice the cooled mochi into 6 pieces.
- Prepare for Wrapping: Remove one ice cream ball at a time from the freezer to prevent melting. Lay a sheet of plastic wrap on your counter, then put a mochi piece on it, dust off any excess cornstarch.
- Stretch & Wrap (see Note 2): Stretch the mochi with your hands until it’s big enough to wrap around the ice cream. Place it over your thumb and index finger—make sure there’s plenty of cornstarch where it touches your skin so it doesn’t stick. Drop the ice cream ball in the center, rounded side down, then gently press the mochi around it and seal it tightly. If any spots feel too sticky, just dust on a little more cornstarch.
- Trim & Wrap: Trim off any extra mochi, then wrap it up in plastic wrap.
- Freeze: Pop the wrapped mochi ice cream back in the freezer, then repeat until you’re done!
- Use leftover dough: Once you've wrapped six ice cream balls with mochi, combine any leftover dough, roll it out to the same thickness, and cut it into two more sheets. Then, just repeat the process to make two more chocolate mochi ice cream!
- When you’re ready to enjoy, and the mochi ice cream feels a little too hard, just let it sit at room temperature for 5 to 10 minutes until the ice cream softens up a bit. Then go ahead and dig in!
Notes
- (Note 1) Choosing the Right Glutinous Rice Flour: Make sure you're using glutinous rice flour (sweet rice flour), not regular rice flour—it’s a must for this recipe! You can find it at your local Asian grocery store or on Amazon (I love Koda Farms Mochiko Sweet Rice Flour).
- (Note 2-1) Wrapping Ice Cream: Want a little more guidance? Check out the step-by-step guide above with photos to help you through it!
- (Note 2-2) Alternative Wrapping Method: If the wrapping method feels tricky, no worries! Just lay the mochi sheet on plastic wrap, place the ice cream ball on top, and fold the edges over to seal it. Keep in mind, you might not get all 8 mochi ice cream balls with this method.
- (Note 2-3) Let the Mochi Dough Cool Enough: If the mochi dough isn’t cool enough, the ice cream will melt too quickly. So, make sure the dough cools to room temperature before you start wrapping!
- (Note 2-4) Wrap Ice Cream Quickly: Ice cream melts fast! So, take one ball at a time, wrap it in mochi, then pop it back in the freezer right away. Keep going until you’ve got them all done!
- To store: Wrap each mochi ice cream ball in plastic wrap and place them in an airtight container. Keep them in the freezer for up to 1 month.
- To serve: Let them sit in the fridge or at room temperature until the ice cream softens slightly.
- Leftover mochi dough: If you have any leftovers, roll it into a square or rectangle, wrap it tightly in plastic wrap, and place it in an airtight container or plastic bag. You can store it in the fridge for 2 to 3 days or freeze it for up to a month. When you’re ready to use it, just let it come to room temperature by leaving it out. Try making chocolate mochi with ganache—this recipe is a fun way to use up leftover dough!
📌Pin This Recipe For Later!

Kurumi says
Yukimi Daifuku was one of my go-to ice creams when I was a kid (along with Pino and Bokujou Shibori). So I was pretty surprised to see how popular—and pricey!—mochi ice cream is in the States. I really missed Yukimi Daifuku, so I’m super happy I can make something similar at home with this recipe. I hope you love it too!