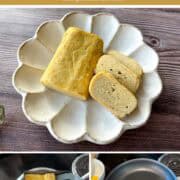
Make basic tamagoyaki at home with simple ingredients and clear steps for both square and round pans. Perfect for beginners and bento.
Tamagoyaki always takes me back to my mom’s kitchen.
She used to make it for breakfast and bento, and that sweet and savory smell of rolled eggs was the best way to start the day.
My version keeps that same nostalgic flavor, but it’s a little fluffier and super easy to make at home.
This basic tamagoyaki is simple, quick, and perfect if you’re new to Japanese cooking.
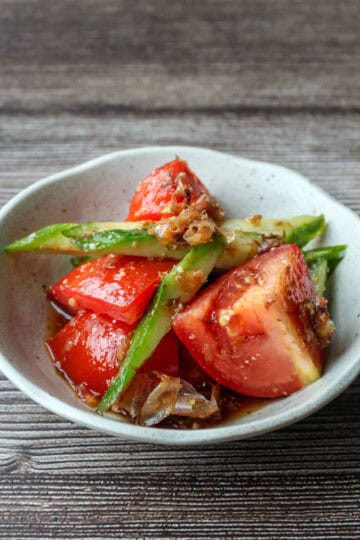
Pair it with miso soup, nikujaga, or a Japanese tomato salad for a comforting meal, or tuck it into your bento box for a pop of color and protein.
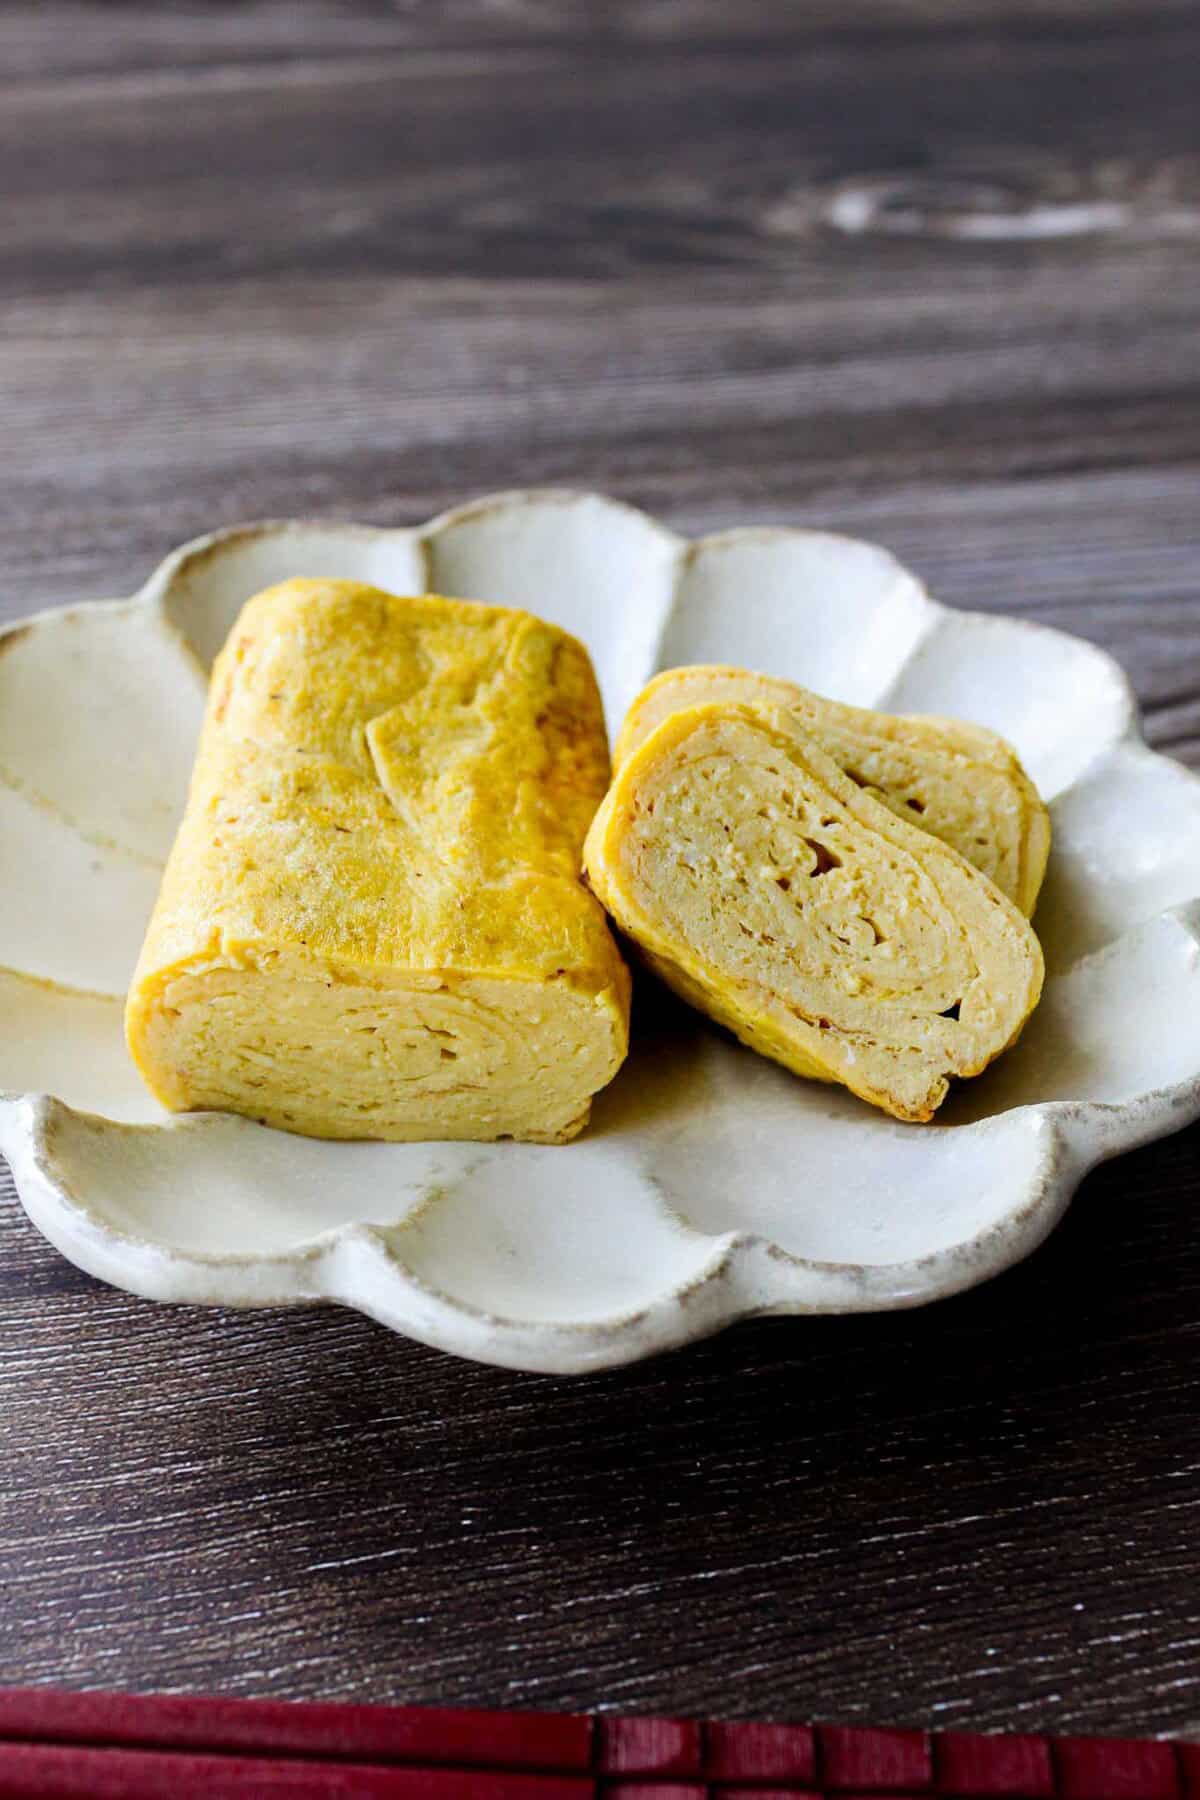
It’s soft, slightly sweet, and one of those recipes you’ll find yourself making again and again. 🍳
Watch How to Make Tamagoyaki
Why You'll Love This Recipe
- Simple ingredients: There are many ways to make tamagoyaki fluffier and more moist, but in this recipe, I kept the ingredients to a minimum so it’s easy to make any day of the week.
- Gentle sweetness: I use maple syrup instead of sugar for a subtle, natural sweetness without the strong sugary taste.
- Detailed instructions and tips for success: I’ve included plenty of step-by-step guidance and practical tips to help you master tamagoyaki. It takes a little practice, but this post gives you everything you need to get it right.
Notes on Ingredients
See the recipe card for the full ingredients list.
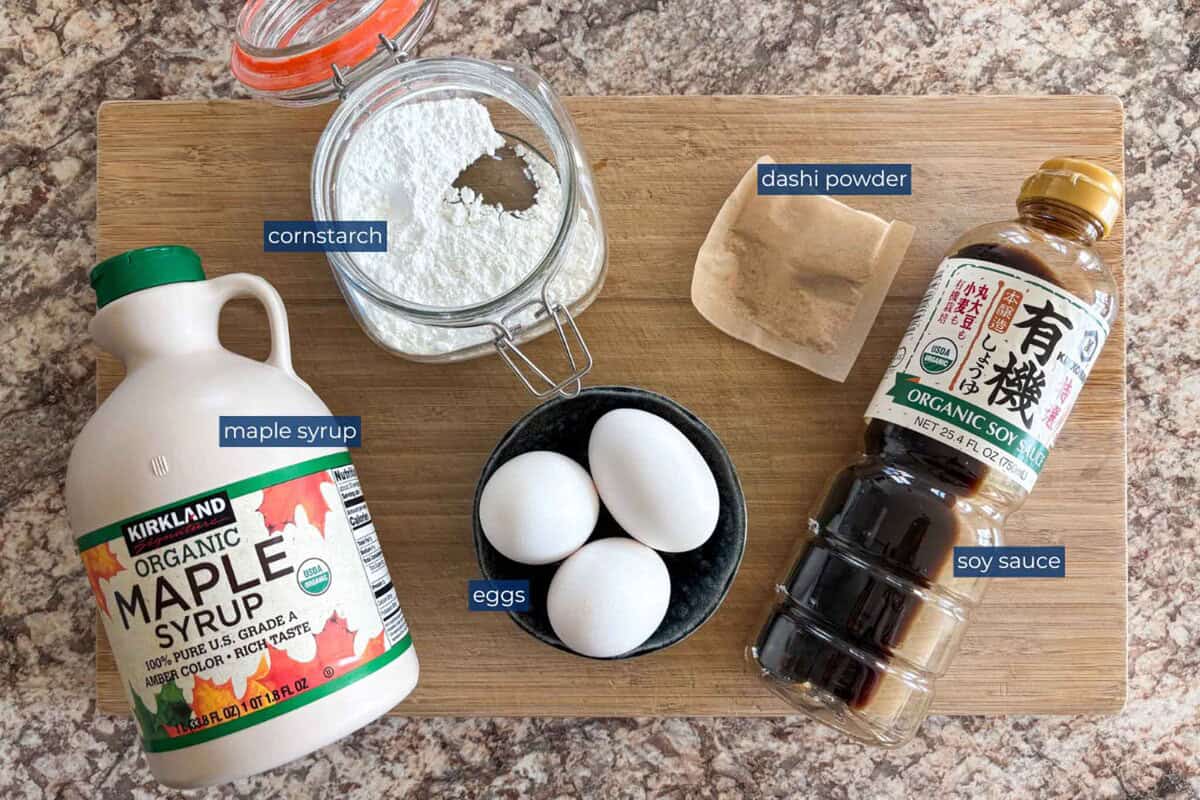
- Dashi powder: This is optional but highly recommended to add a nice umami flavor to your tamagoyaki. Use dashi powder that doesn’t contain additives like Kayanoya dashi. You can also replace the water and dashi powder with regular dashi. Mentsuyu is different from dashi (it contains soy sauce and sugar in addition to dashi), so I don’t recommend using it as a substitute.
- Pure maple syrup: Sugar is commonly used, but I like to use maple syrup to avoid refined sugar and add a gentle sweetness. You can also use agave syrup or honey, but keep in mind that both are thicker and sweeter than maple syrup, so your tamagoyaki may turn out a bit sweeter and can brown more quickly.
- Cornstarch: It helps the eggs bind together, reducing the chance of your tamagoyaki falling apart while rolling. It also allows you to add a bit of water to the egg mixture, making the tamagoyaki fluffier.
- Flavor Variations: Experiment with fillings like crab meat, nori, cheese, or chopped scallions.
💡You can find these ingredients at Japanese or Asian grocery stores, or online at Amazon or Weee!
How to Make Tamagoyaki
How to make an egg mixture
- Add all the ingredients to a medium bowl.
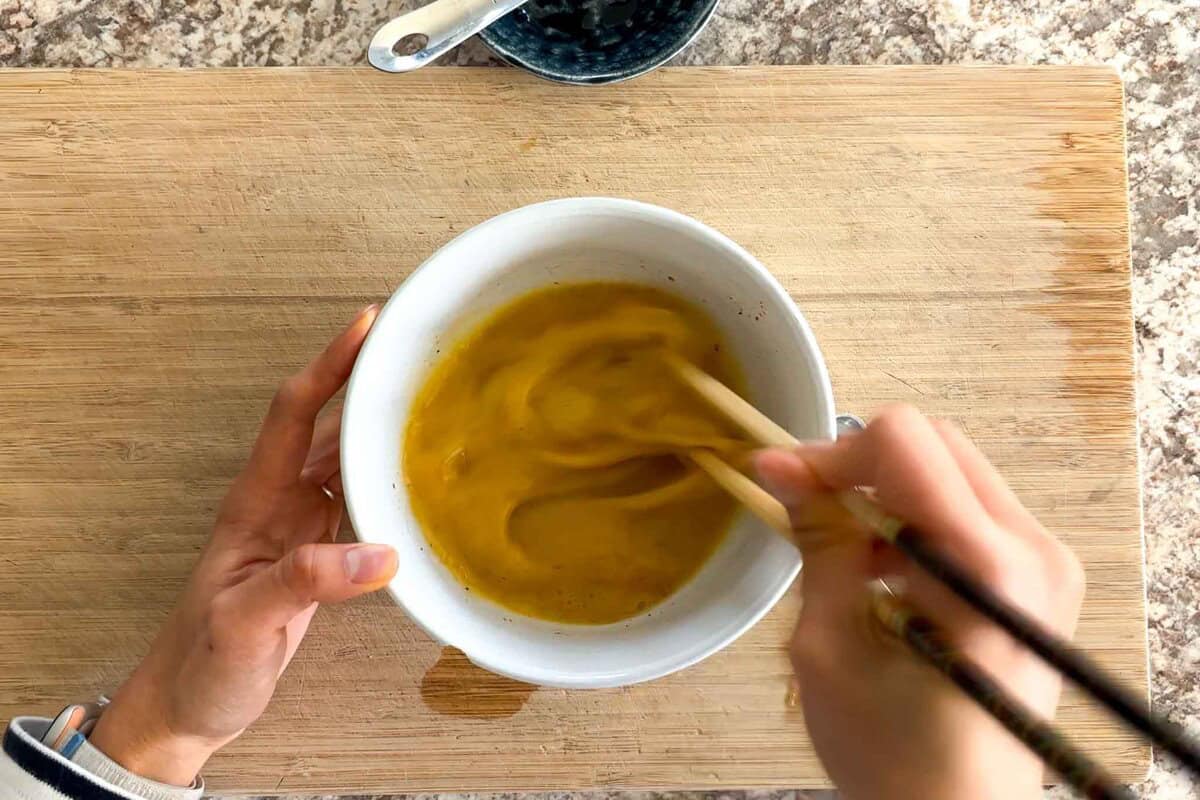
- Hold chopsticks so they touch the bottom of the bowl and move them side to side to cut through the egg whites.
- Lift the chopsticks. When the mixture runs down in a thin stream, it is ready.
How to make tamagoyaki with a square pan
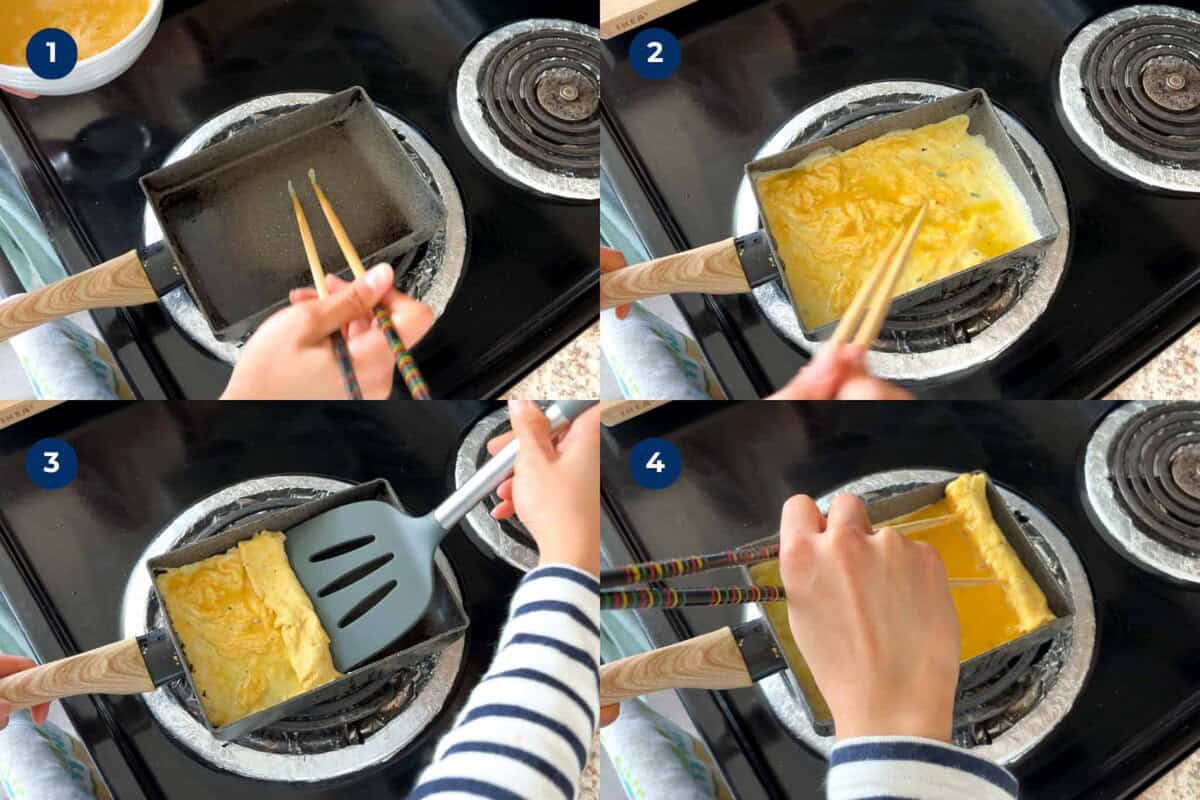
- Heat a tamagoyaki pan over low to medium heat and oil the pan.
- Pour ⅓ of the egg mixture and stir gently to form a loose, not-quite-scrambled layer.
- When the bottom is set, roll it up from the top.
- Oil the pan again and move the roll back to the top. Pour another ⅓ of the mixture, lift the roll, and tilt the pan so the mixture flows underneath.
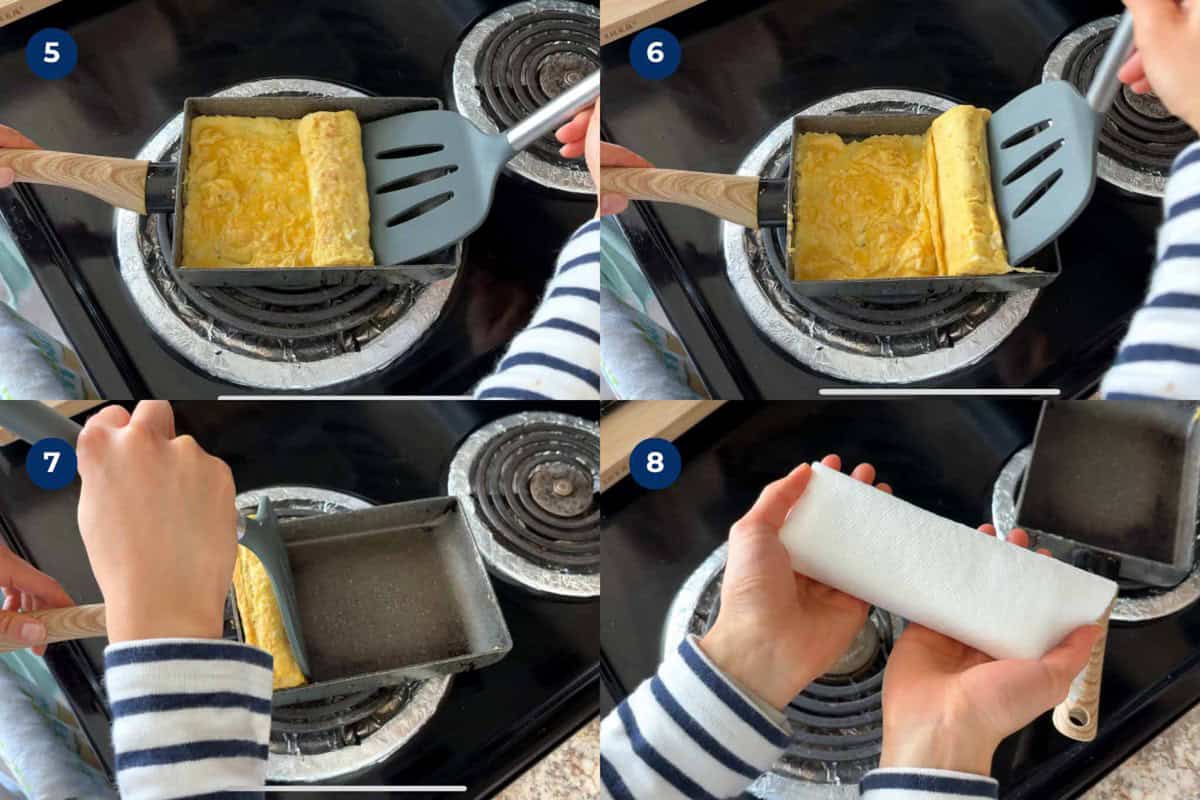
- Once the bottom is set, roll it up again.
- Repeat one more time with the last portion.
- Turn off the heat and gently press the sides of the omelet to seal the edges.
- Roll it with a paper towel or rolling mat and let it cool.
How to make tamagoyaki with a round pan
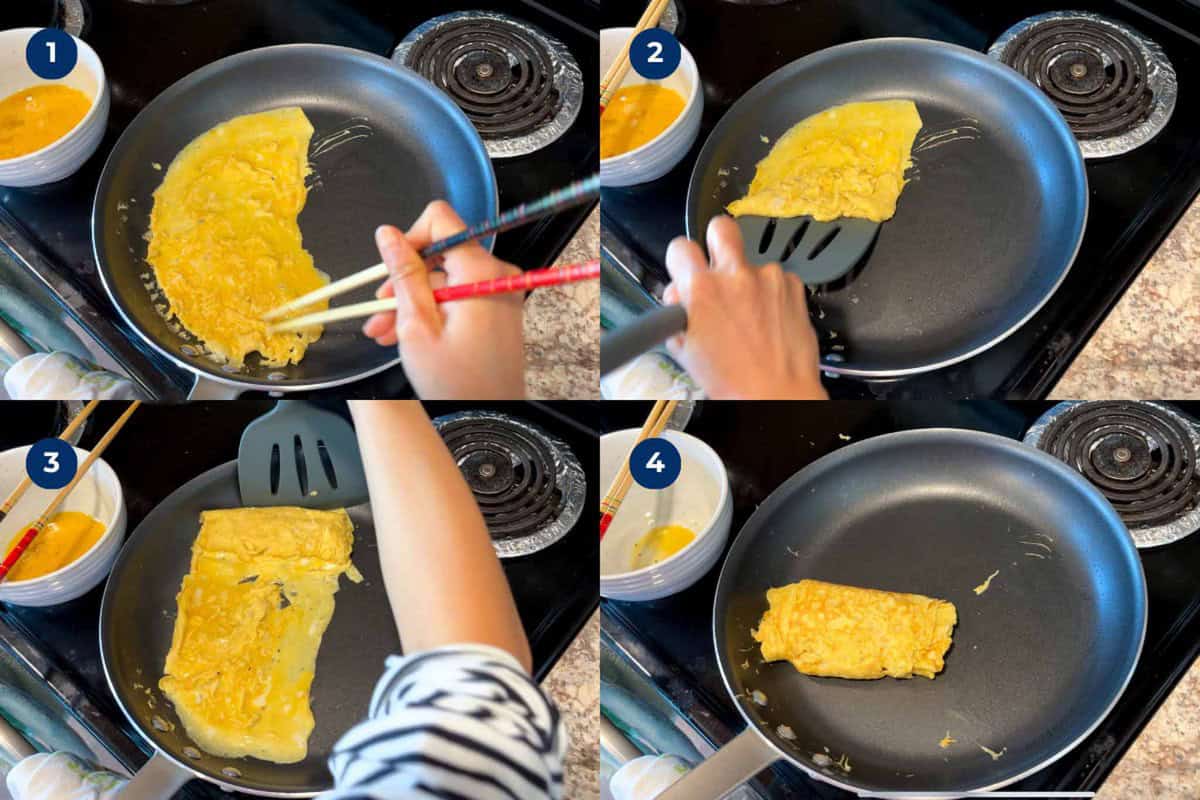
- When the pan is hot, pour ⅓ of the egg mixture into half of the pan and stir gently.
- Once the bottom is set, fold the round edge toward the center to form a rectangle, then roll from the top.
- Repeat two more times with the remaining mixture.
- Roll with a paper towel or rolling mat and let it cool.
Kurumi's Tips
- Mixing technique: Stir the eggs like you’re cutting through the egg whites. Avoid whisking in circles so you don’t add air. The mixture should run down in a thin stream when lifted.
- Check the pan temperature: Make sure the pan is hot but not too hot. If it starts to smoke, place it on a wet towel to cool slightly. Check the temperature before pouring each portion.
- Portioning: Add ⅓ of the egg mixture at a time to create thick, moist layers.
- Stir the eggs: Stir lightly so the eggs become “not-so-scrambled” eggs. This helps create fluffy tamagoyaki.
- Break the bubbles: Pop any bubbles with your chopsticks to keep the layers even.
- Roll while it’s jiggly: Roll while the surface is still jiggly but not runny to create smooth, beautiful layers.
- Cook the sides too: Let the sides cook against the pan to get an even color and seal the ends of the roll.
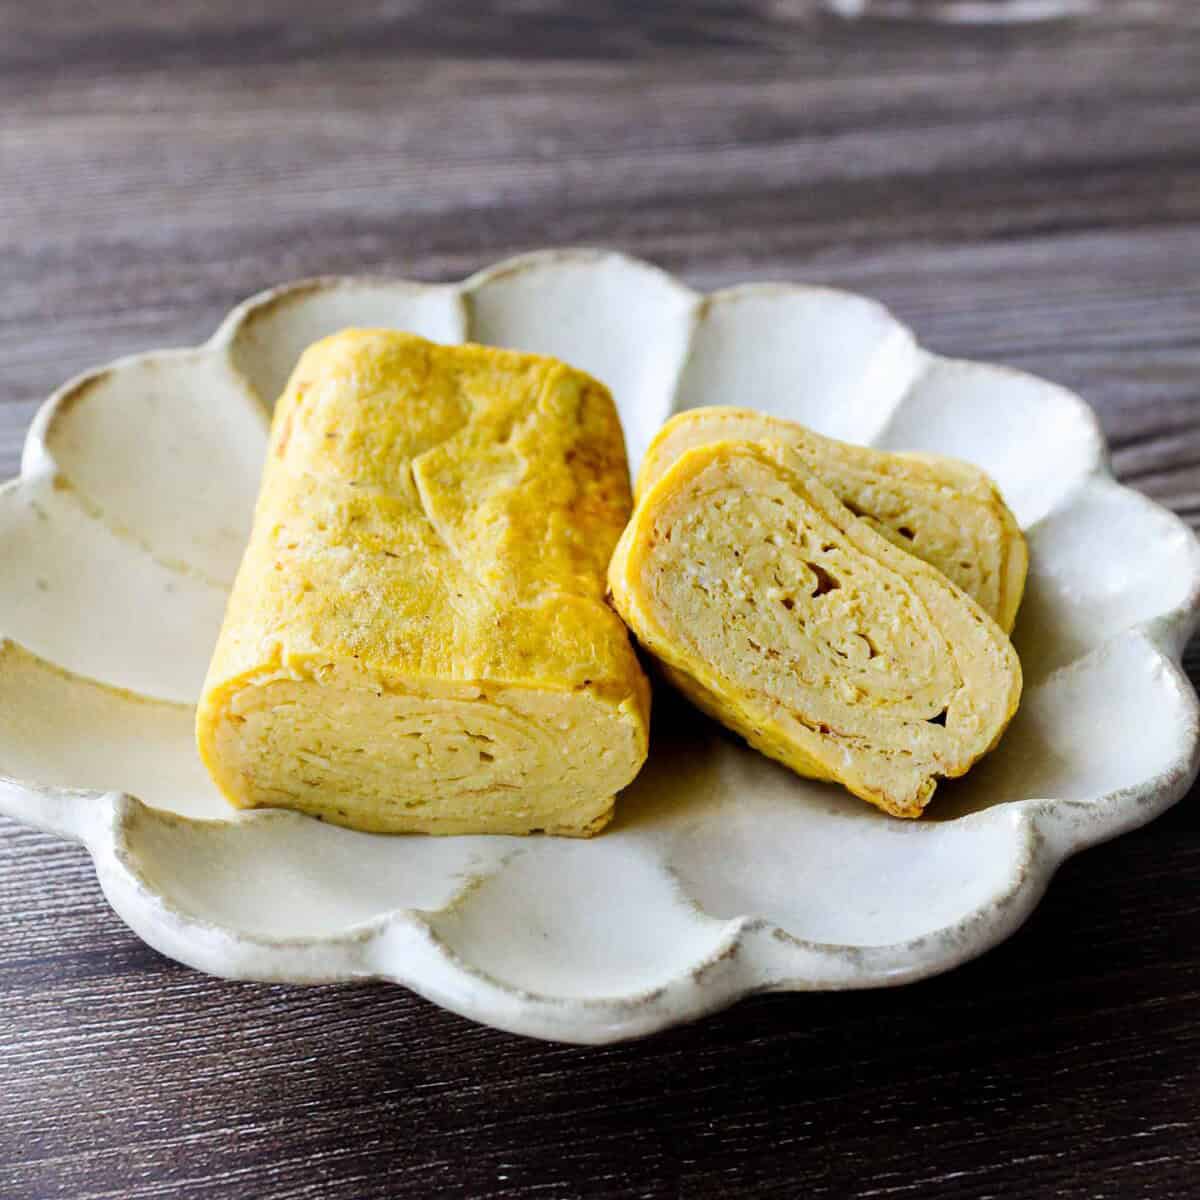
- Shape with a paper towel: Shape the tamagoyaki with a paper towel or rolling mat and wait until it cools before cutting to keep its form.
What to Serve with Tamagoyaki
Tamagoyaki is usually a side dish, and I love adding it when I want extra protein or a pop of yellow on my plate. It pairs perfectly with rice, miso soup, a main dish like nikujaga, and one or two veggie sides like sunomono for a balanced meal.
You can also enjoy it as a main dish. Just serve it with rice and a veggie-packed miso soup for a simple, satisfying meal.
Storage & Reheating Instructions
- To store: Once cooled, keep tamagoyaki in an airtight container in the fridge for up to 2 days, or wrap it with plastic wrap and store it in an airtight container in the freezer for up to 2 weeks. Keep in mind that the texture may change after freezing. If you plan to pack it in a bento, make sure it is fully cooked.
- To reheat: Tamagoyaki can be enjoyed cold or warm. If frozen, move it to the fridge to defrost or microwave for 15–45 seconds until warmed through.
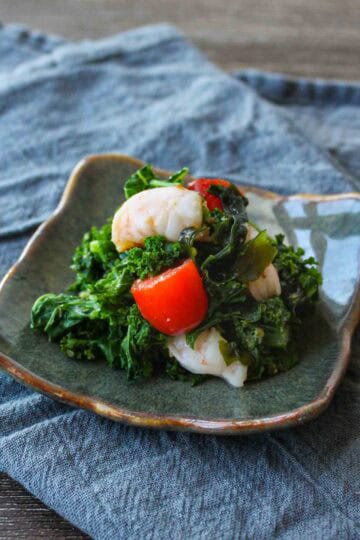
More Japanese Side Dish Recipes
Looking for other recipes like this? Try these:

💌 If you tried this recipe and liked it, I’d love to hear from you! Leave a comment and review below or send a photo of your dish to my email. I’d be so happy to see your creation!
📖Recipe
Basic Tamagoyaki (Japanese Rolled Omelette with Any Pan)
Ingredients
Method
- Combine ingredients: Add 3 large eggs, 2 tablespoons water, 1.5 teaspoon pure maple syrup, ¾ teaspoon soy sauce, ½ teaspoon dashi powder, and ¼ teaspoon cornstarch to a medium bowl.
- Mix the egg: Hold your chopsticks so they touch the bottom of the bowl, and move them side to side vigorously to “cut” the egg whites. Avoid whisking in circles to prevent adding air.
- Check texture: Lift your chopsticks. If the mixture runs down in a thin, smooth stream, it’s ready.
- Prep the pan: Heat your tamagoyaki pan over low to medium heat.
- Prep the oil: Fold a paper towel, soak it in oil, and lightly grease the pan.
- Test the temperature: Hover your hand above the pan. If it feels warm, dip chopsticks into the egg and draw a line on the pan. A gentle sizzle means it’s ready. If it starts smoking, cool it briefly on a damp towel.
- Pour the first layer: Add about ⅓ of the egg mixture. Stir gently until it’s loosely set, not fully scrambled. Stop stirring when a little liquid remains, then tilt the pan to cover the bottom evenly. Pop any bubbles with chopsticks.
- Roll it up: When the bottom and edges are set and the surface is slightly jiggly, loosen the edges with chopsticks and roll from the back toward you. Let it rest a moment to seal, then continue rolling to the end.
- Prep for the next layer: Lightly oil the pan again and move the rolled omelet to the top. Oil the front side of the pan as well.
- Add the second layer: Check the pan’s temperature, then pour another ⅓ of the egg mixture. Lift the roll slightly so the new layer flows underneath. Stir gently to create another soft layer, but keep the connection between the roll and the new layer.
- Roll again: When the bottom and edges are mostly set and the surface still looks slightly jiggly, roll it up just like before.
- Finish the last layer: Check the pan temperature, and repeat with the remaining mixture.
- Seal and shape: Turn off the heat and gently press the sides against the pan to seal. Transfer to a paper towel or rolling mat, shape it while warm, and let it cool before slicing into 6–8 pieces.
- Pour and cook: When the pan is hot, pour ⅓ of the egg mixture into half of the pan and stir gently.
- Shape it: When the bottom and edges are set but the surface is still jiggly, fold the round edge toward the center to form a rectangle, then roll from the top.
- Repeat: Grease the pan, check the pan temperature, and repeat two more times with the remaining mixture.
- Finish and shape: Roll with a paper towel or mat, let it cool, then slice.
Notes
- Ingredients
- Dashi powder: Optional but adds umami. Use additive-free dashi powder like Kayanoya or substitute with regular dashi. Avoid mentsuyu.
- Pure maple syrup: Replaces sugar for gentle sweetness. Agave or honey works too but may make it sweeter and brown faster.
- Variations: Add crab, nori, cheese, or scallions.
- Serving suggestions: Tamagoyaki works well as a side with rice, miso soup, a main like nikujaga, and one or two veggie sides such as sunomono, or you can enjoy it as a main by pairing it with rice and a veggie-packed miso soup for a simple, satisfying meal.
- Storage: Keep cooled tamagoyaki in an airtight container in the fridge for up to 2 days or freeze up to 2 weeks. Fully cook if packing in bento.
- Reheating: Enjoy cold or warm. Defrost in the fridge or microwave 15–45 seconds if frozen.
📌Pin This Recipe For Later!

Kurumi says
It took me a few months to make tamagoyaki as beautiful as my mom’s, so please don’t be discouraged even if your first try fails! Learning something new always takes patience and time, so enjoy the process too. And even if the shape looks a bit weird, it’ll still taste good 🙂 I hope you enjoy my childhood memory!