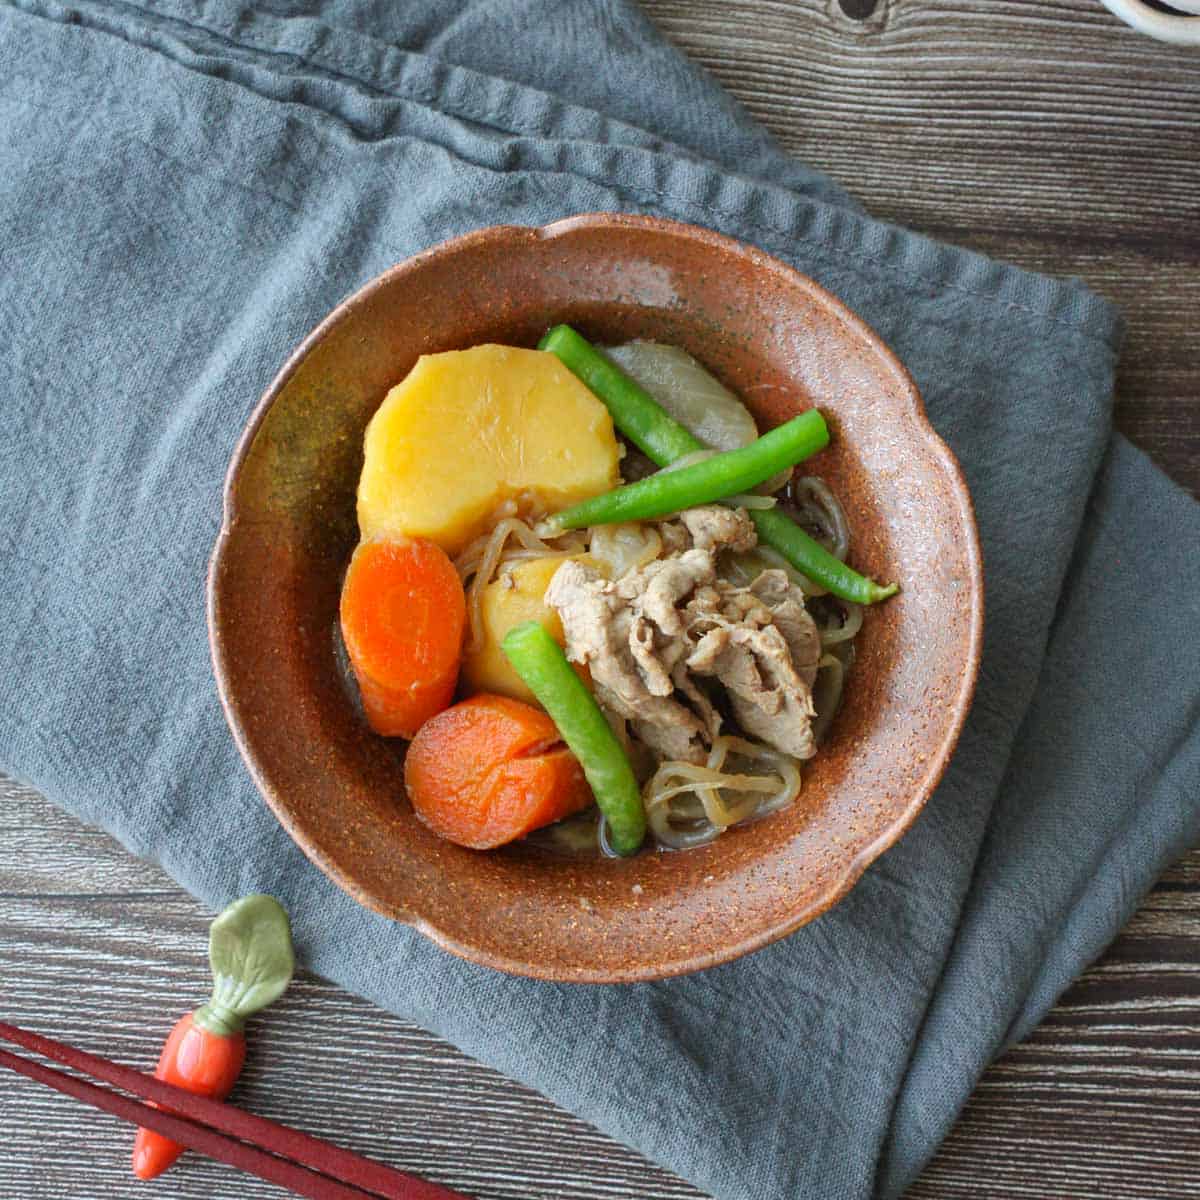
Ingredients
Method
Prep the Ingredients
- Boil Water (note 1): Bring a large pot of water to a boil. You’ll use it to blanch the shirataki, green beans, and meat.
- Cut Potatoes: Peel and cut 18 ounces yellow potatoes into large bite-sized chunks (about 1.5–2 inches). Soak in water for 5 minutes, then drain. This removes excess starch and keeps the broth clear.
- Cut Carrots: Cut 2 medium carrots a bit smaller than the potatoes (about 1 inch), and if you want to be fancy, use the rangiri technique: cut diagonally, roll the carrot a bit, cut again… repeat. It helps everything cook evenly and look nice.
- Cut Onions: Halve 14 ounces onions, then cut into thick wedges (about 1 inch wide).
- Prep Shirataki (note 2): Drain 7 ounces shirataki in a colander to get rid of the liquid from the package. Boil them for 1 minute to help remove the smell, then take them out, but don’t toss the boiling water just yet!. Let them cool slightly, then spread them out and cut into 4 to 6 shorter pieces. (No need to be exact, just don’t leave them too long.) If your package says “ready to use after rinsing,” you can skip this step.
- Blanch the Veggies (Optional): If you want to level up the dish, blanch the onions, potatoes, and carrots separately for 1 minute each. This helps remove bitterness and any off-tastes. Take them out to a colander to remove excess water.
- Prep the Green Beans: Boil 8 green beans in that same pot for 1 minute, take them out, and chop into 1.5–2 inch pieces.
- Prep the Meat (note 2): Using the same boiling water, cook 7 ounces sliced beef for 10–15 seconds, just until the color changes. Gently separate slices with chopsticks in the water so they don’t clump together. Rinse under cold water quickly and drain well. This removes excess lye and impurities, helping keep the broth clear and clean-tasting.
Cook the Ingredients
- Get Your Pot Ready: Drain the pot and give it a quick wipe. Add ½ cup water, 2 tablespoons sake, 1 tablespoon maple syrup, and all but 1 tablespoon of the soy sauce (you’ll use the remaining tablespoon at the end).
- Layer the Ingredients (in this order): Onions → Potatoes → Carrots → Shirataki. This helps everything cook evenly.
- Simmer: Cover with a drop lid (otoshibuta) and your regular lid. Bring to a gentle boil over medium heat. Once boiling, reduce to medium-low and simmer for 20 to 25 minutes, until the potatoes are tender (check with a toothpick). Stir gently from the bottom twice during cooking. Try to keep as many veggies (especially onions) in contact with the broth. Avoid opening the lid too often to keep the steam in.
- Add the Meat and Soy Sauce: Add the cooked meat and the remaining tablespoon of soy sauce. Cover and simmer for 1 to 2 minutes more.
- Finish: Turn off the heat, add the green beans. Gently stir from the bottom, be kind to those soft potatoes or they’ll fall apart!
Notes
- Sliced Beef: You can swap the beef with sliced pork or ground meat.
- Vegetarian/Vegan: Try soy meat or fu (wheat gluten).
- Potatoes: Yellow potatoes hold their shape best. Russets work but might fall apart a bit (still tasty though). Soaking potatoes before simmering helps create a clearer broth and firm texture.
- Shirataki: Adds flavor and texture. If omitting, slightly reduce the seasoning.
- Sake: Drinking sake is best. If using cooking sake (with salt), cut back on soy sauce a bit.
- (Note 1) Use a Large Pot: Since we’re simmering with minimal liquid, a large pot (around 10 inches wide) helps make sure more ingredients are in contact with the broth for better flavor.
- (Note 2) Boil with a Colander: If you have a heatproof colander, it’s super handy! You can place the shirataki and meat (separately) in it and dip it right into the boiling water. Makes it way easier to pull them out quickly without chasing them around the pot.
- Rice Cooker Option: Feeling lazy? Add everything (except the meat) to your rice cooker and use the “Quick Cook” setting for about 20 to 30 minutes, or until the potatoes are tender. Add the meat and the remaining soy sauce, and let it cook for another 5 to 8 minutes until cooked.
- Otoshibuta: You can make a DIY otoshi buta using baking paper. Just cut it into a circle slightly smaller than your pot and poke a few small holes for steam to escape.
- Storage & Reheating Instructions: Keeps well in the fridge for 3 to 4 days. Microwave small portions or reheat on the stove for bigger batches. Not ideal for freezing, but if you do, skip the shirataki and mash the potatoes. Later, turn it into korokke or potato salad!
